Snow Dyeing Fun!
Snow is in the air and has been falling down on Long Island much more this winter than in the past couple of years. Last weekend we got a good foot of snow for the first time this winter and the potential for even more snow this coming weekend is high! While most prepare for a snowstorm by stocking up on food and necessities, I prepare my yarn for a good snow dyeing session!
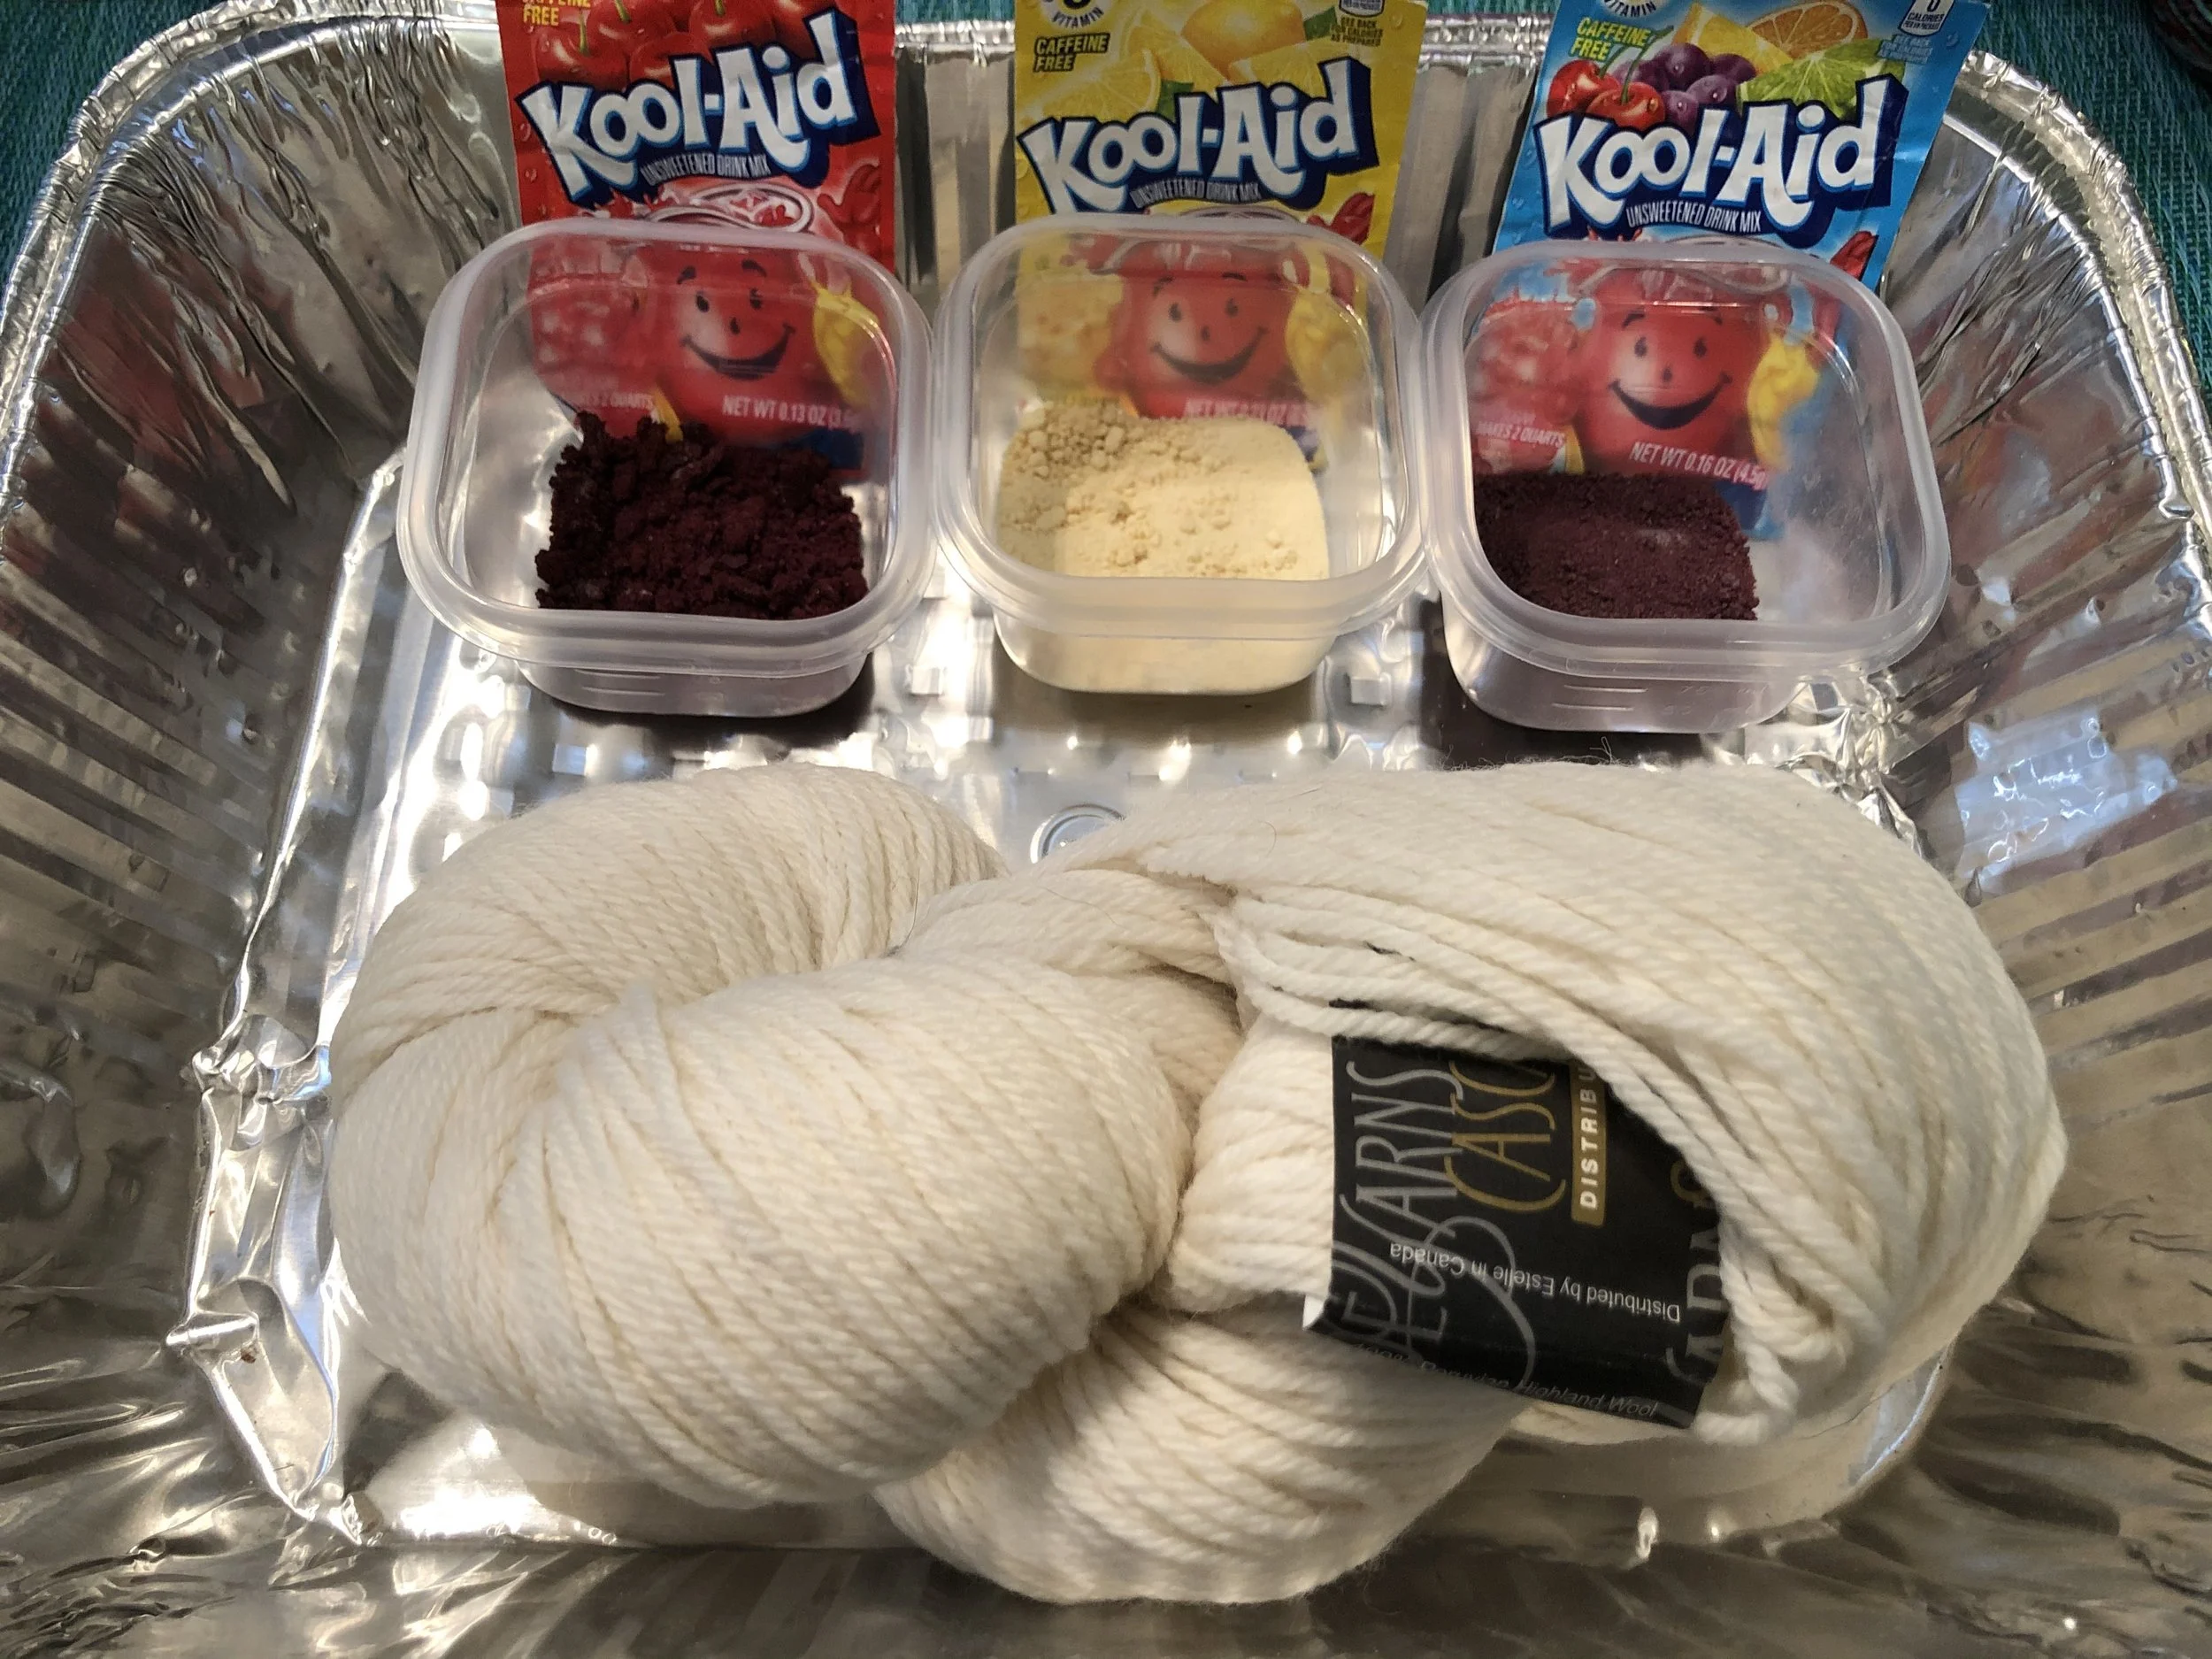
Although I’ve snow-dyed a few times before, I’ve only ever used Kool-Aid - which is obviously not a natural material! The method was simple and the results I achieved were fantastic. If you have little kids in your life, I highly recommend this fun project! All you need is some yarn, some Kool-Aid packets (sugar free!) and some snow, of course! Owen and I first dyed with snow and Kool-Aid a few years ago, when he was about 6, 7 years old. I recorded a video tutorial for my YouTube channel detailing the process we used.


Needless to say, I was eager to see what natural dye materials I could use to dye with snow. It’s a bit tricky, because a large component of natural dyeing involves heat to extract the color from the dye source. With some materials heat is the only way to get the materials to release color. I had a few things I wanted to try. I thought about how snow dyeing is typically done with a powdered dye. The Kool-Aid is in powdered form, and acid dyes come in powdered form. Natural dyes are also sold in powdered form, though I normally forage for my dye materials, rather than purchase them. I had a few things in mind and decided to just go for it. Here’s what I ended up trying:
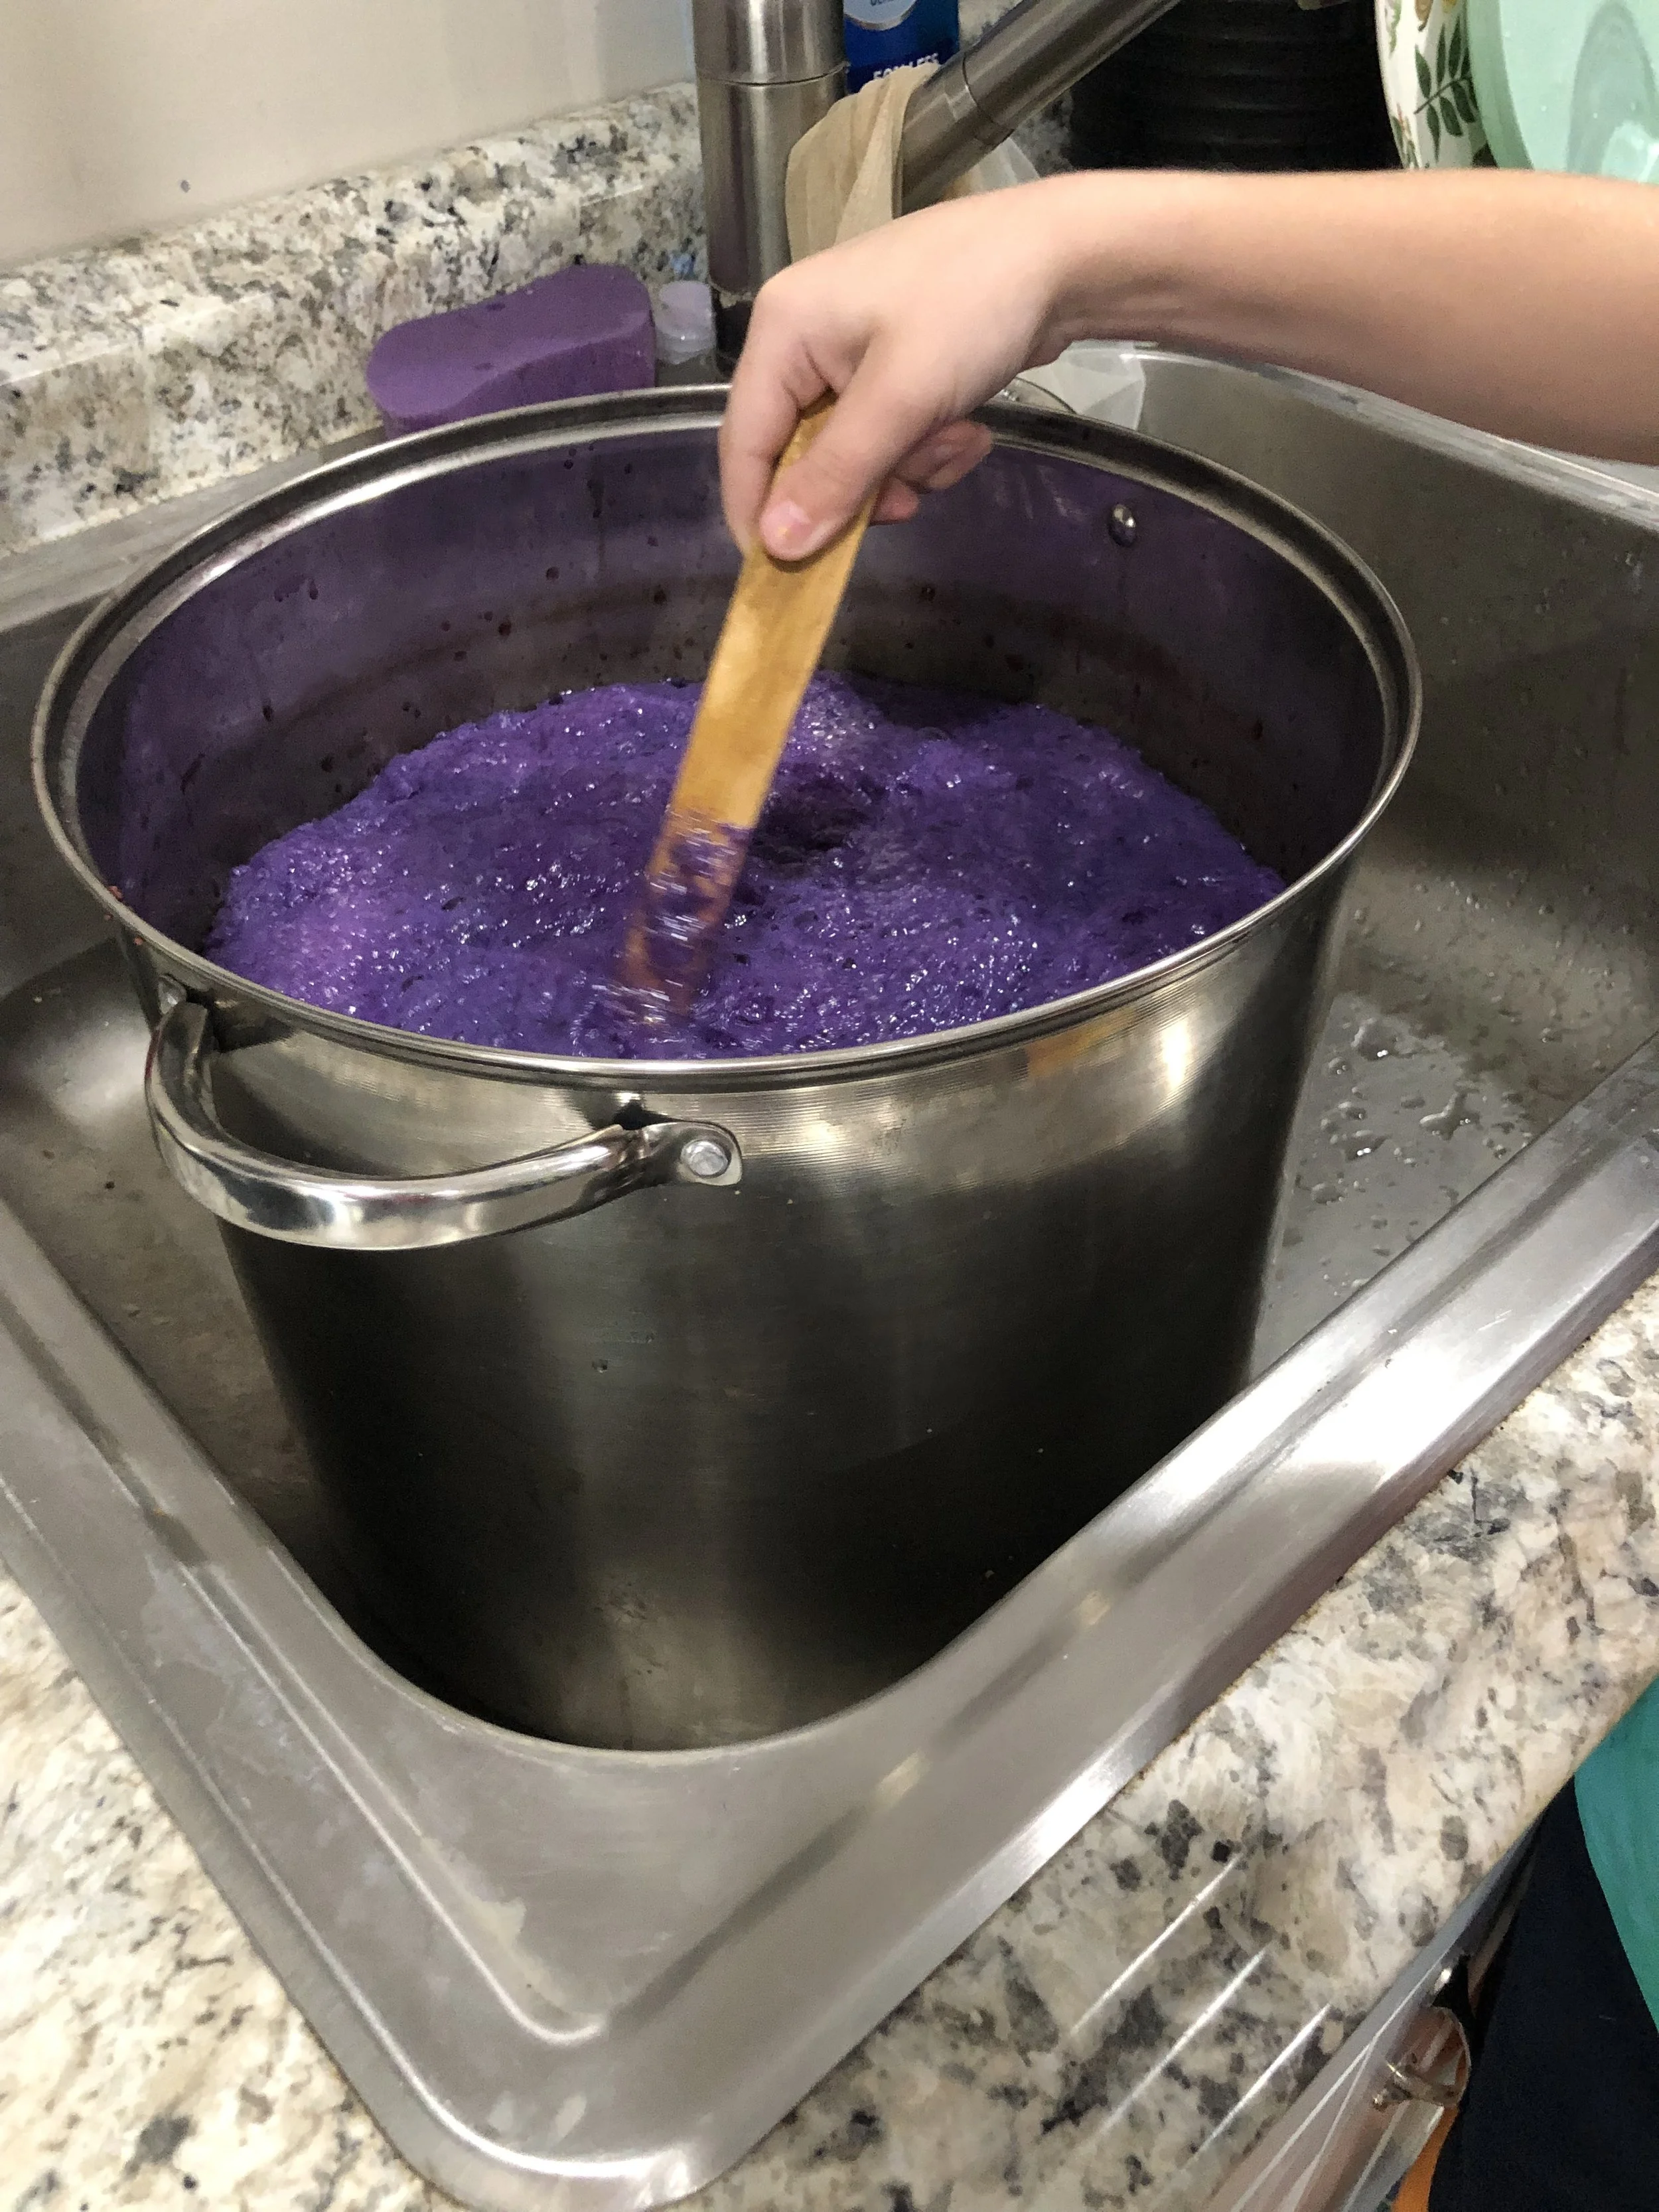
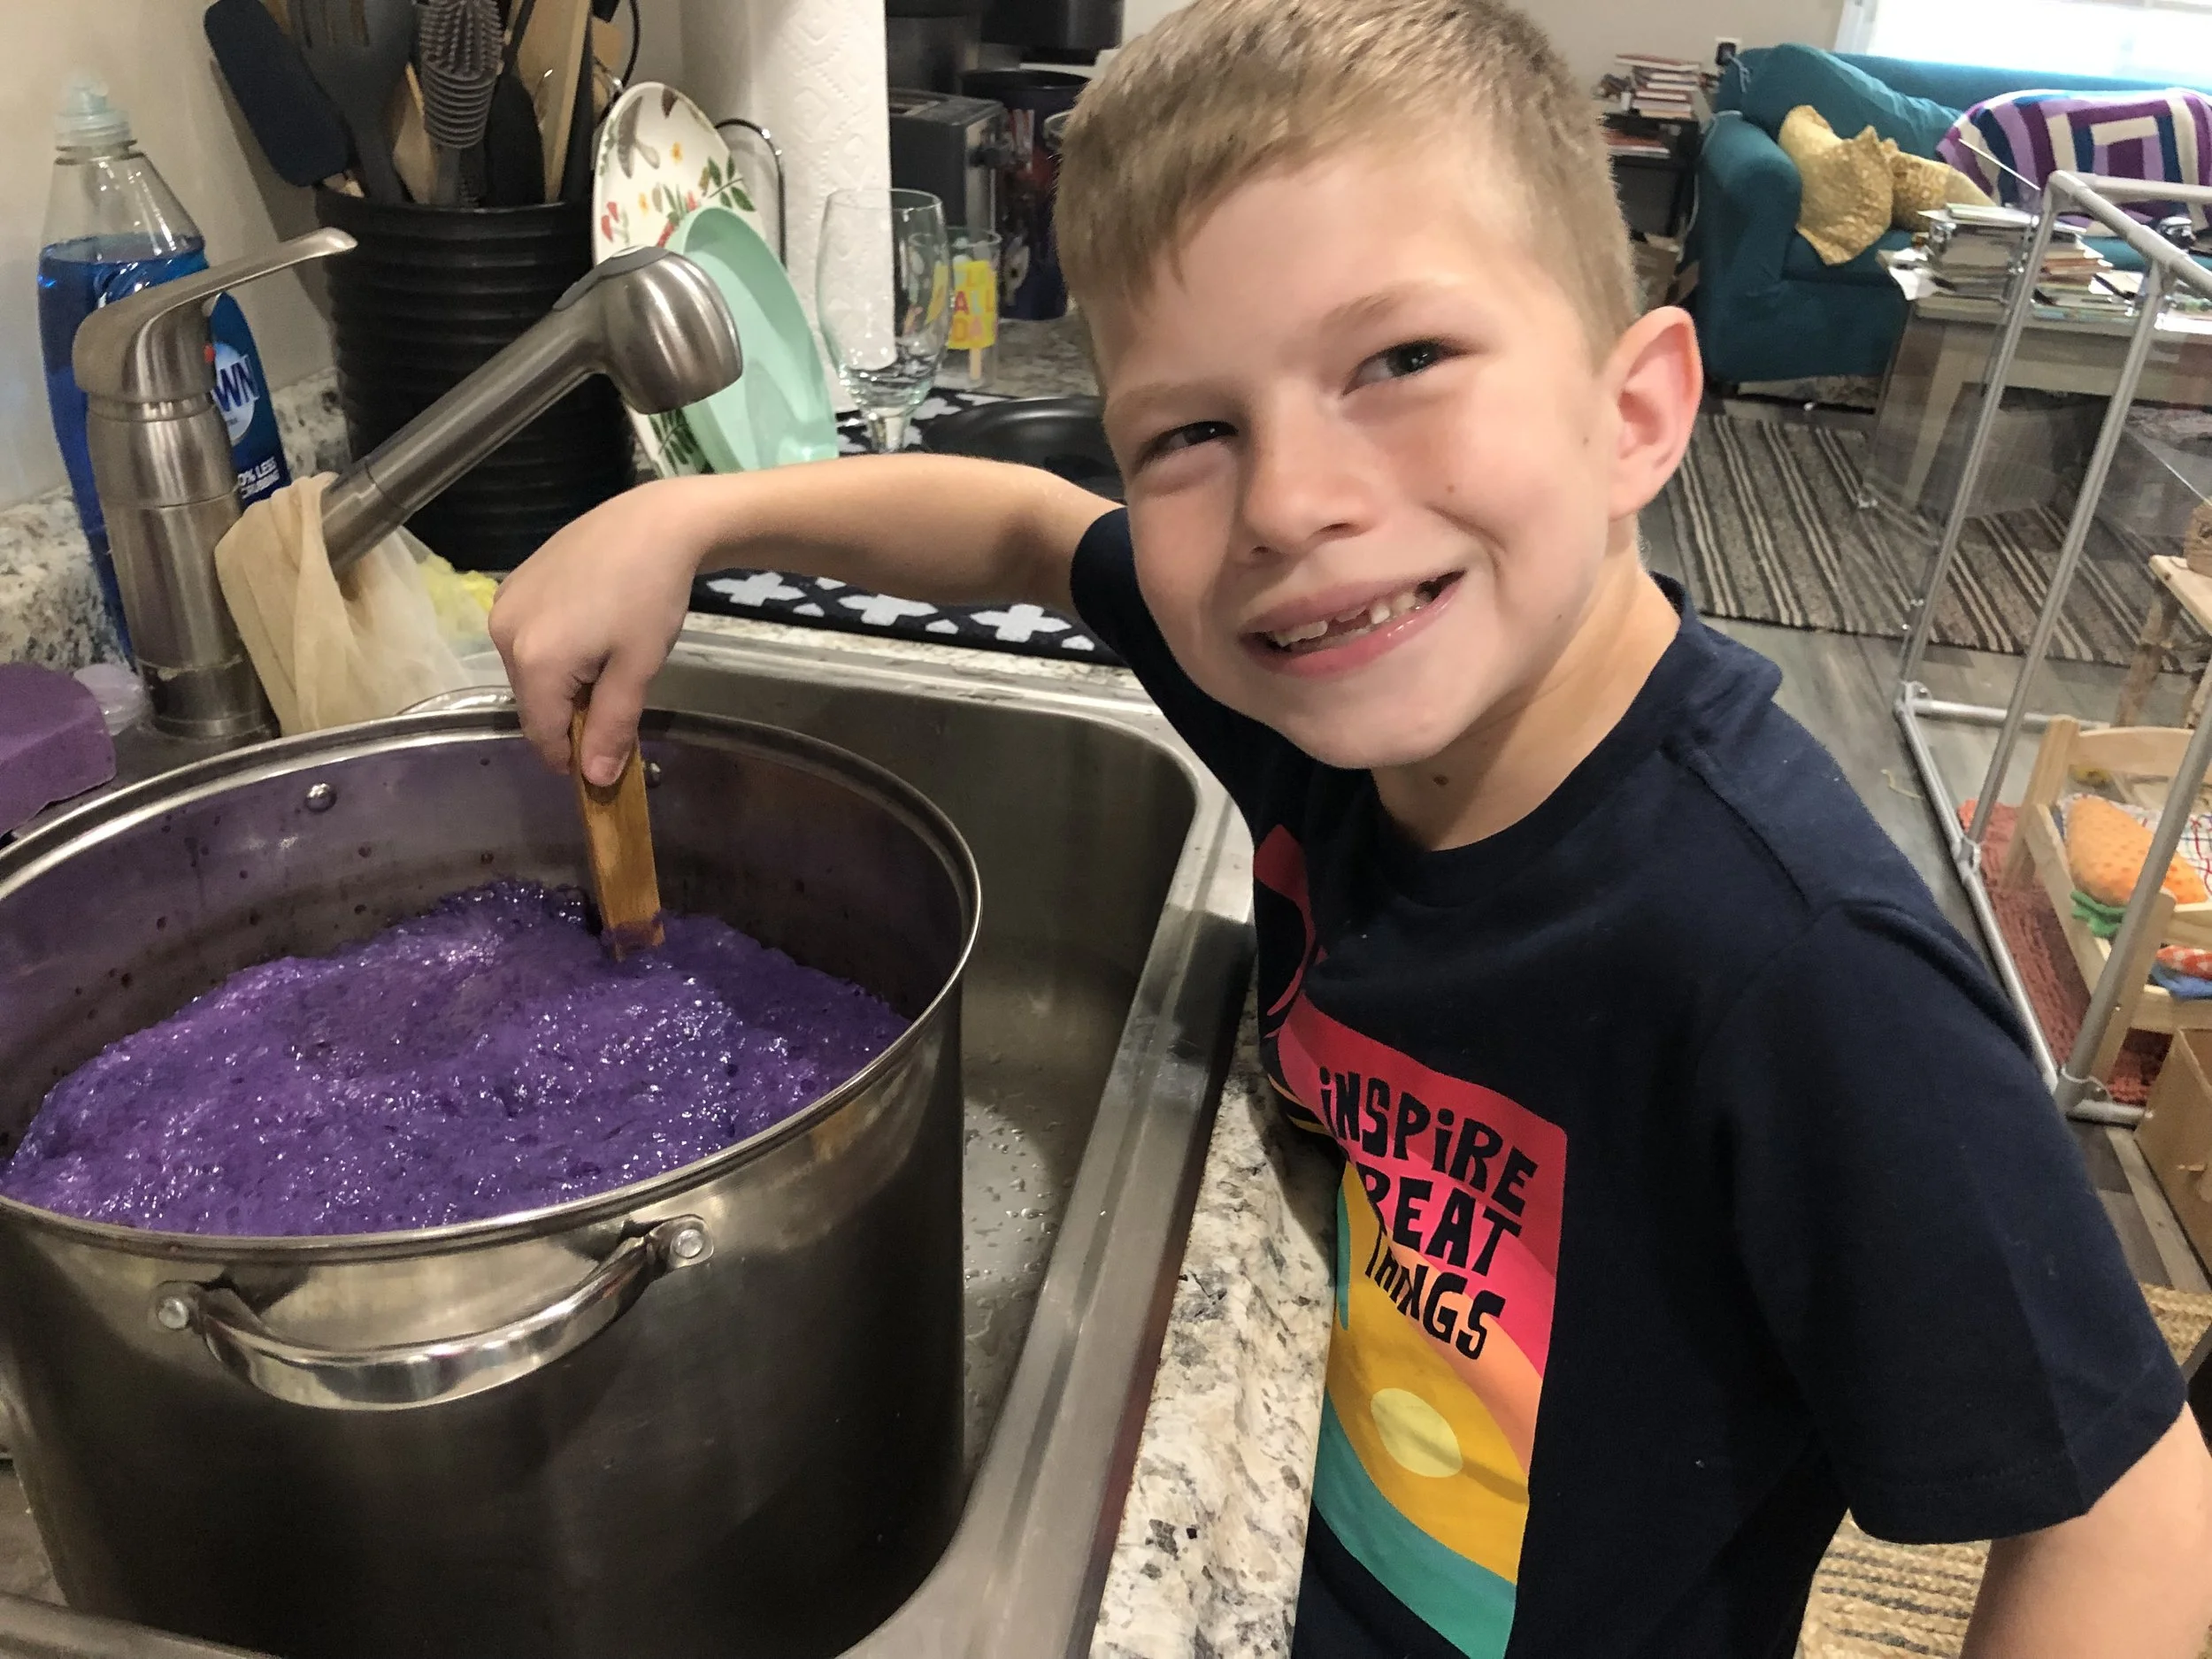
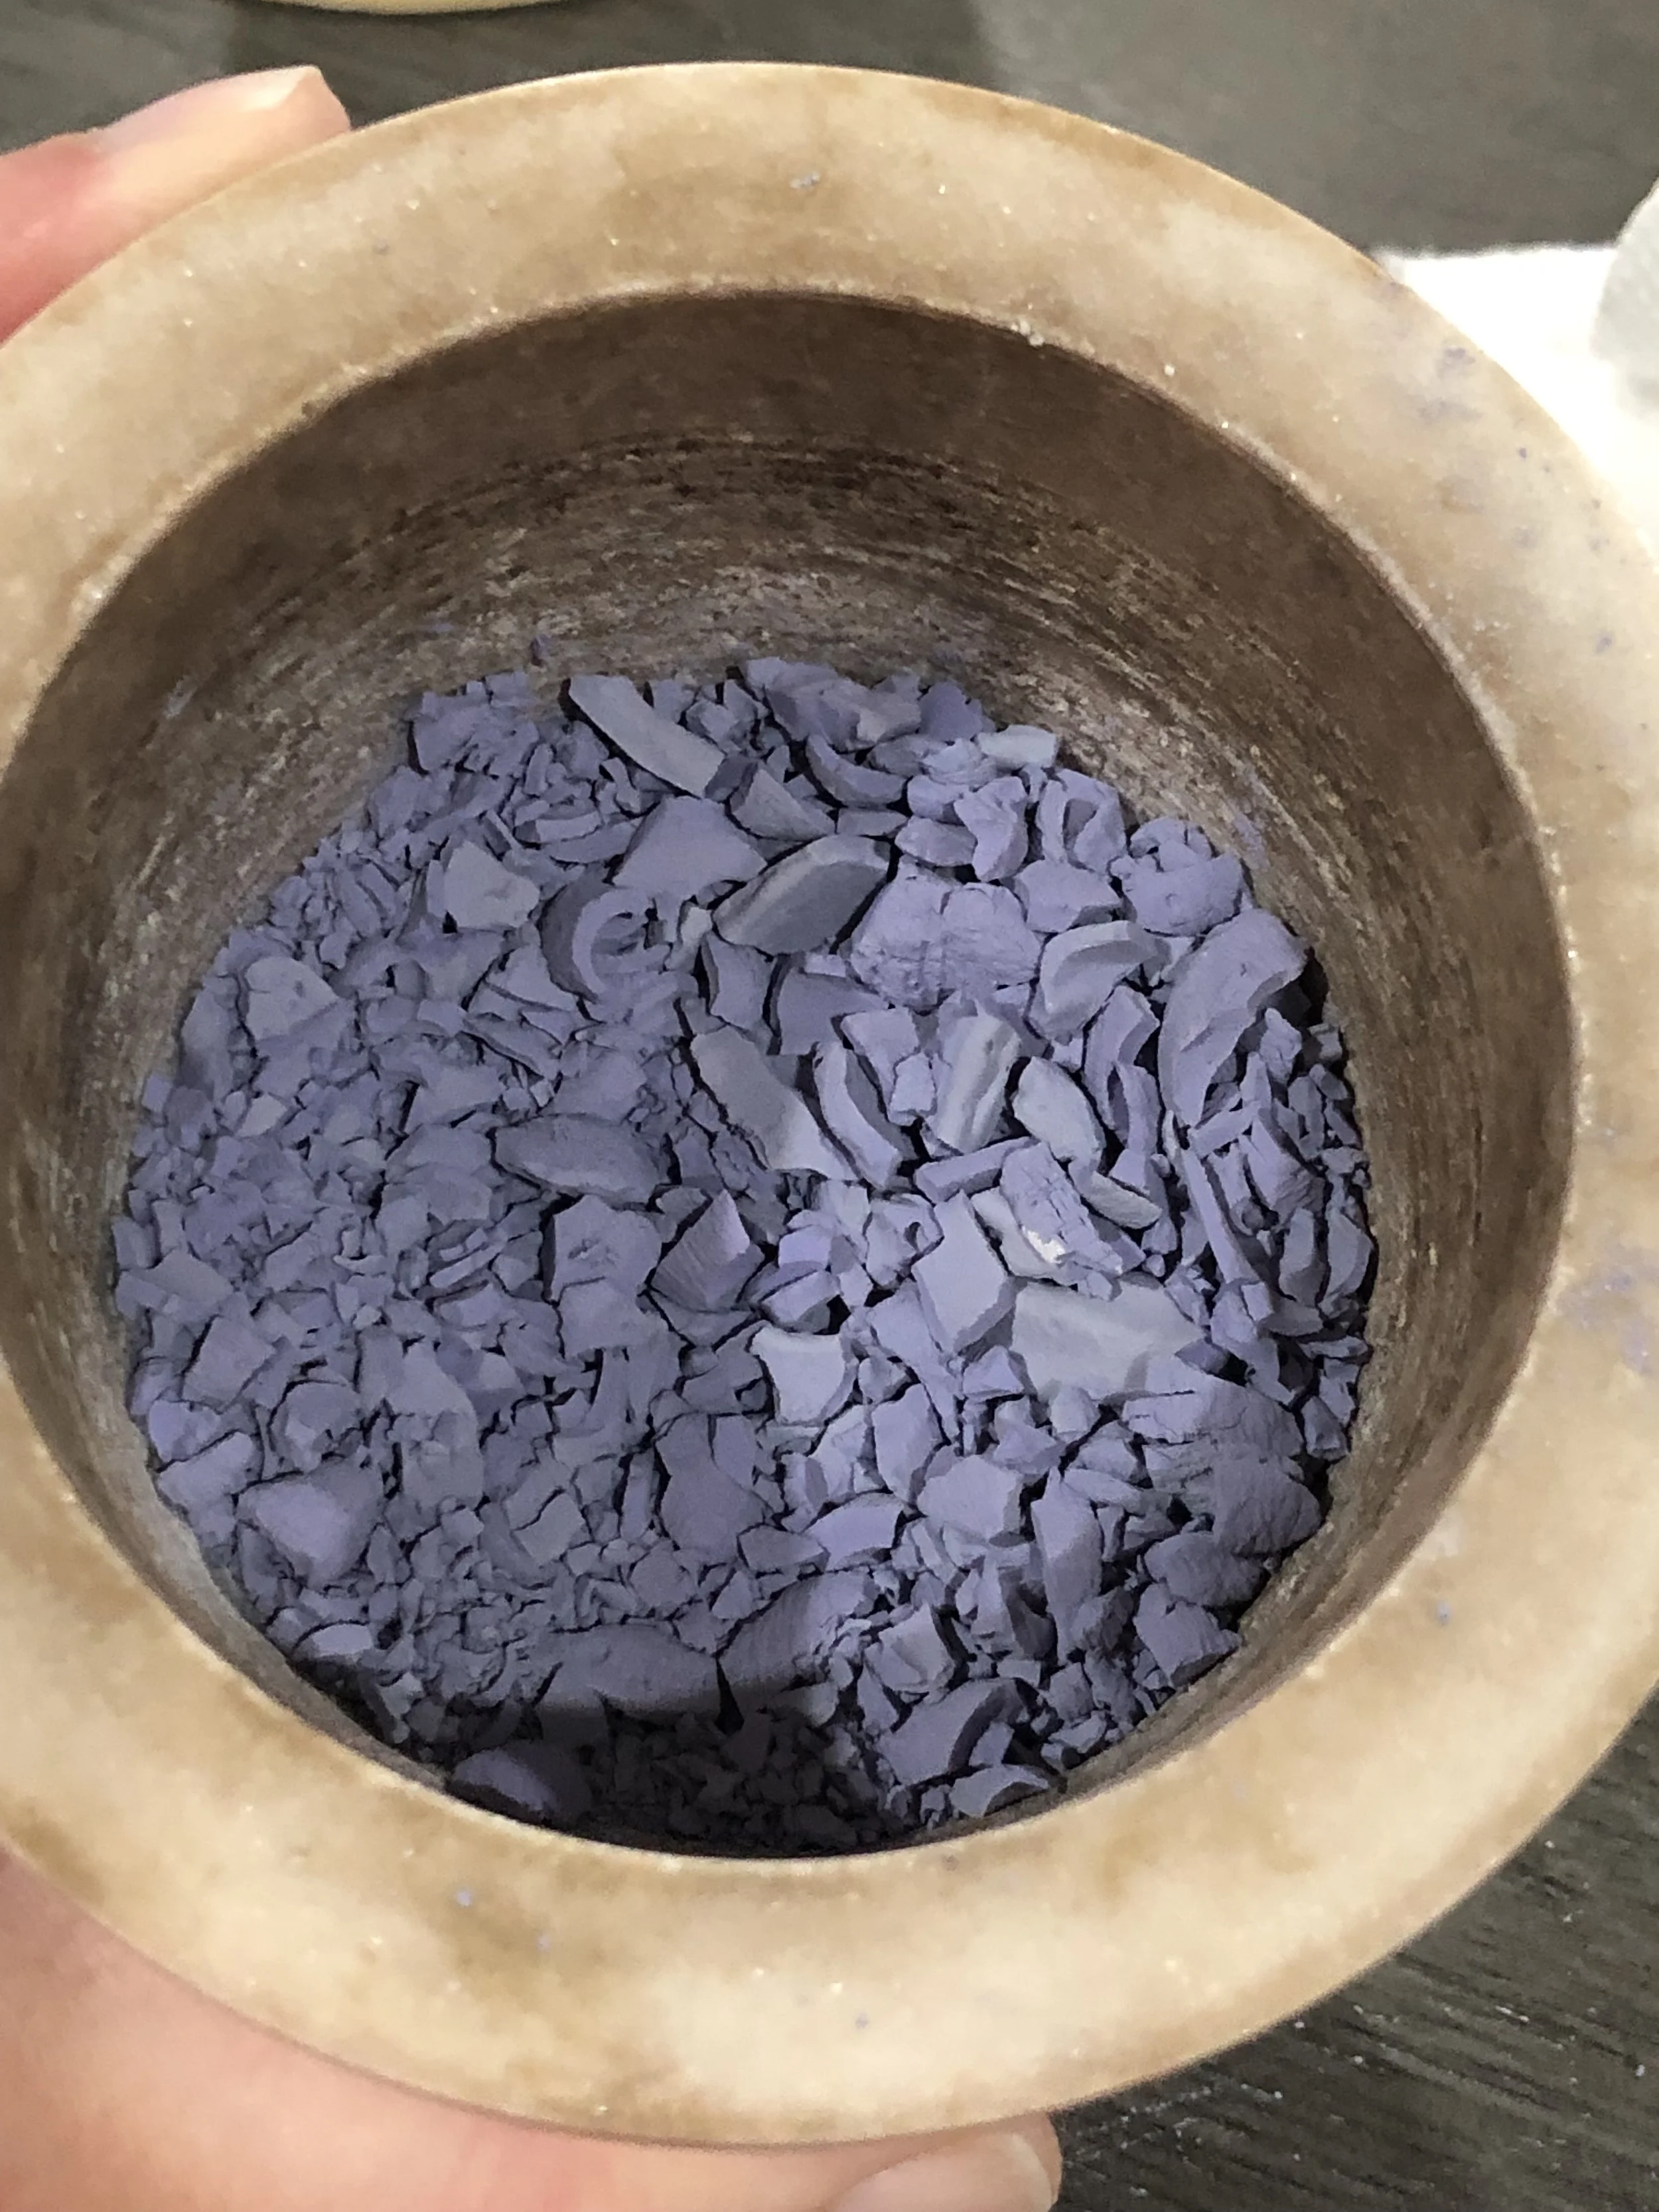
First, a couple of summers ago, I played around with making lake pigments, which is when you reduce the liquid dye into a powdered form. I had two bags of powdered lake pigments - one was mulberries from a backyard tree that has since been chopped down (not my house so I don’t get a say!) - and one was a goldenrod dye bath that was leftover after being used as a dye. Spoiler alert - neither of these worked, even though both materials are strong dyers (although berries are fugitive) I know now that there’s a chemical reason for this. In lake pigment form the colorants are insoluble, meaning they won’t release color with water (so snow or ice melting wouldn’t work.) The lake pigments need a binder, such as linseed oil or gum arabica, in order to disperse. These are used to make paints. I’m eager to make lake pigments again and then use them properly to create watercolor paints! That was actually my original plan, but it’s been two years and I hadn’t yet gotten around to it, so I figured, why not try it for the snow dye?? Here’s a few throwback photos to when Owen and I made the mulberry lake pigment.
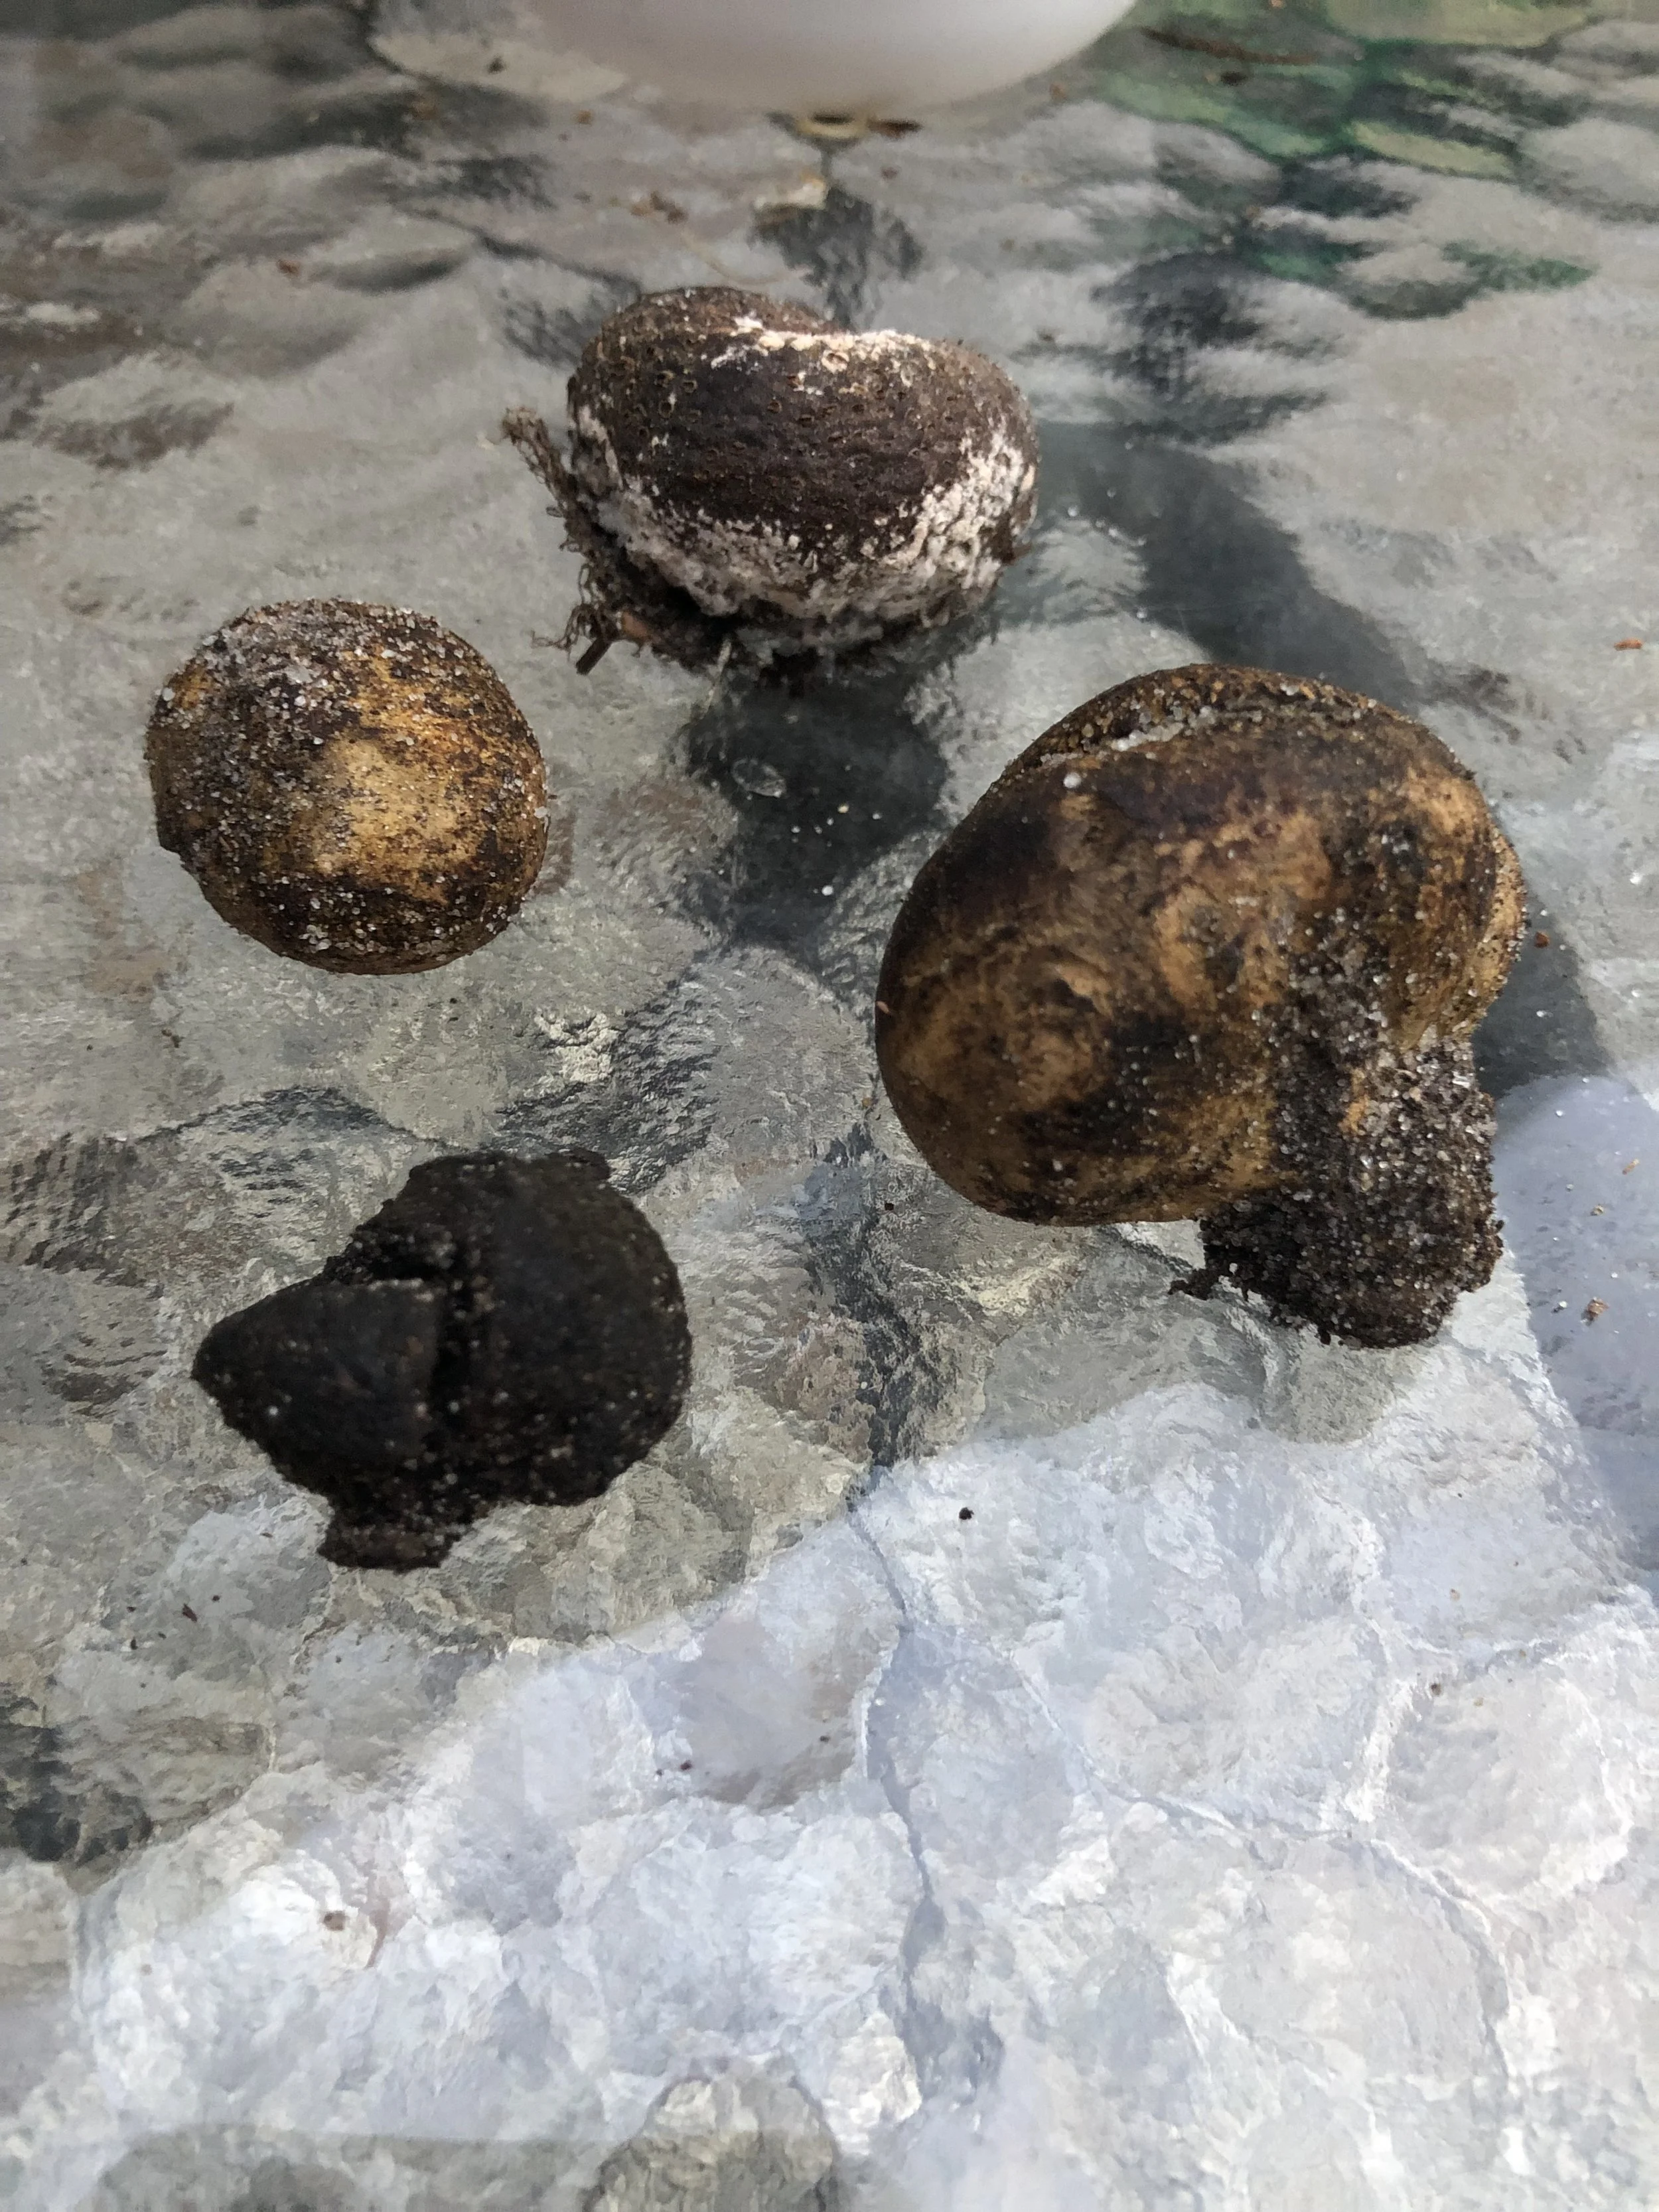
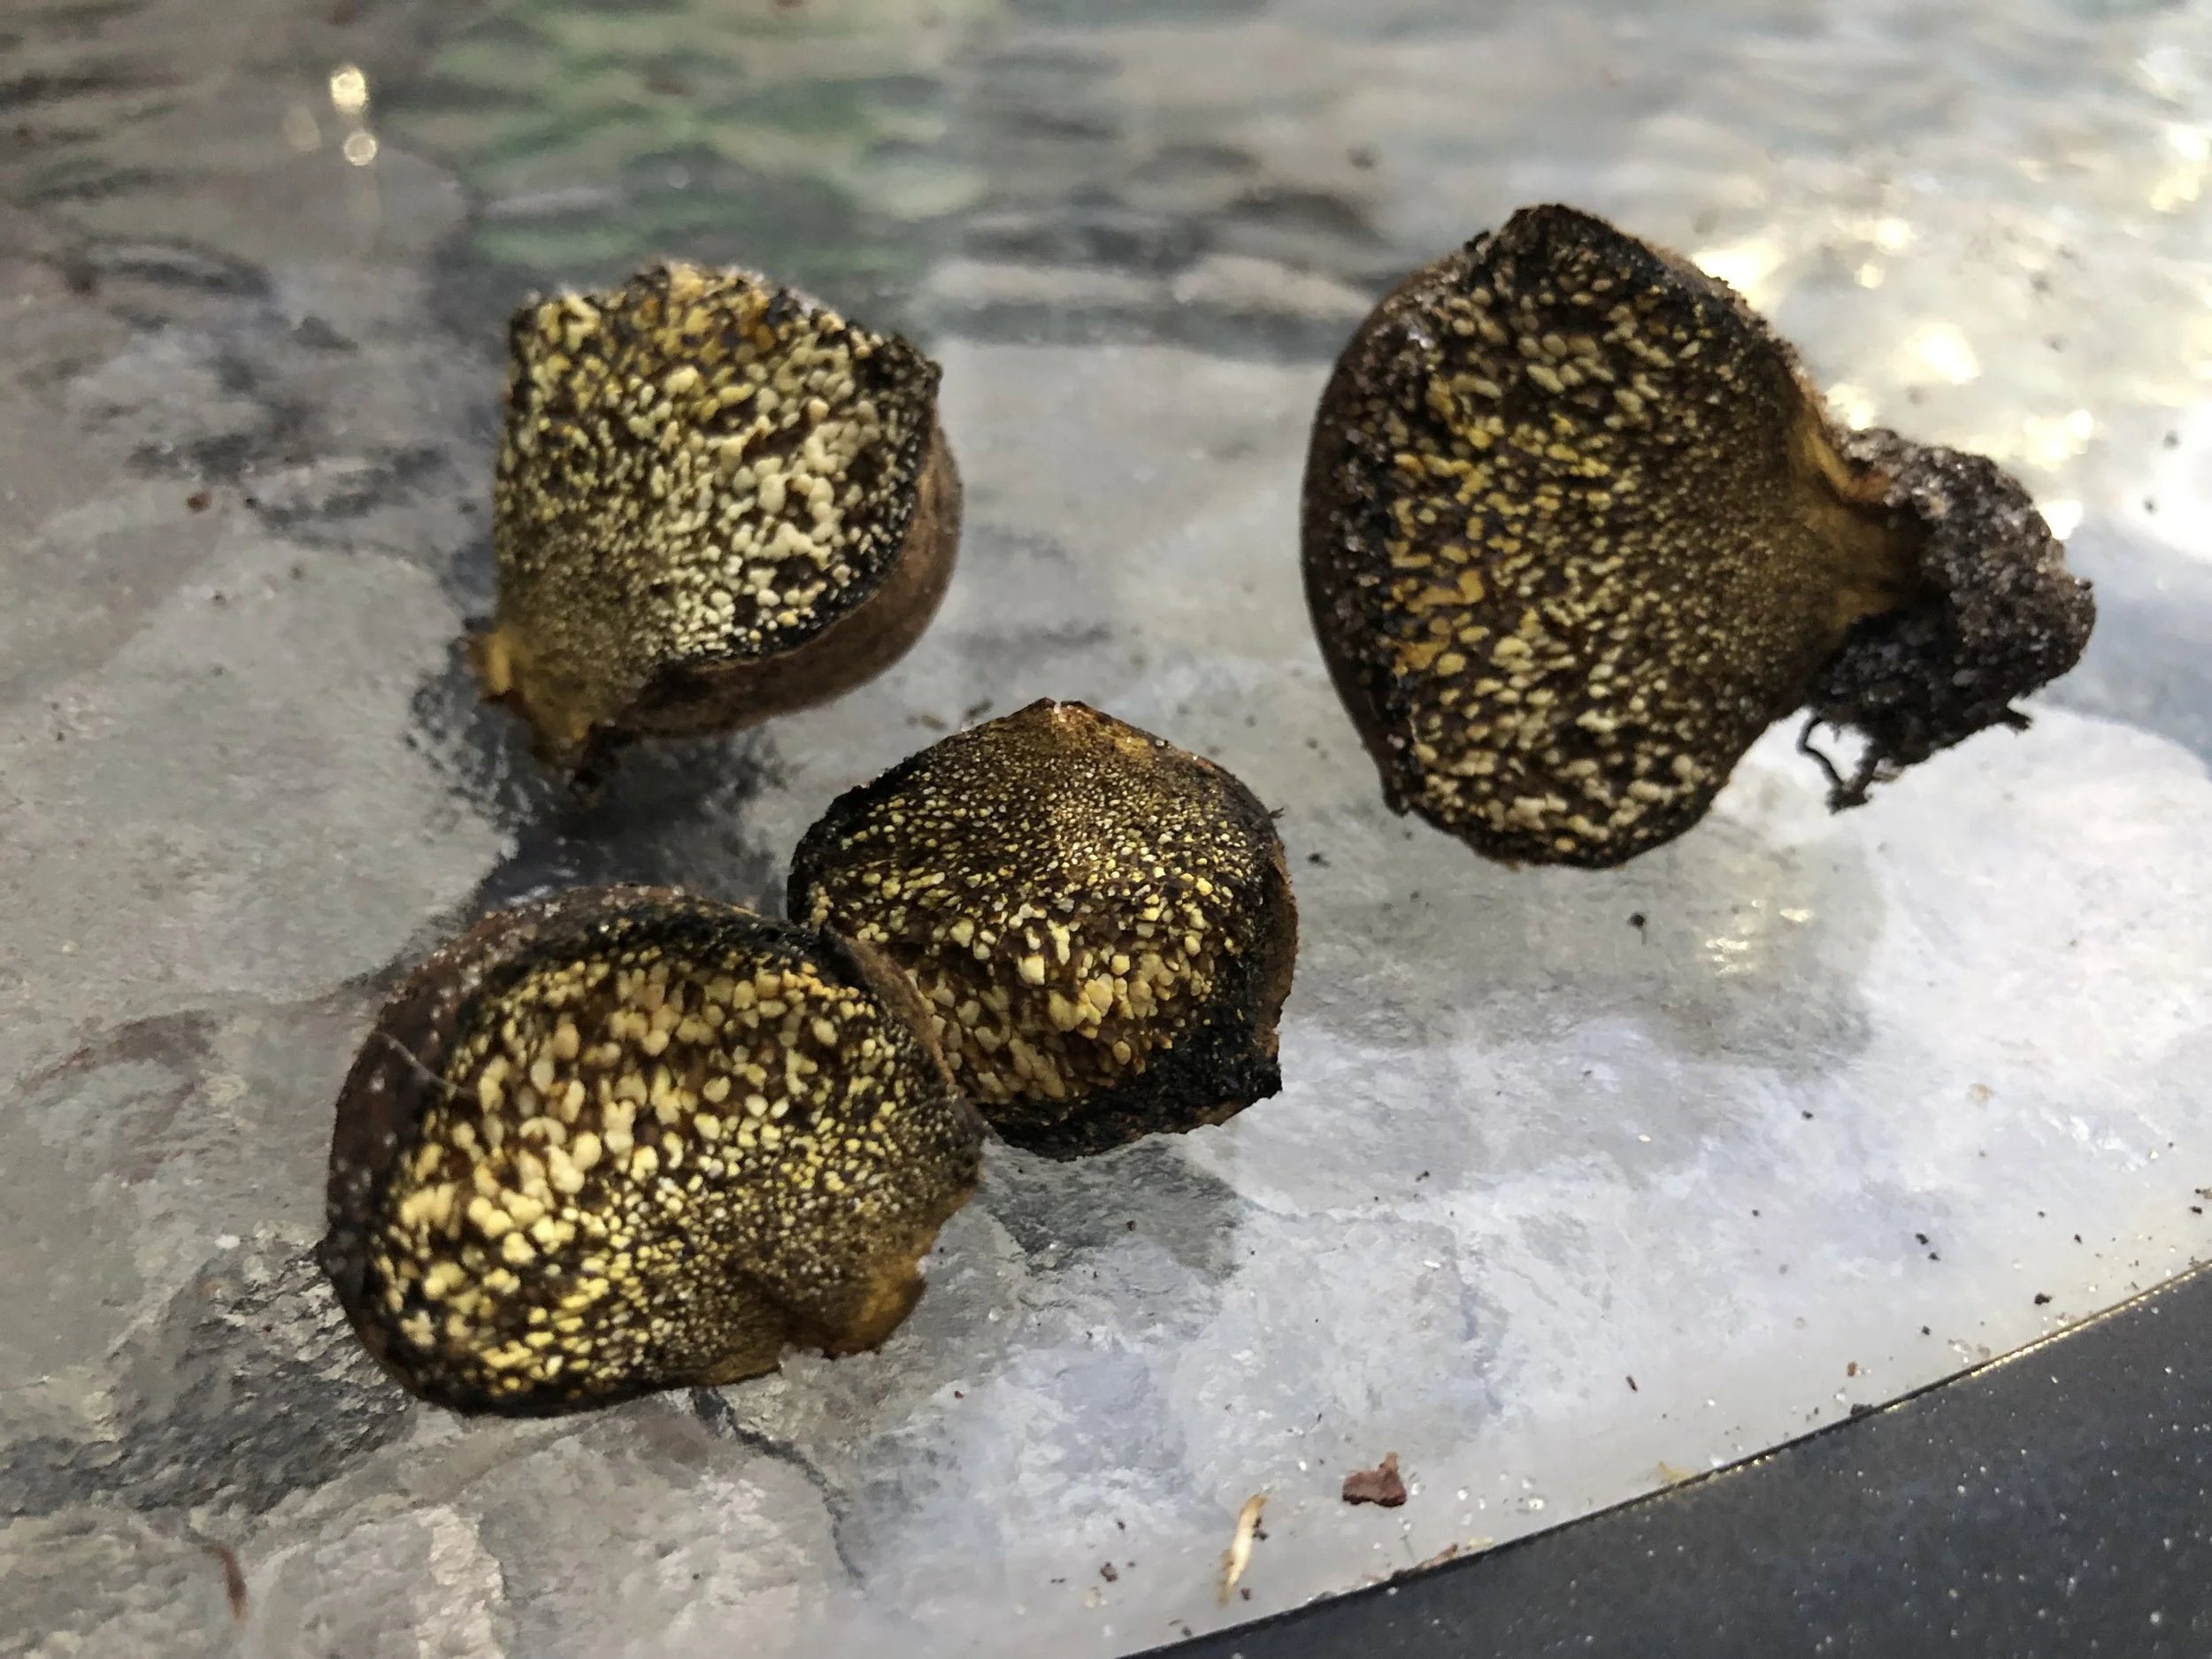
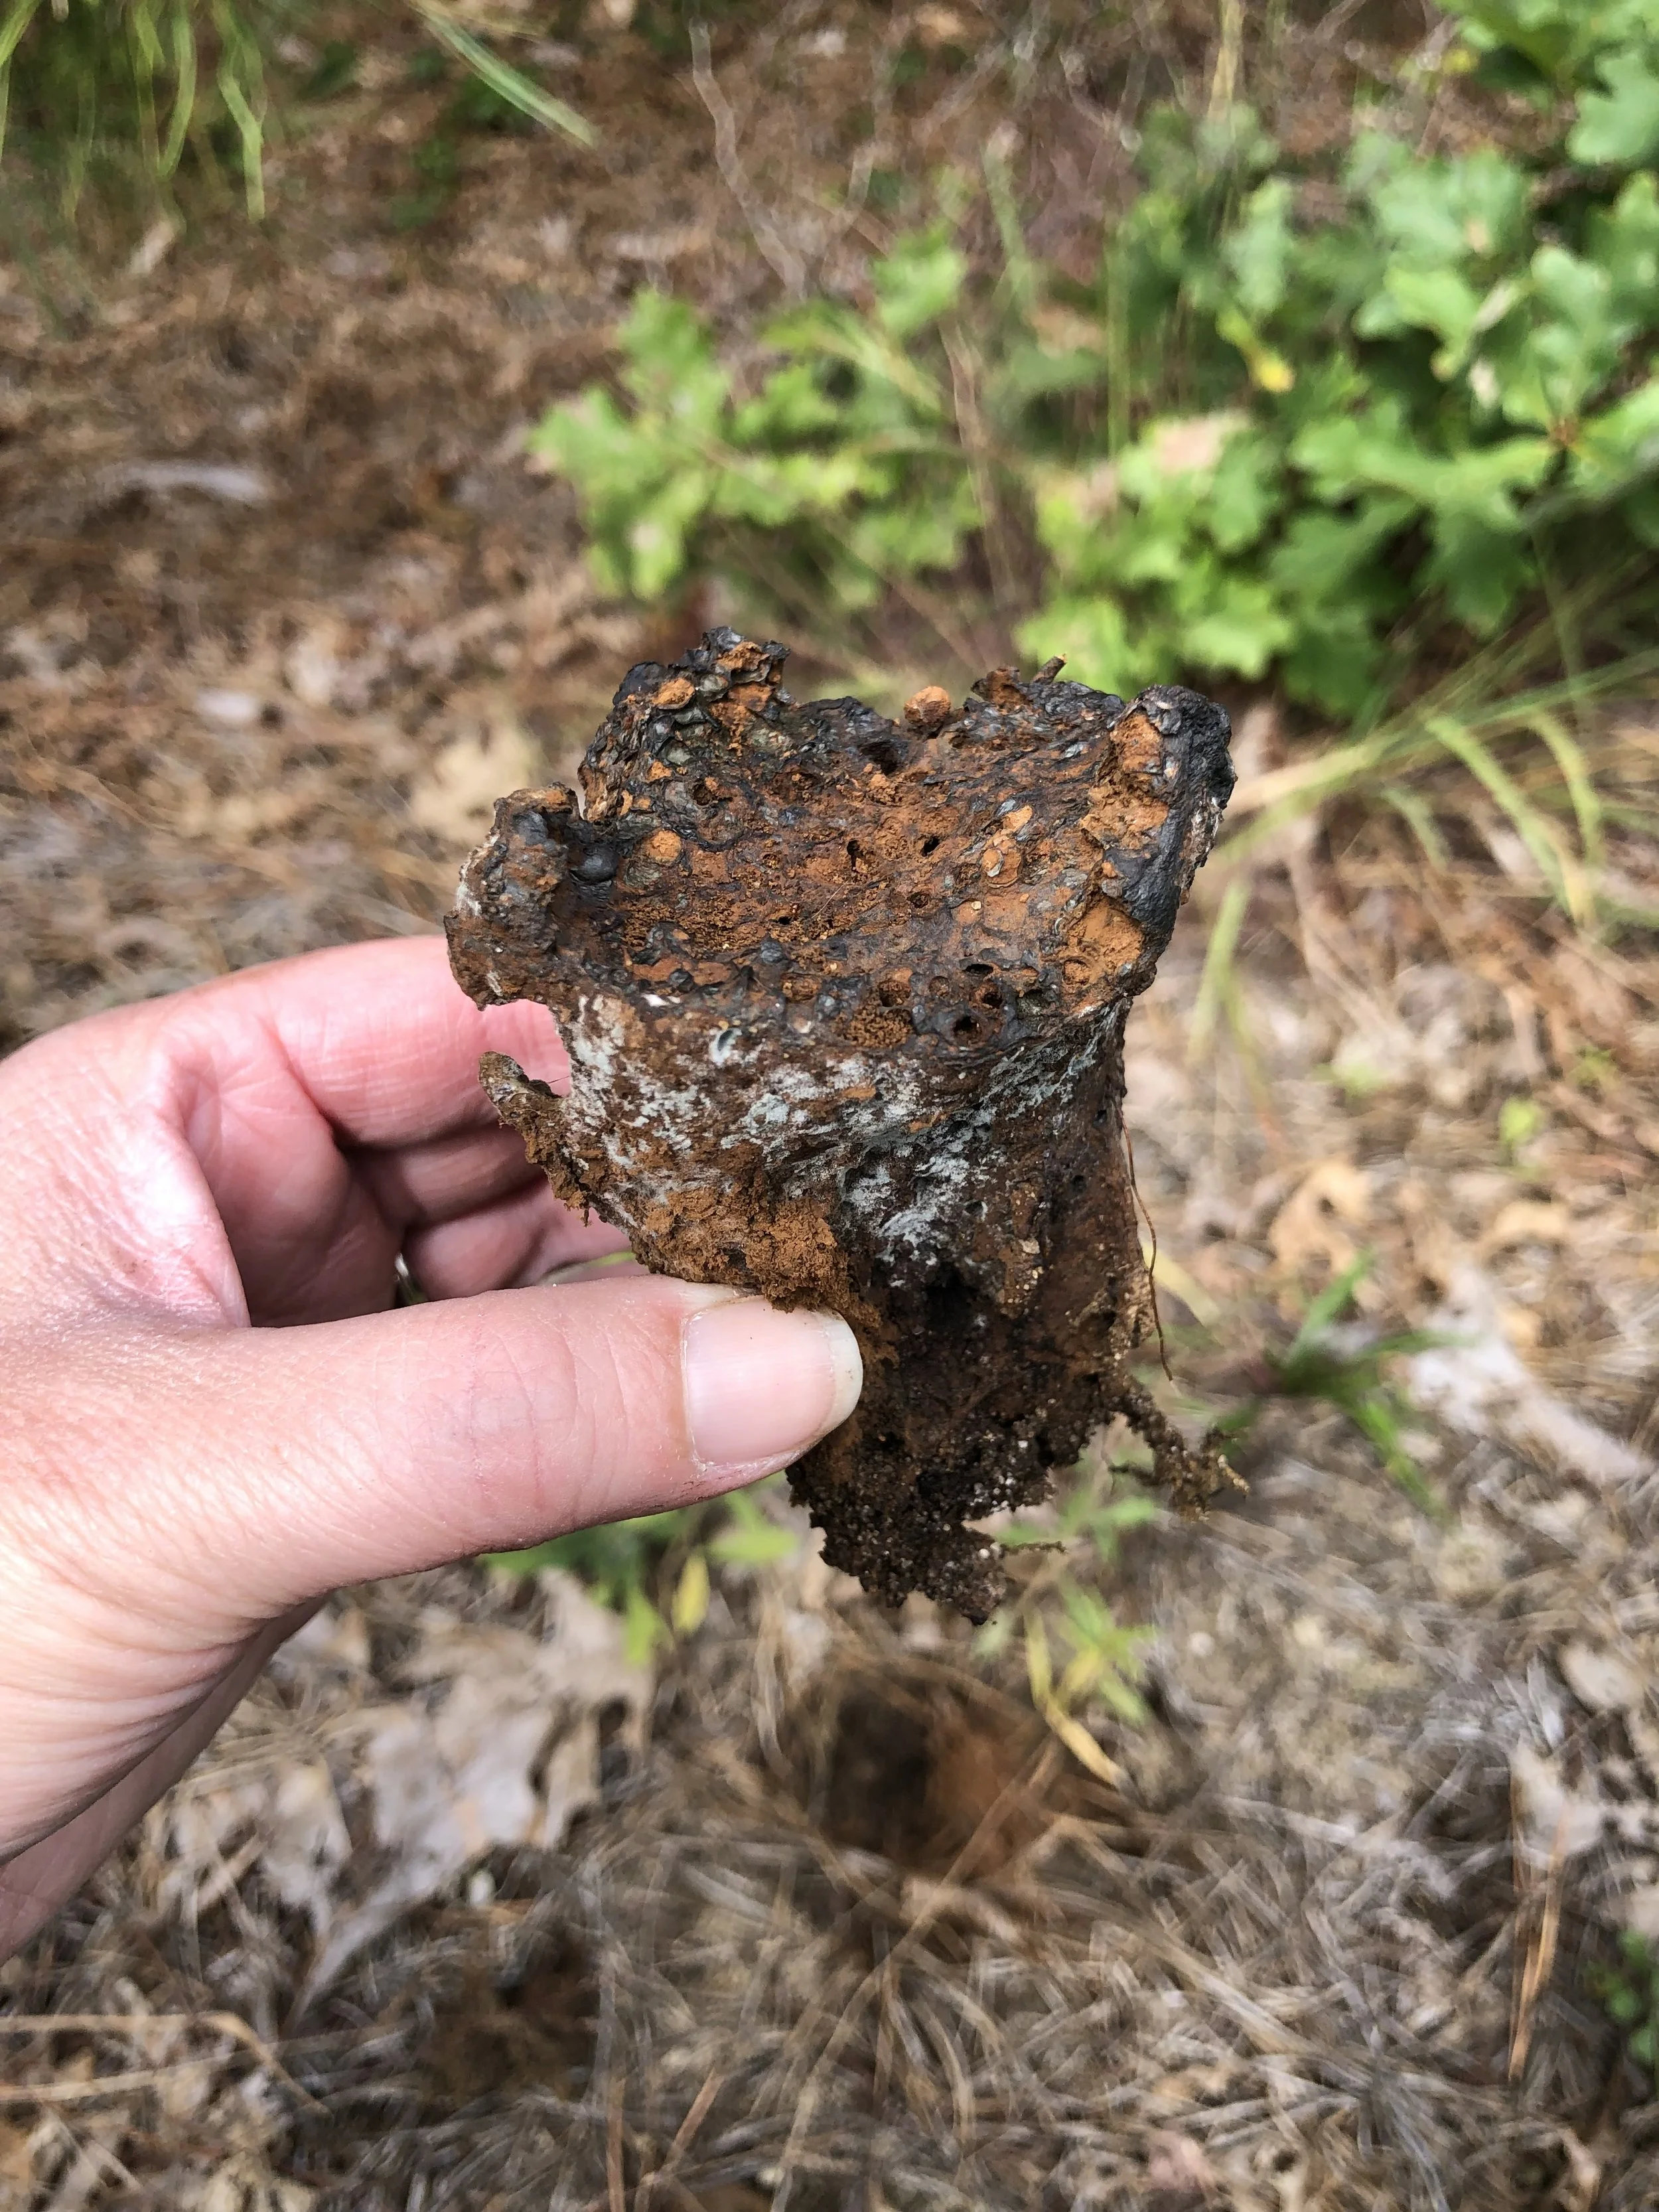
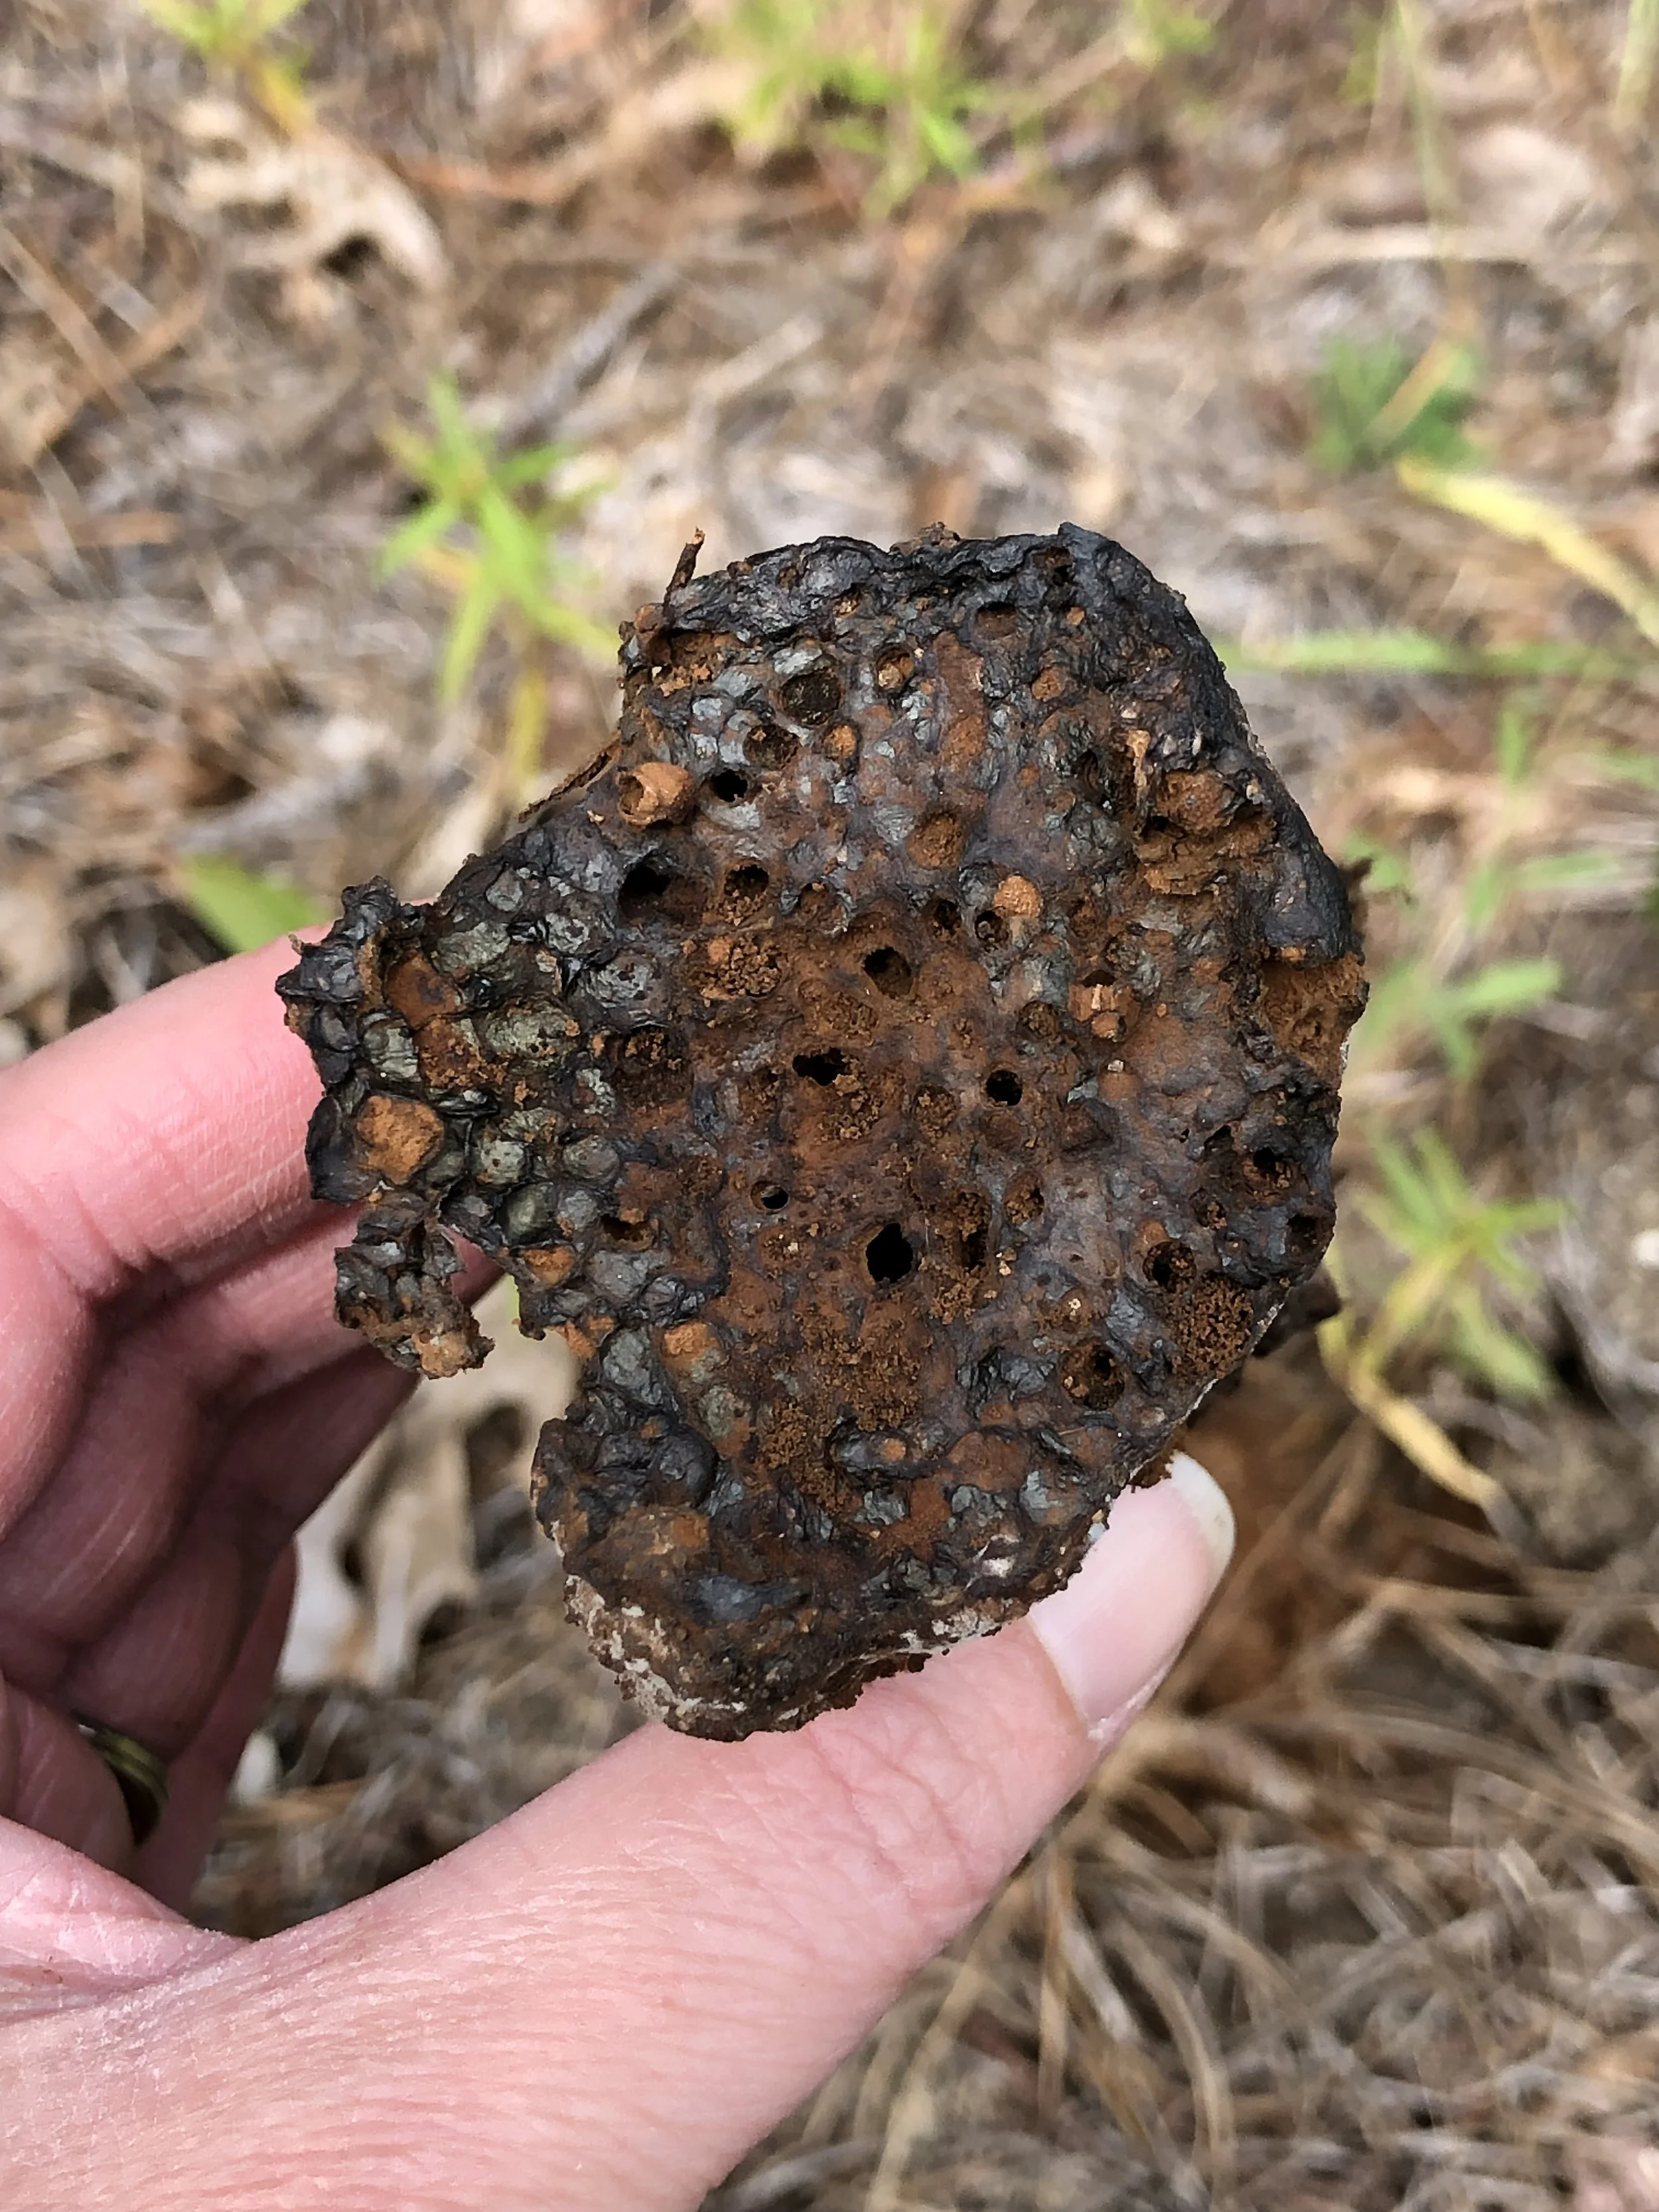
The next material I had on hand was a fungus called Pisolithus arhizus (aka Deadman’s foot). This fungus is interesting because as it matures the mushroom transforms into a powder of cinnamon-colored spores, which makes it difficult (though not impossible) to dissolve in water. I figured this one was worth trying, and I was right! This is a very potent dye mushroom and due to the nature of it turning very powdery it was the perfect specimen for experimenting with. This fungus produced various shades of brown dye. Here are a few pictures of what this mushroom looks like when foraged.
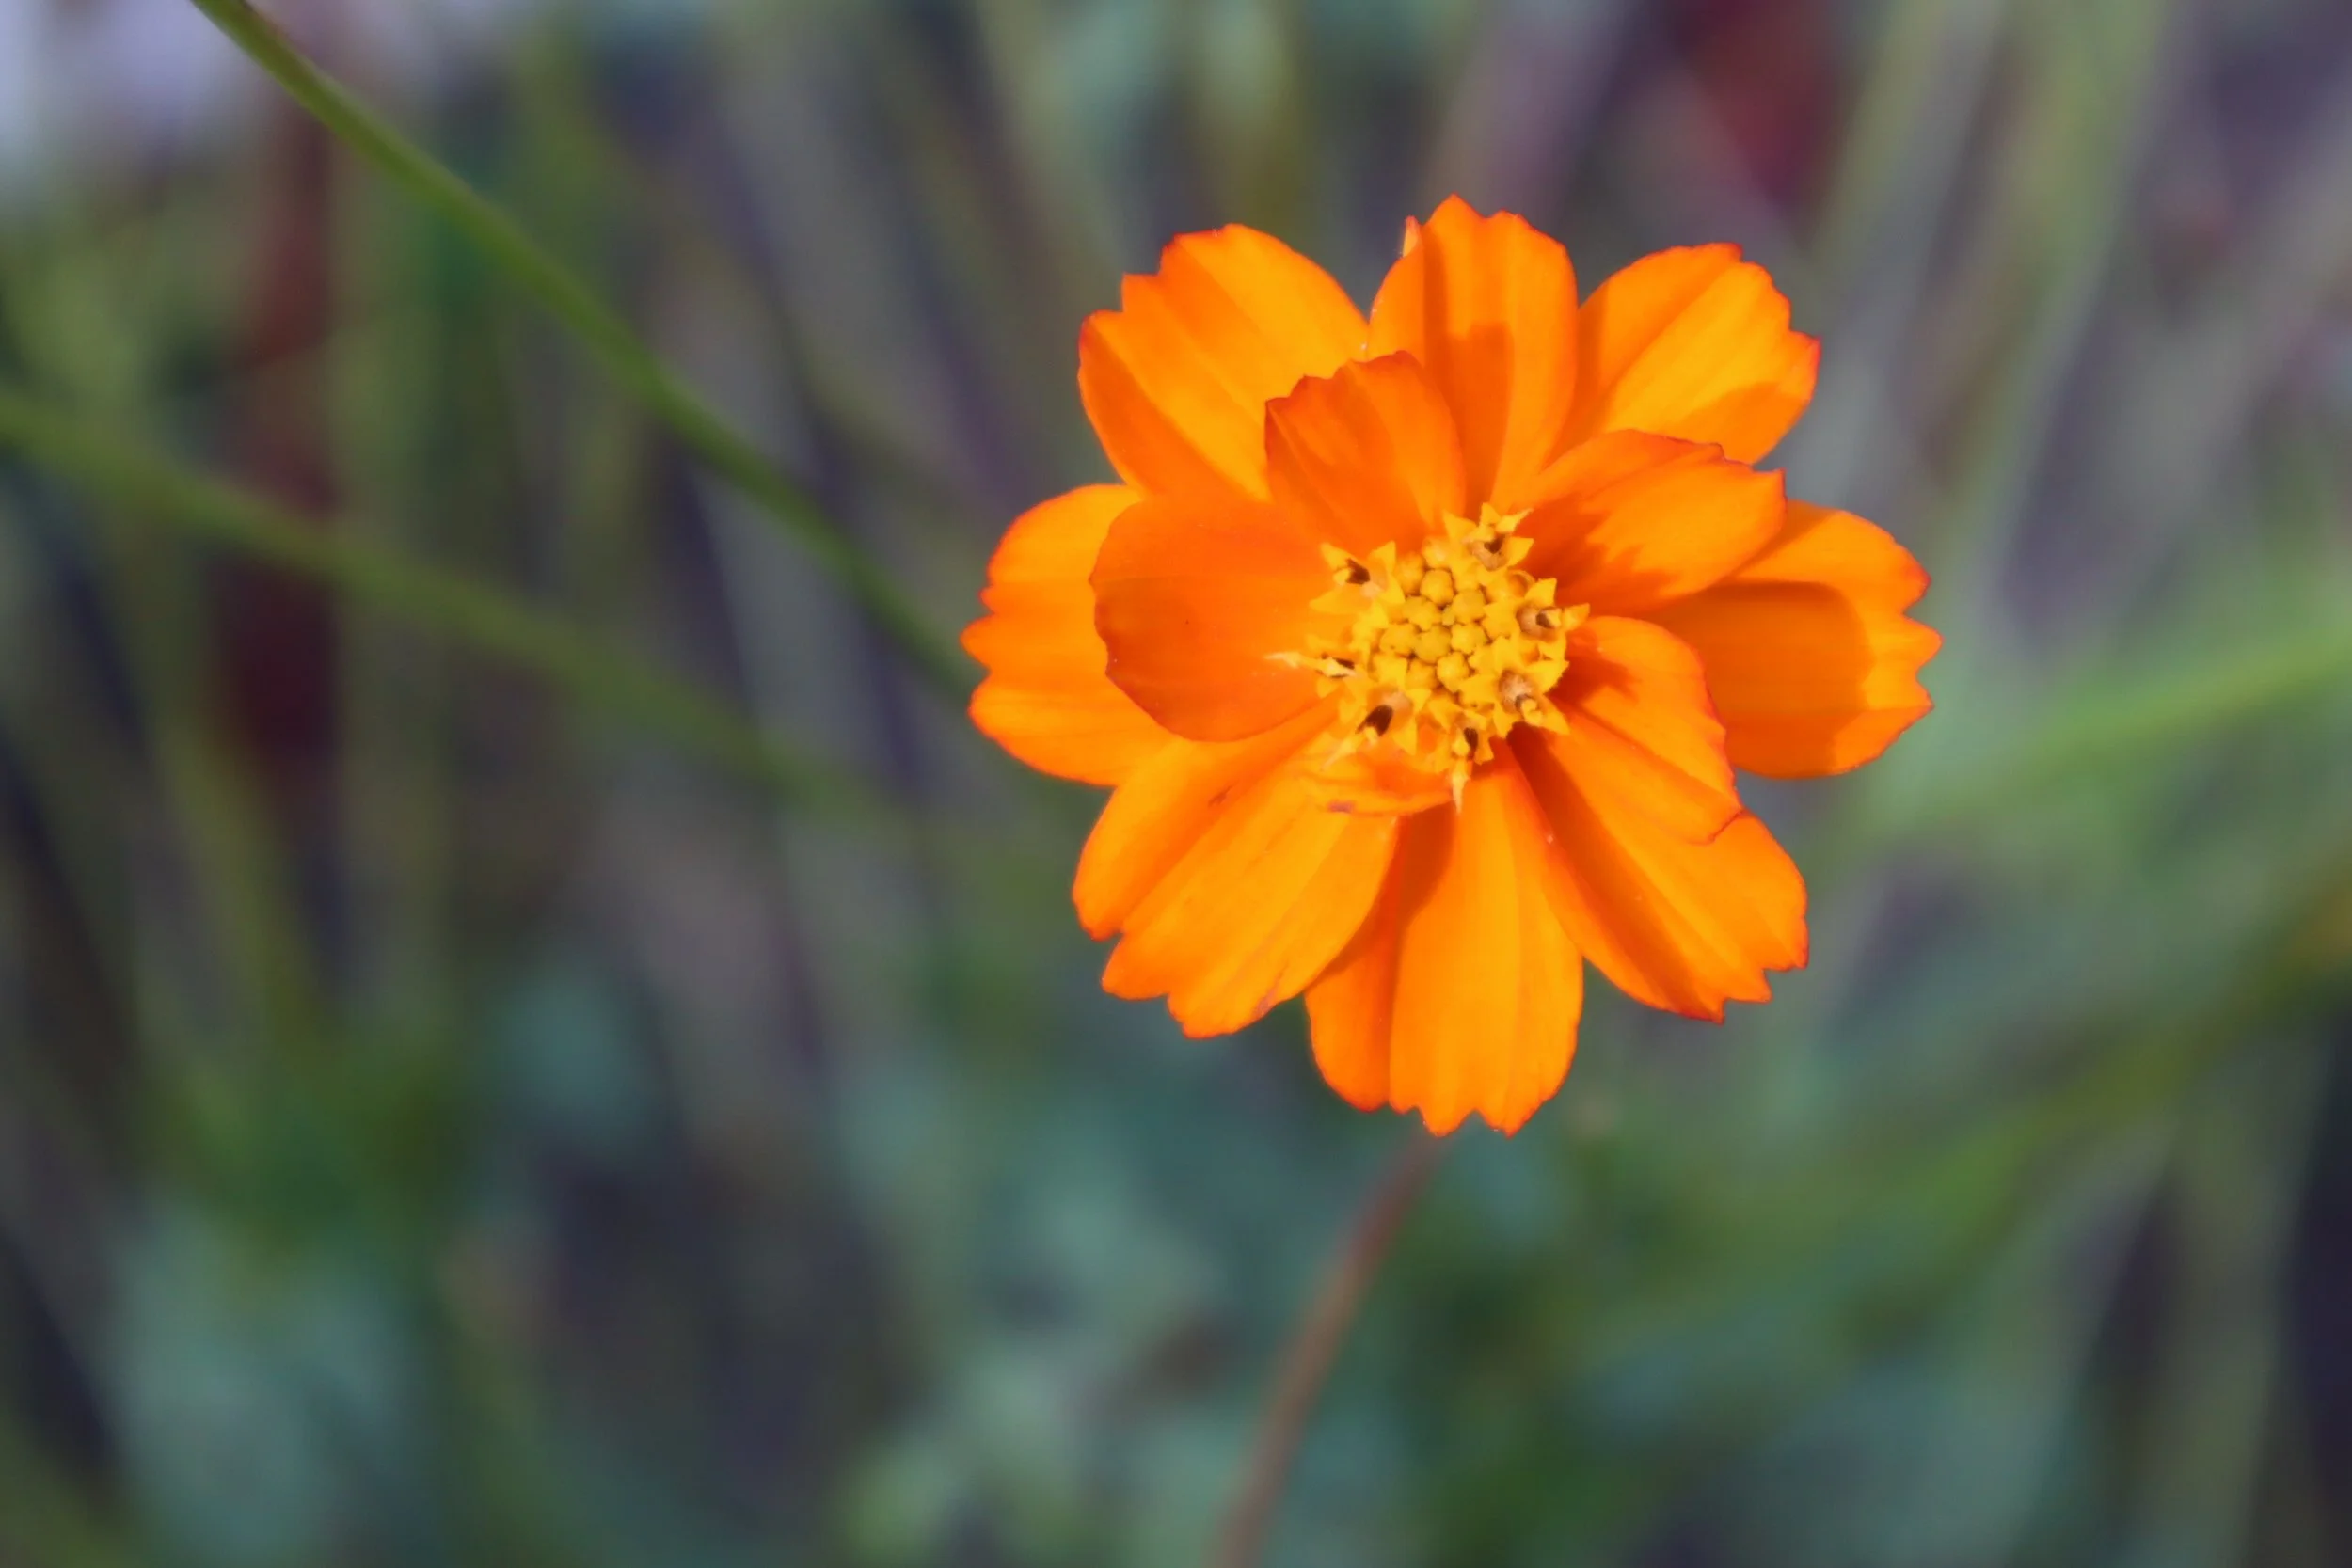
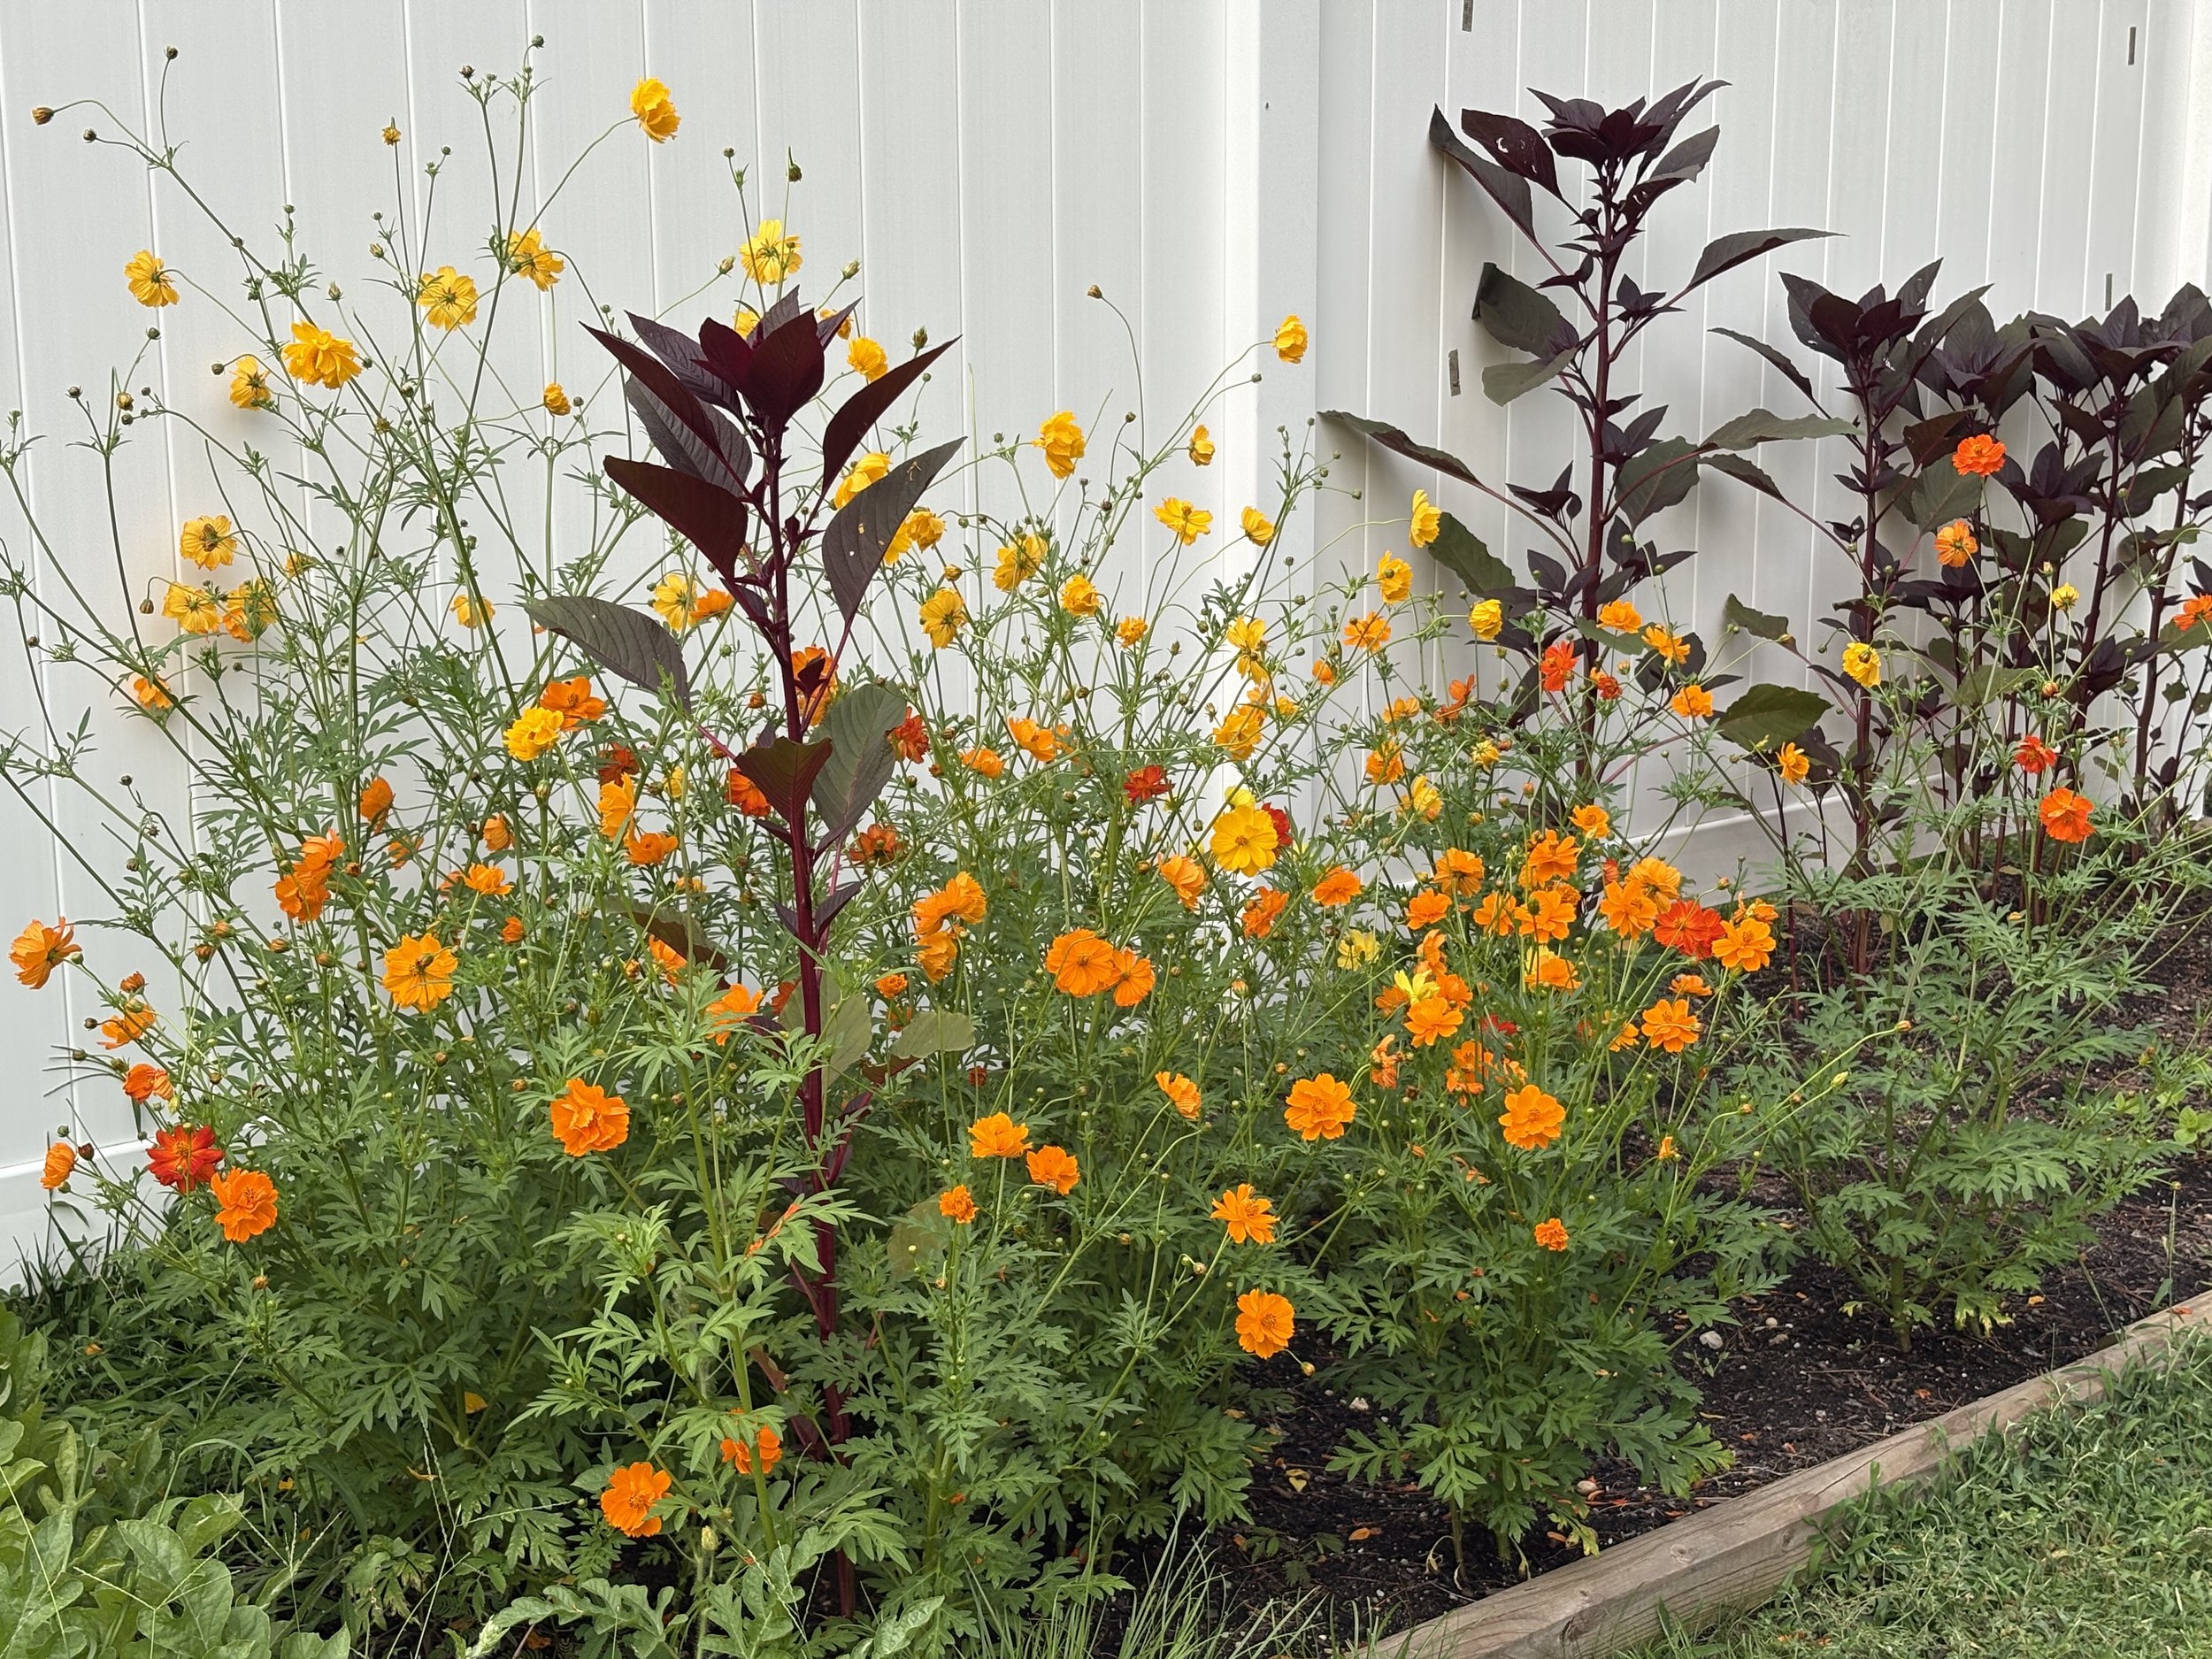
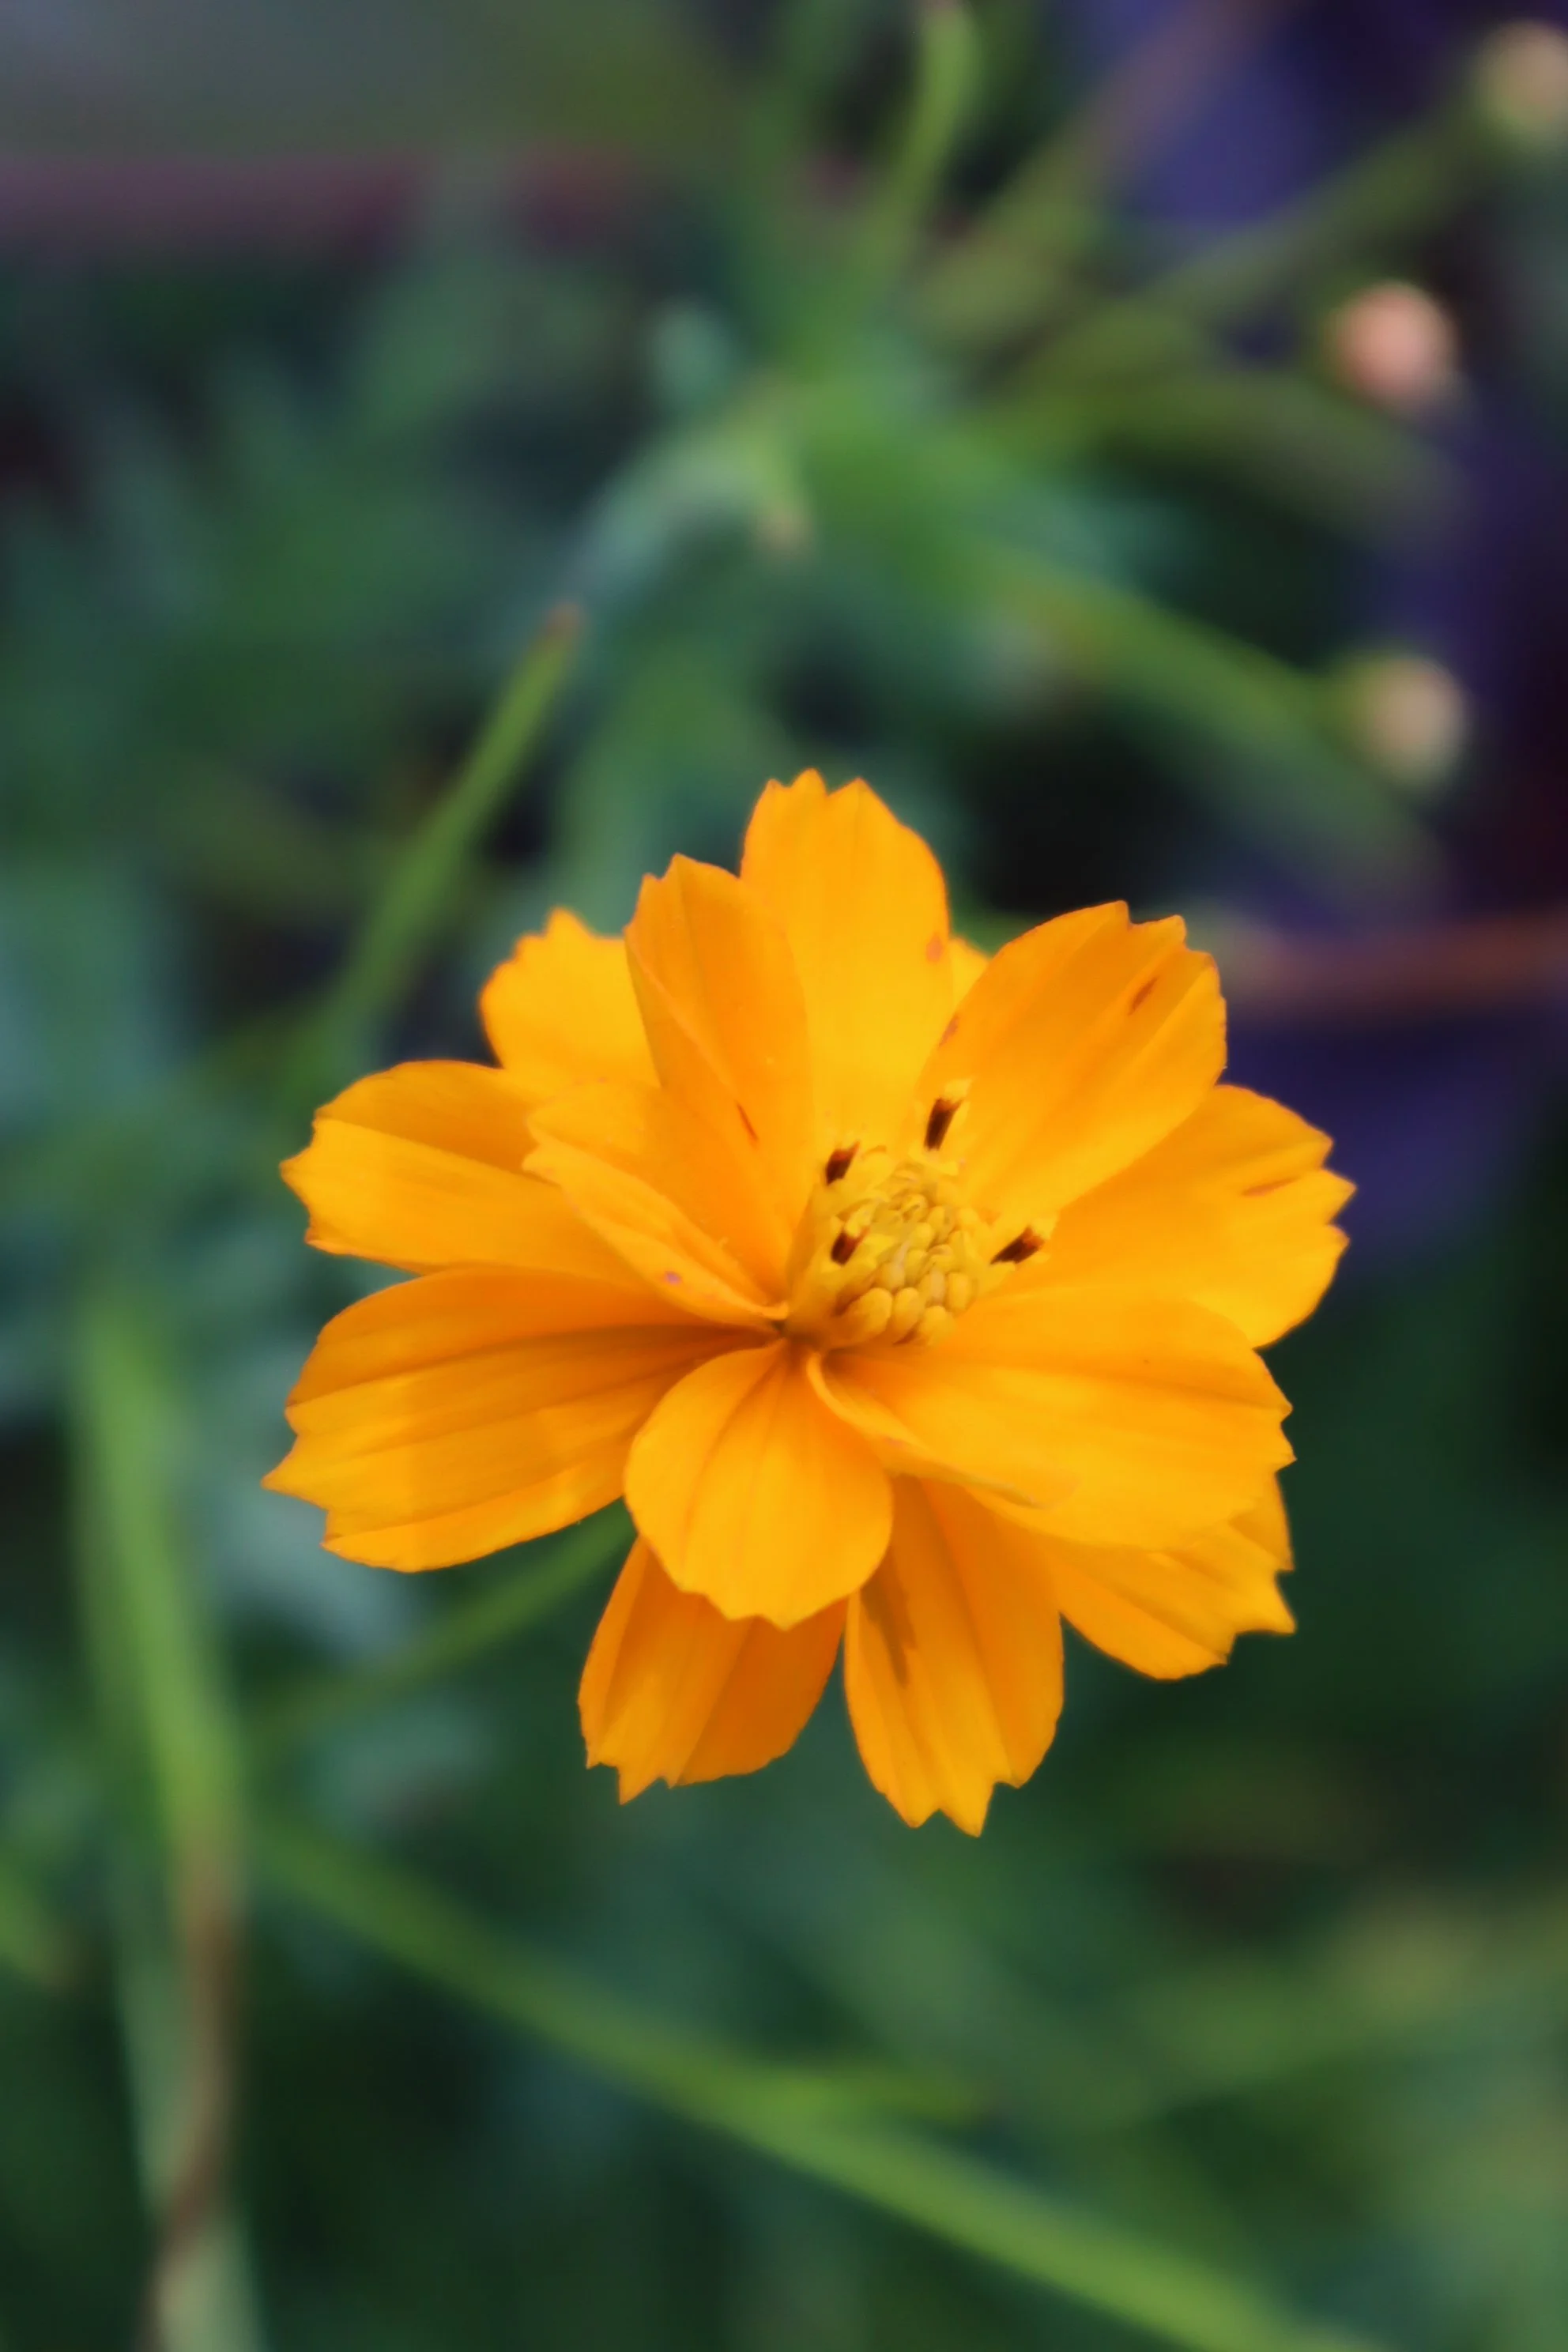
I still had a good amount of sulfur cosmos on hand from my summer garden that I had dried for storage. I knew the oranges and yellows would pair nicely with the brown, so I decided to grind some of them up into a powder. These worked as well, though not quite as potently as using them in more typical dye extraction methods. The ground cosmos produced a pale orange and a pale yellow with the snow dye extraction.

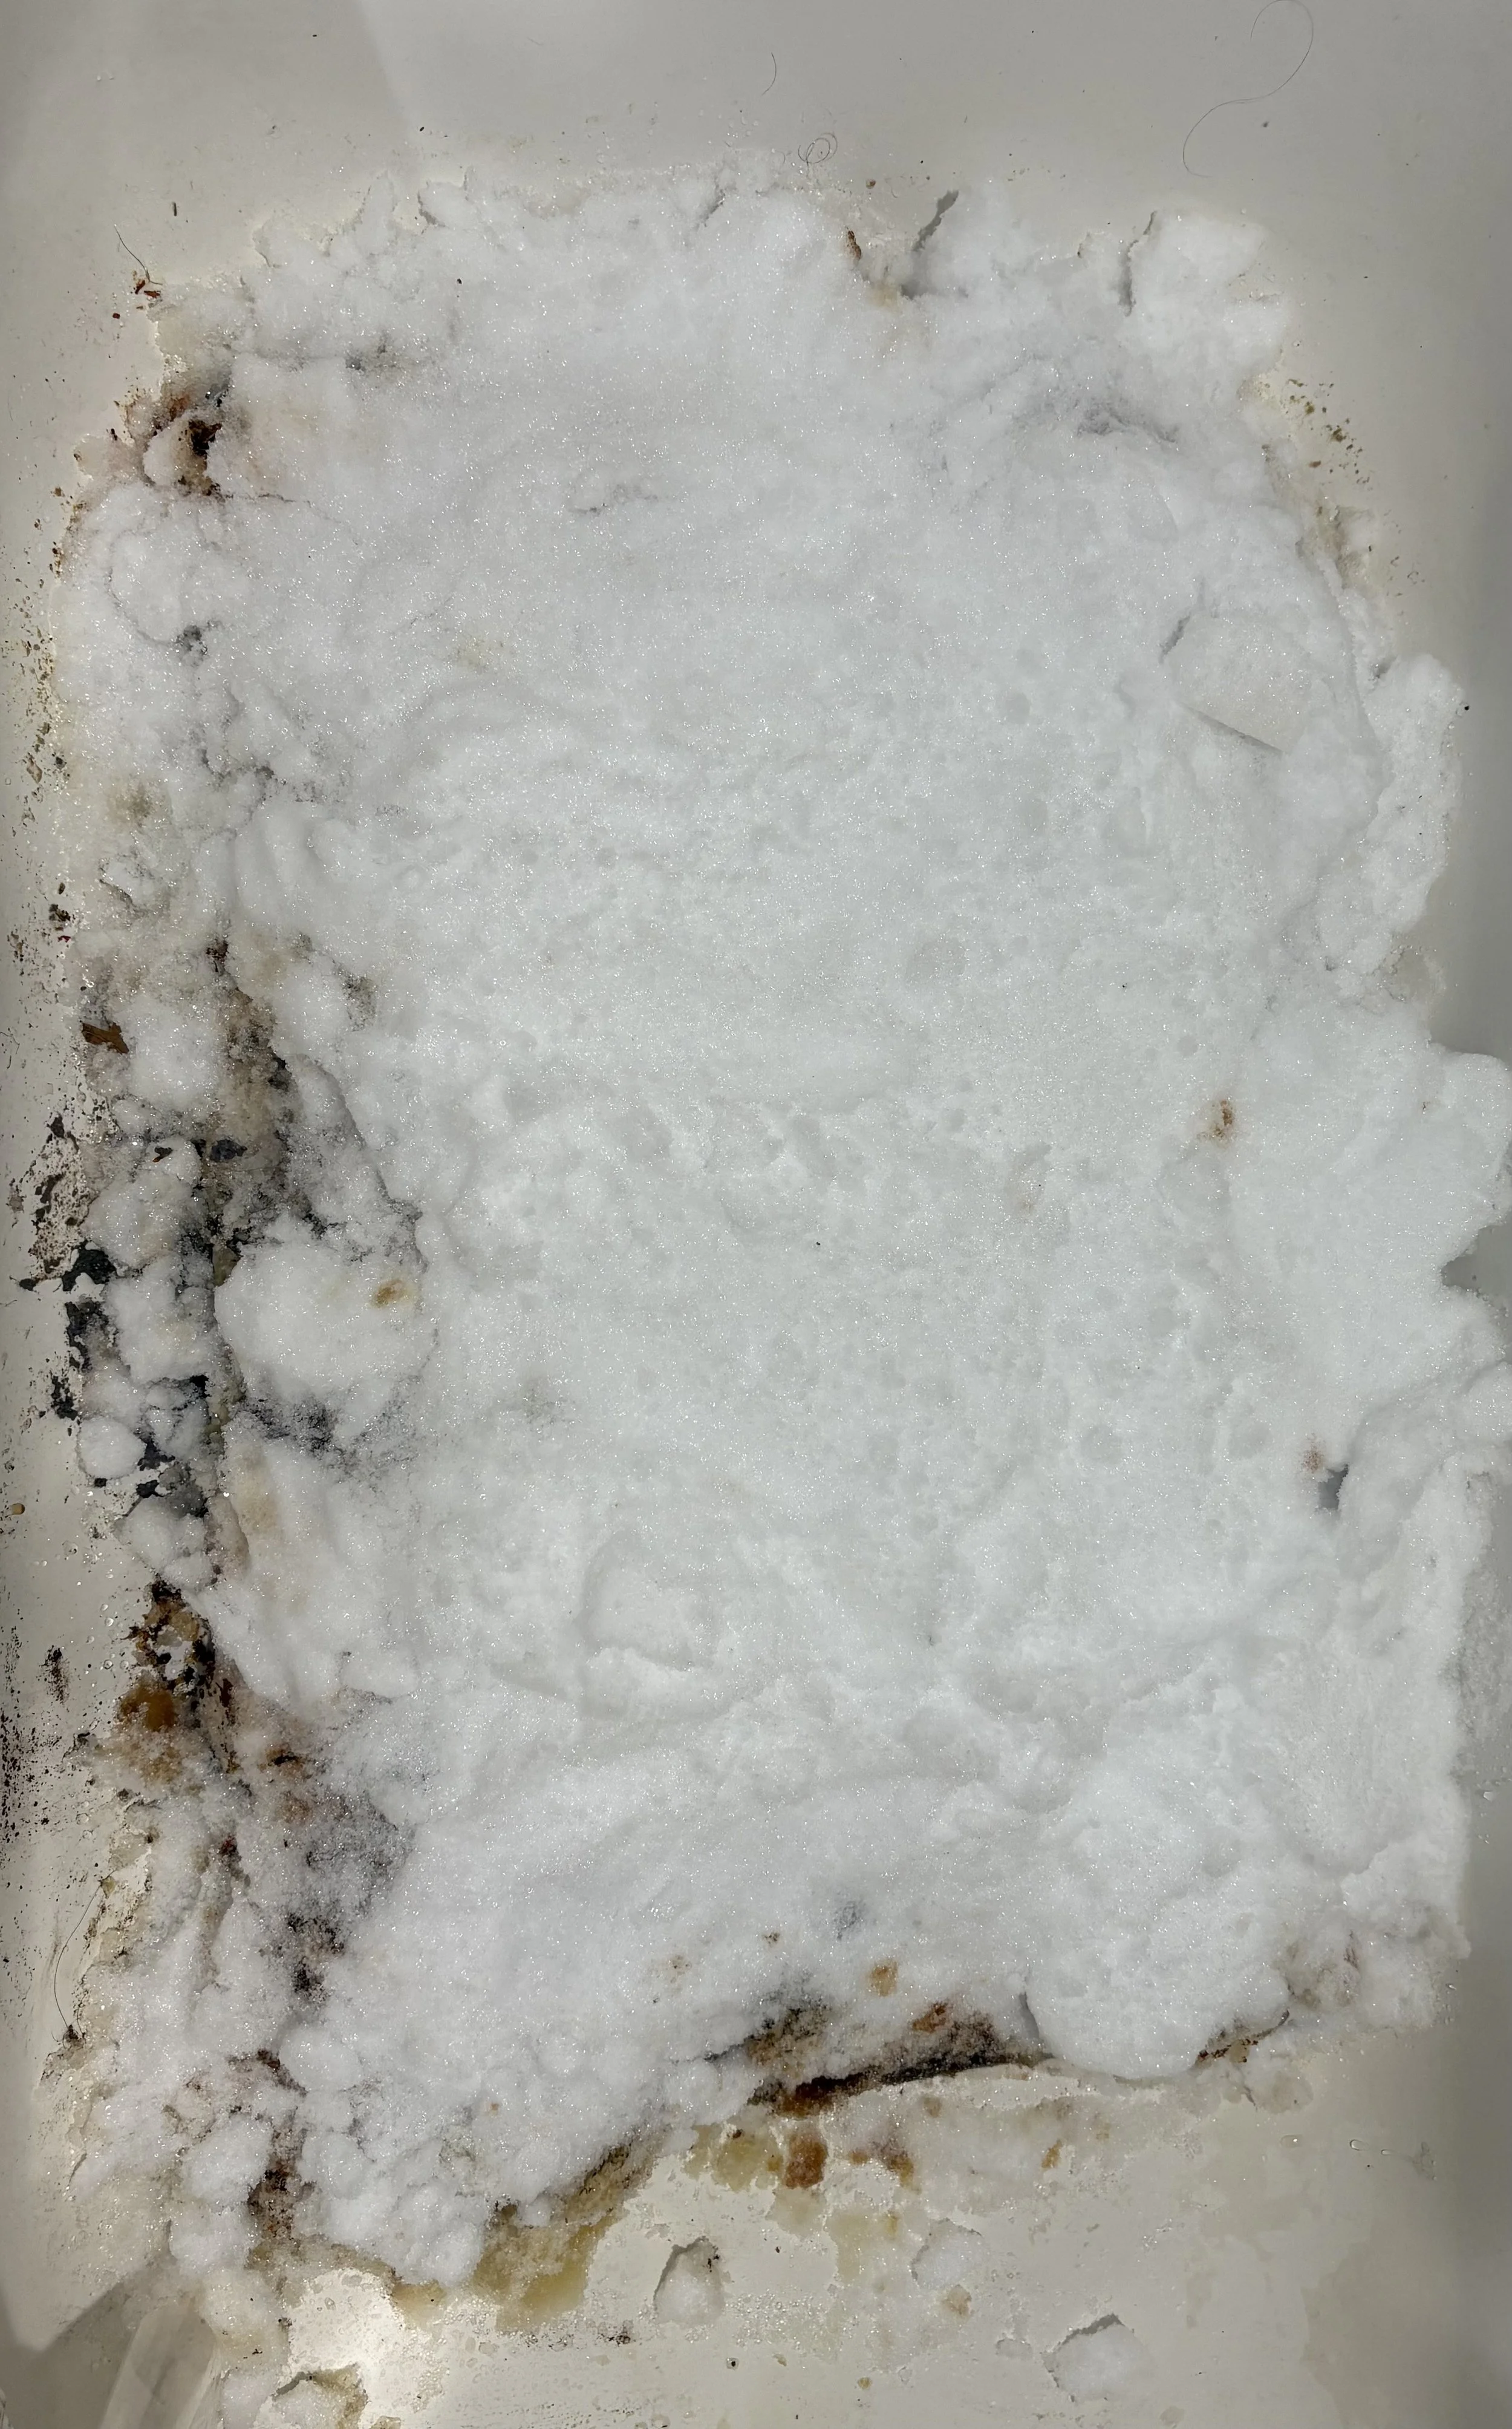
Finally, I decided to add a tried and true kitchen staple - ground turmeric! I don’t often dye with turmeric, though it produces a very strong yellow. I used it sparingly for this snow dye, sprinkling it over the cosmos mostly, and scattering it in smaller areas over the other dye materials. As expected, the turmeric provided a nice, clear and bright yellow when the snow melted it into the fiber! Here are a few photos of the snow dyeing process.
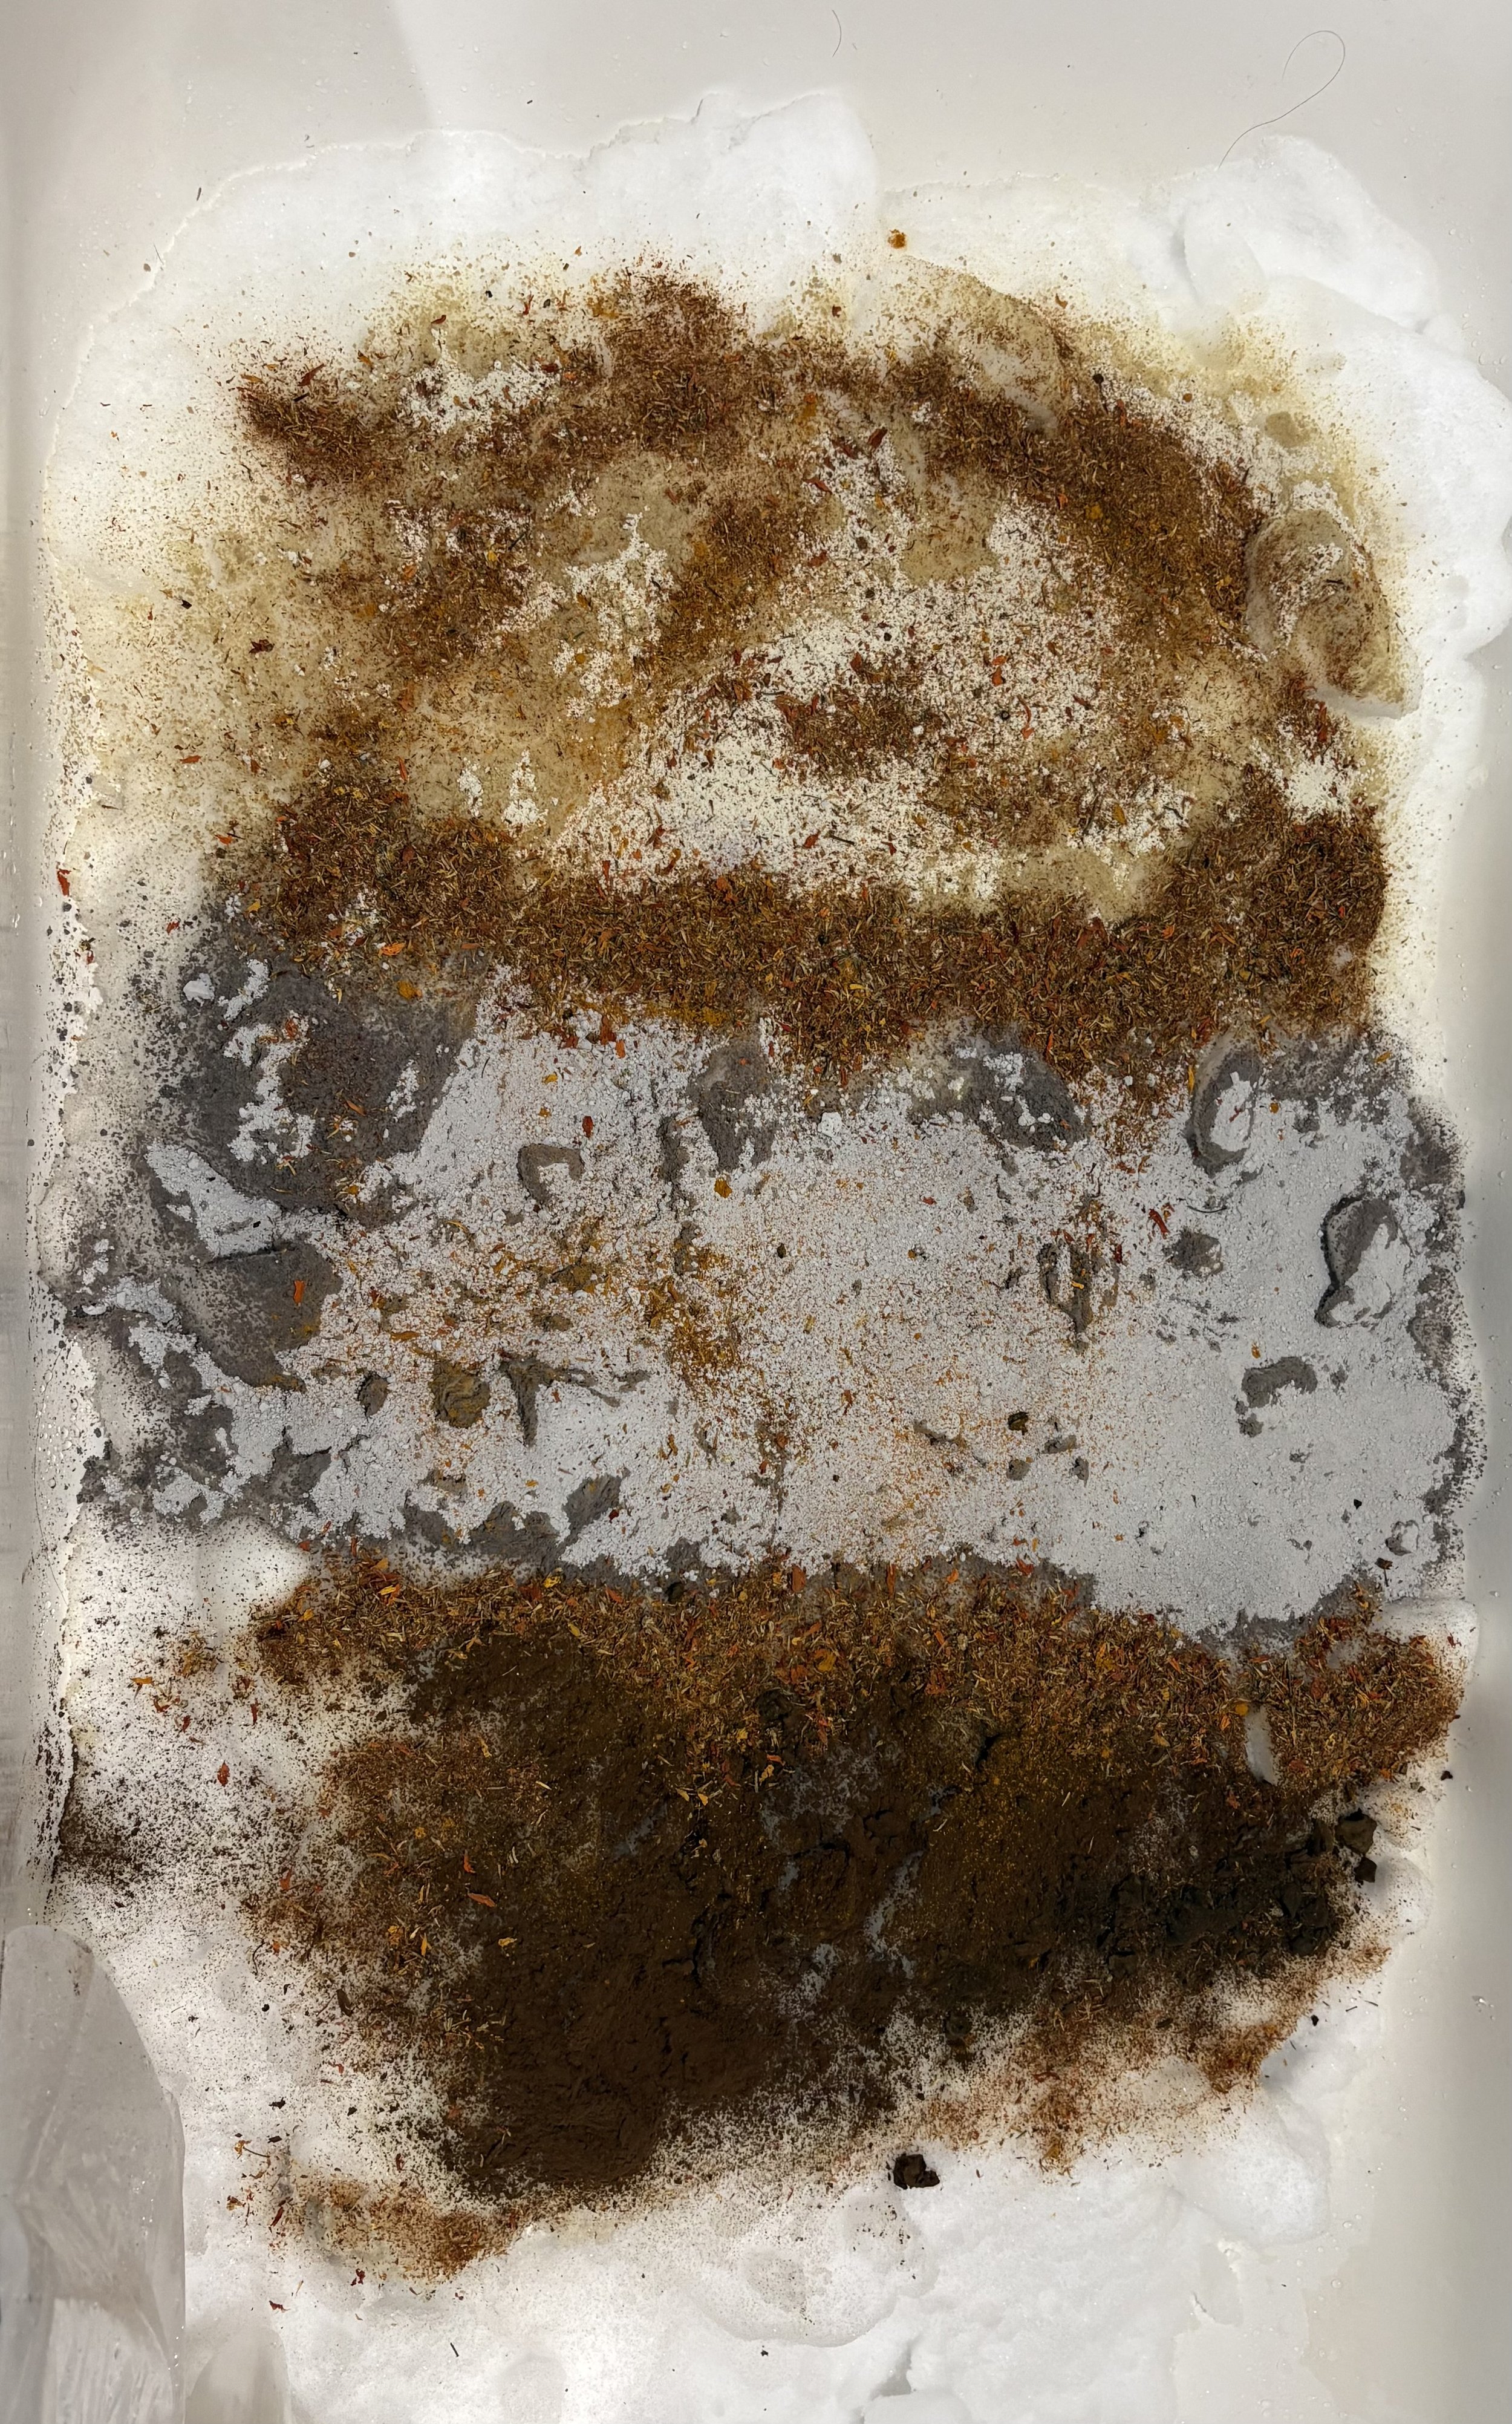
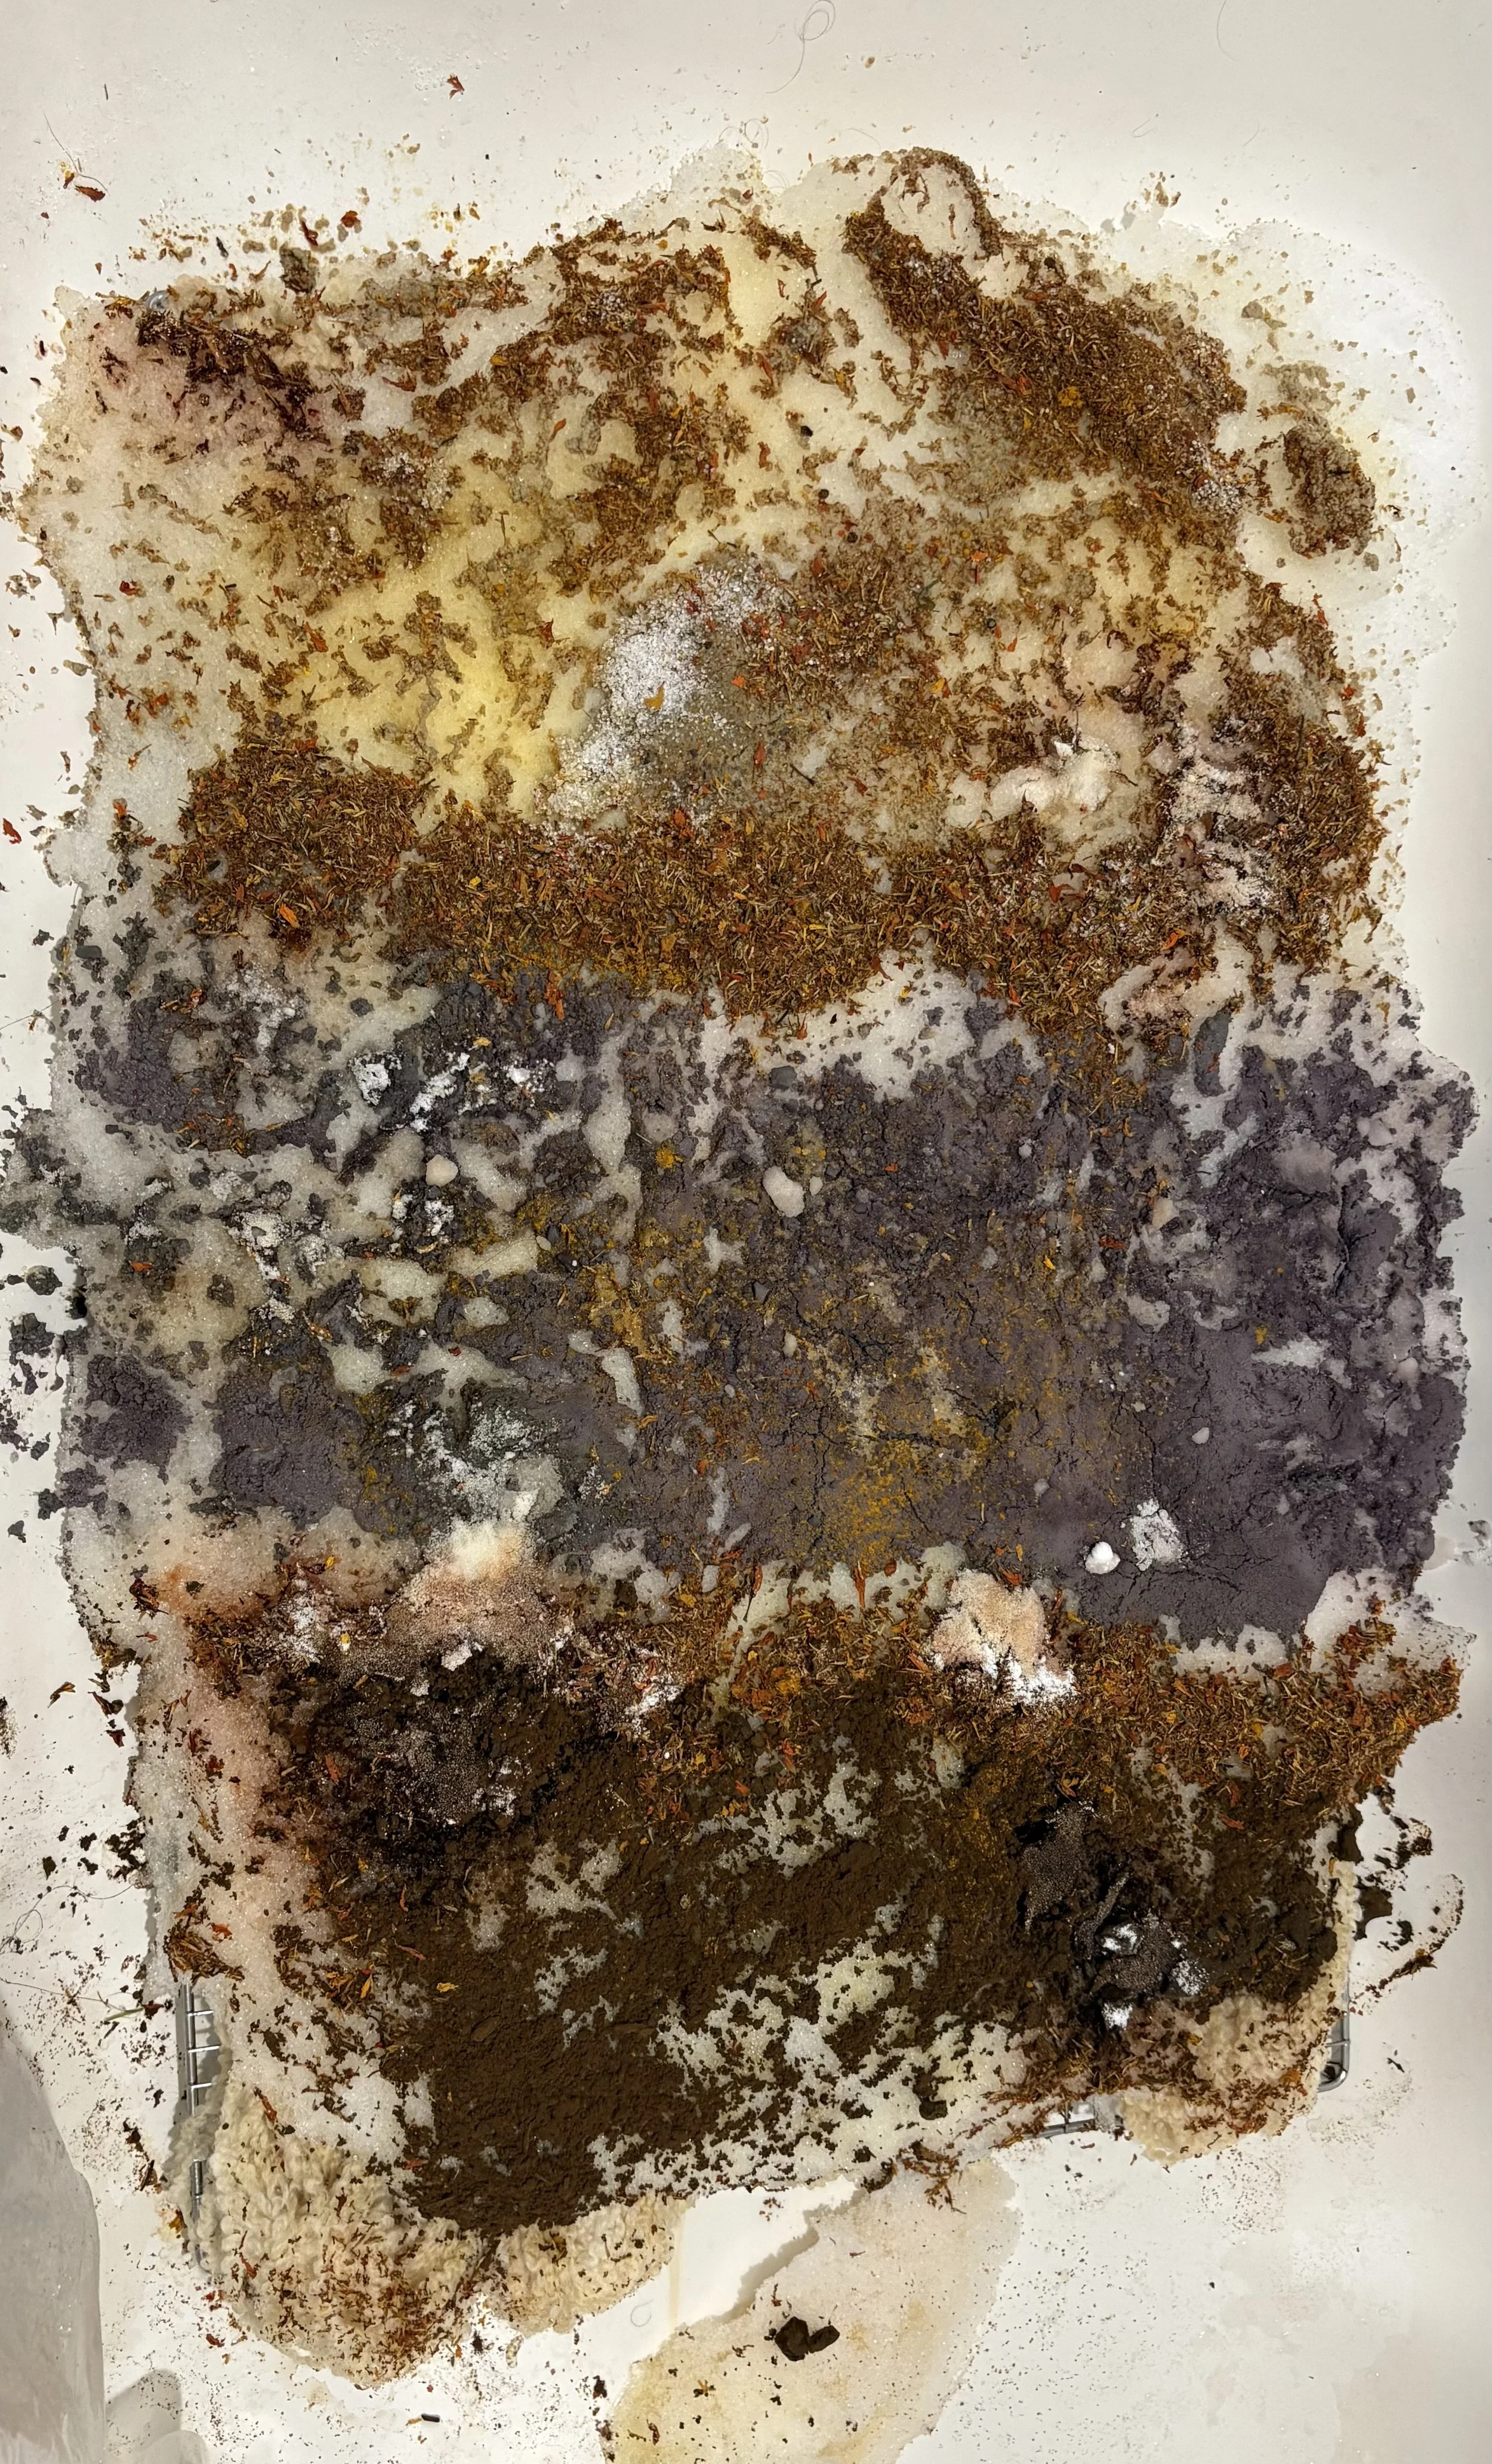

I also sprinkled on some citric acid as well as some washing soda in various spots to play with the pH a bit in an effort to produce as many shades of the colors as possible. This was also successful, particularly with the cosmos, which tend toward yellow with an acidic modifier (citric acid) and toward orange with a basic modifier (washing soda) and also the Pisolithus, which can produce a mauveish brown, I think with a basic modifier. Actually, this is my first experience using the Pisolithus as a dye ever, so I’m eager to play around with this one with various dye extraction methods.
Once the snow had completely melted and the color was in the fiber, it was time to heat set the yarn, which I did by steaming it as I would for a bundle dye.
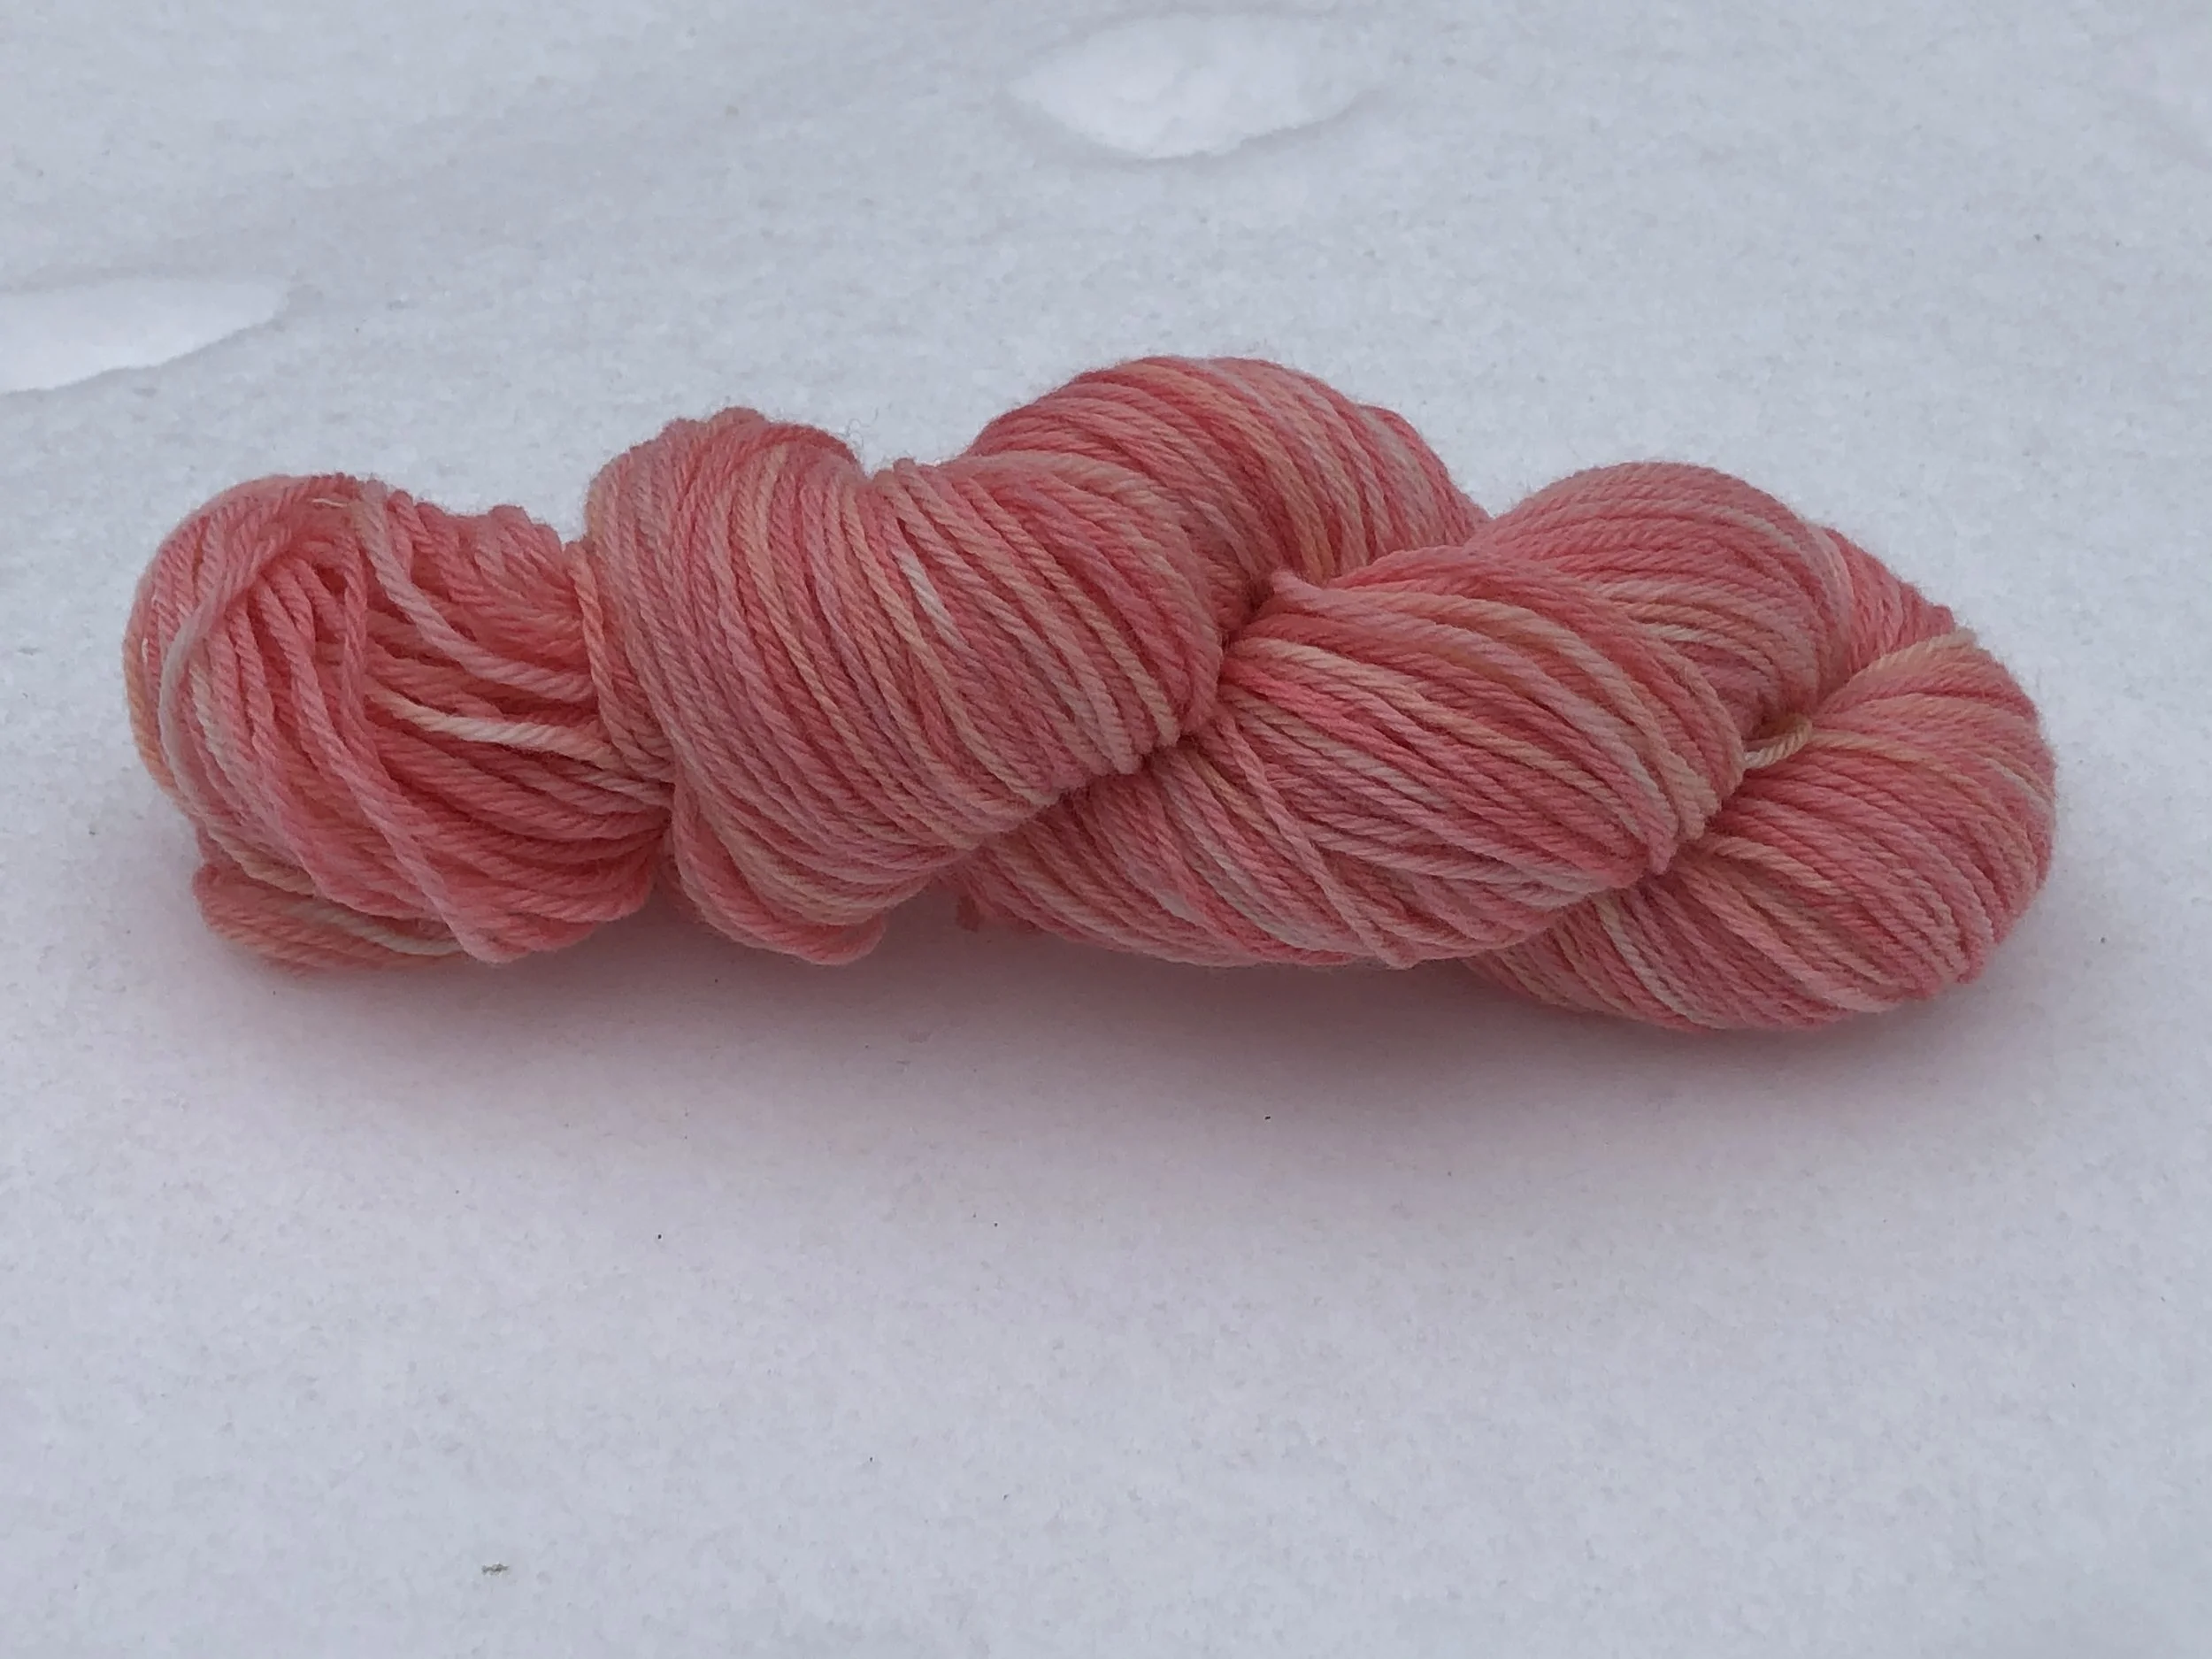
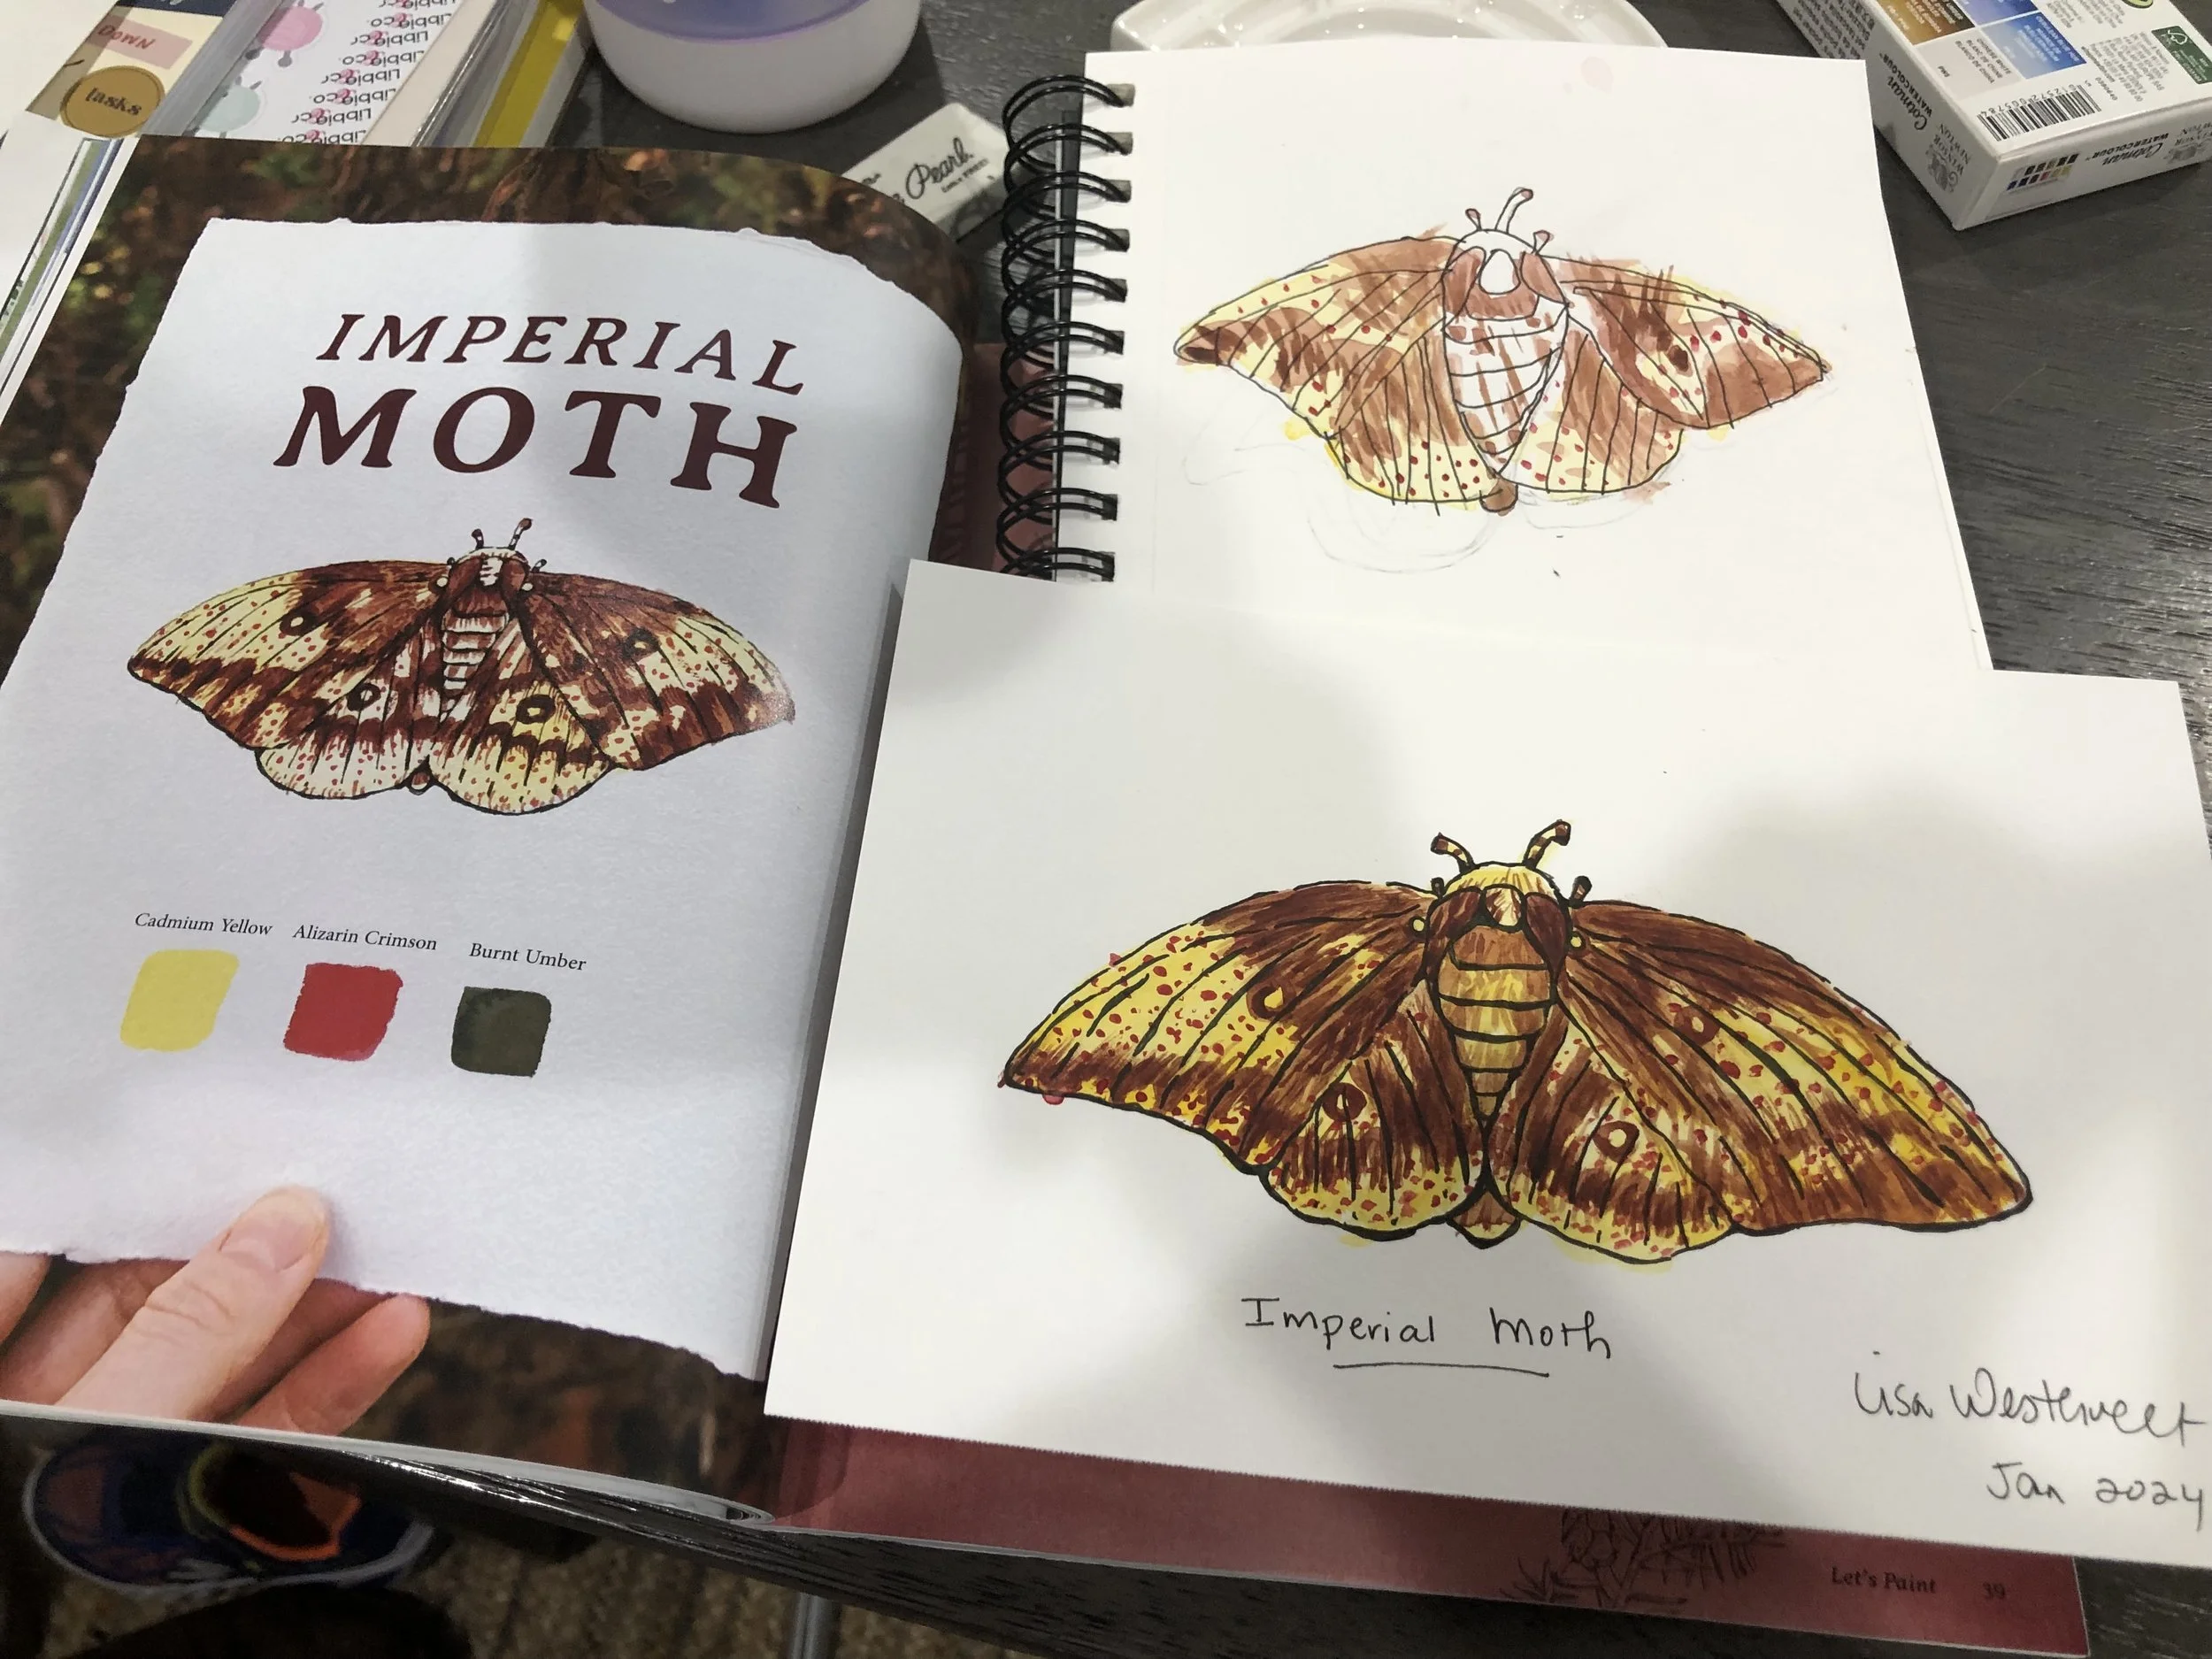
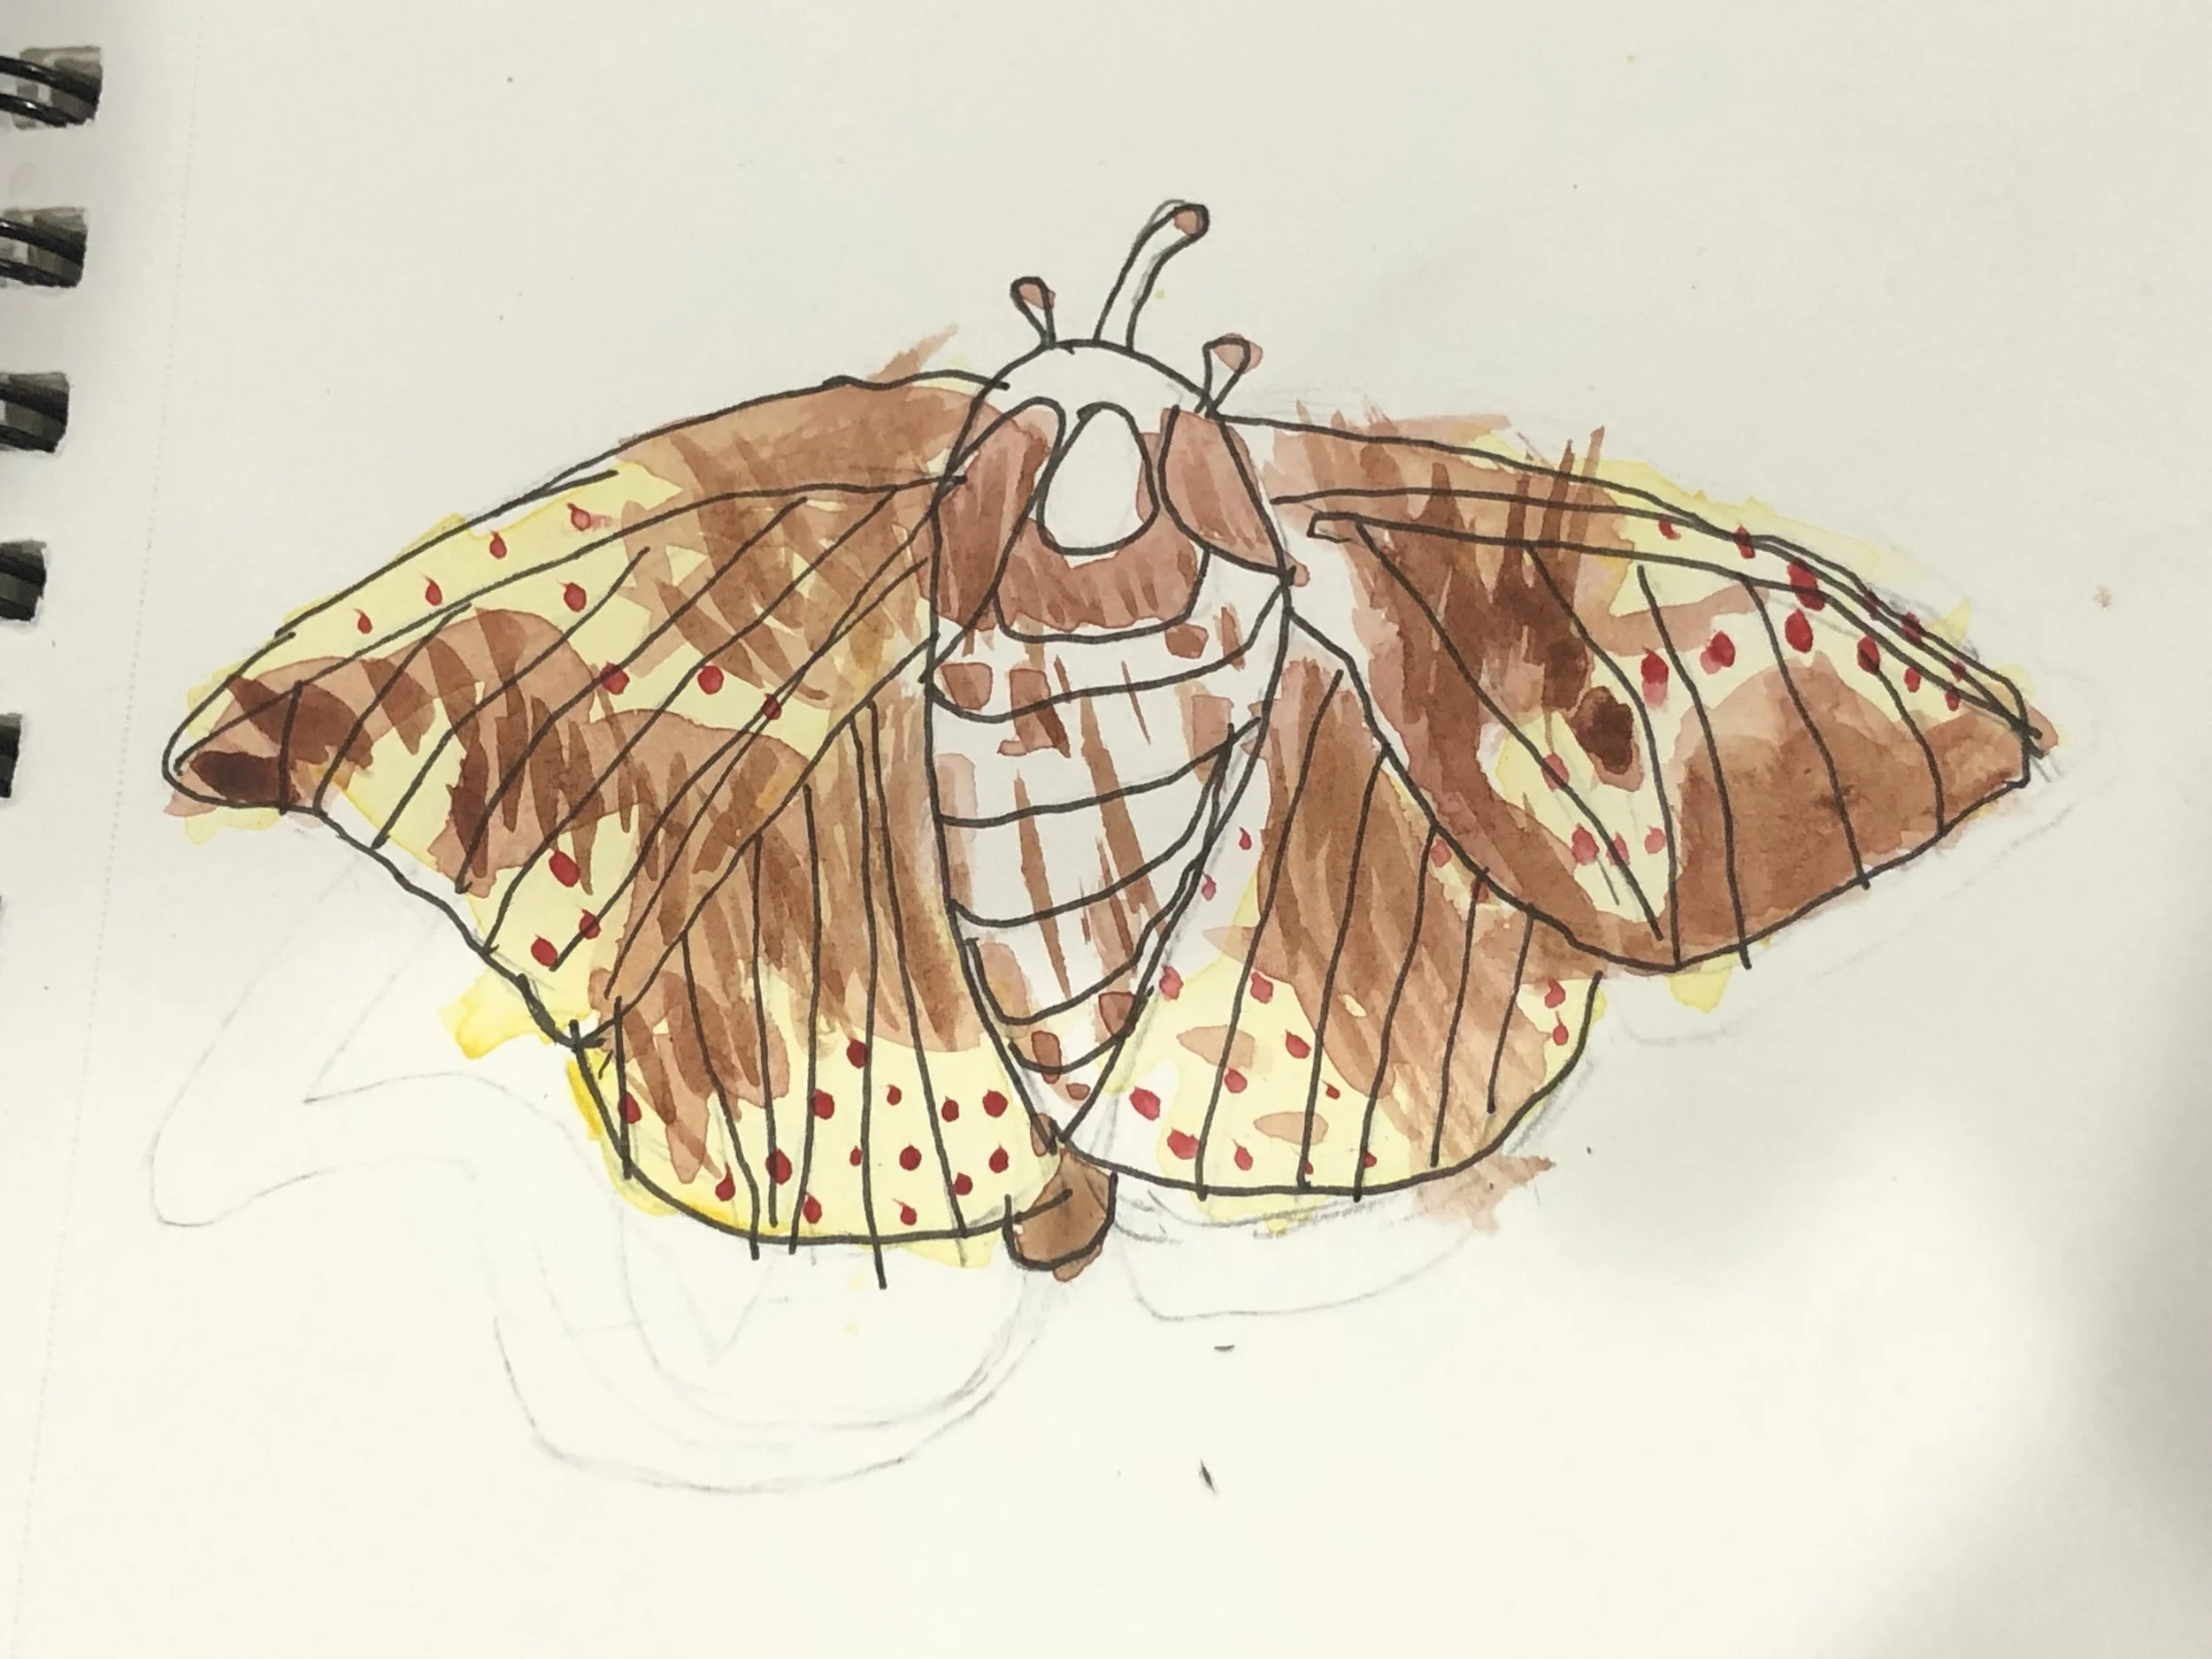
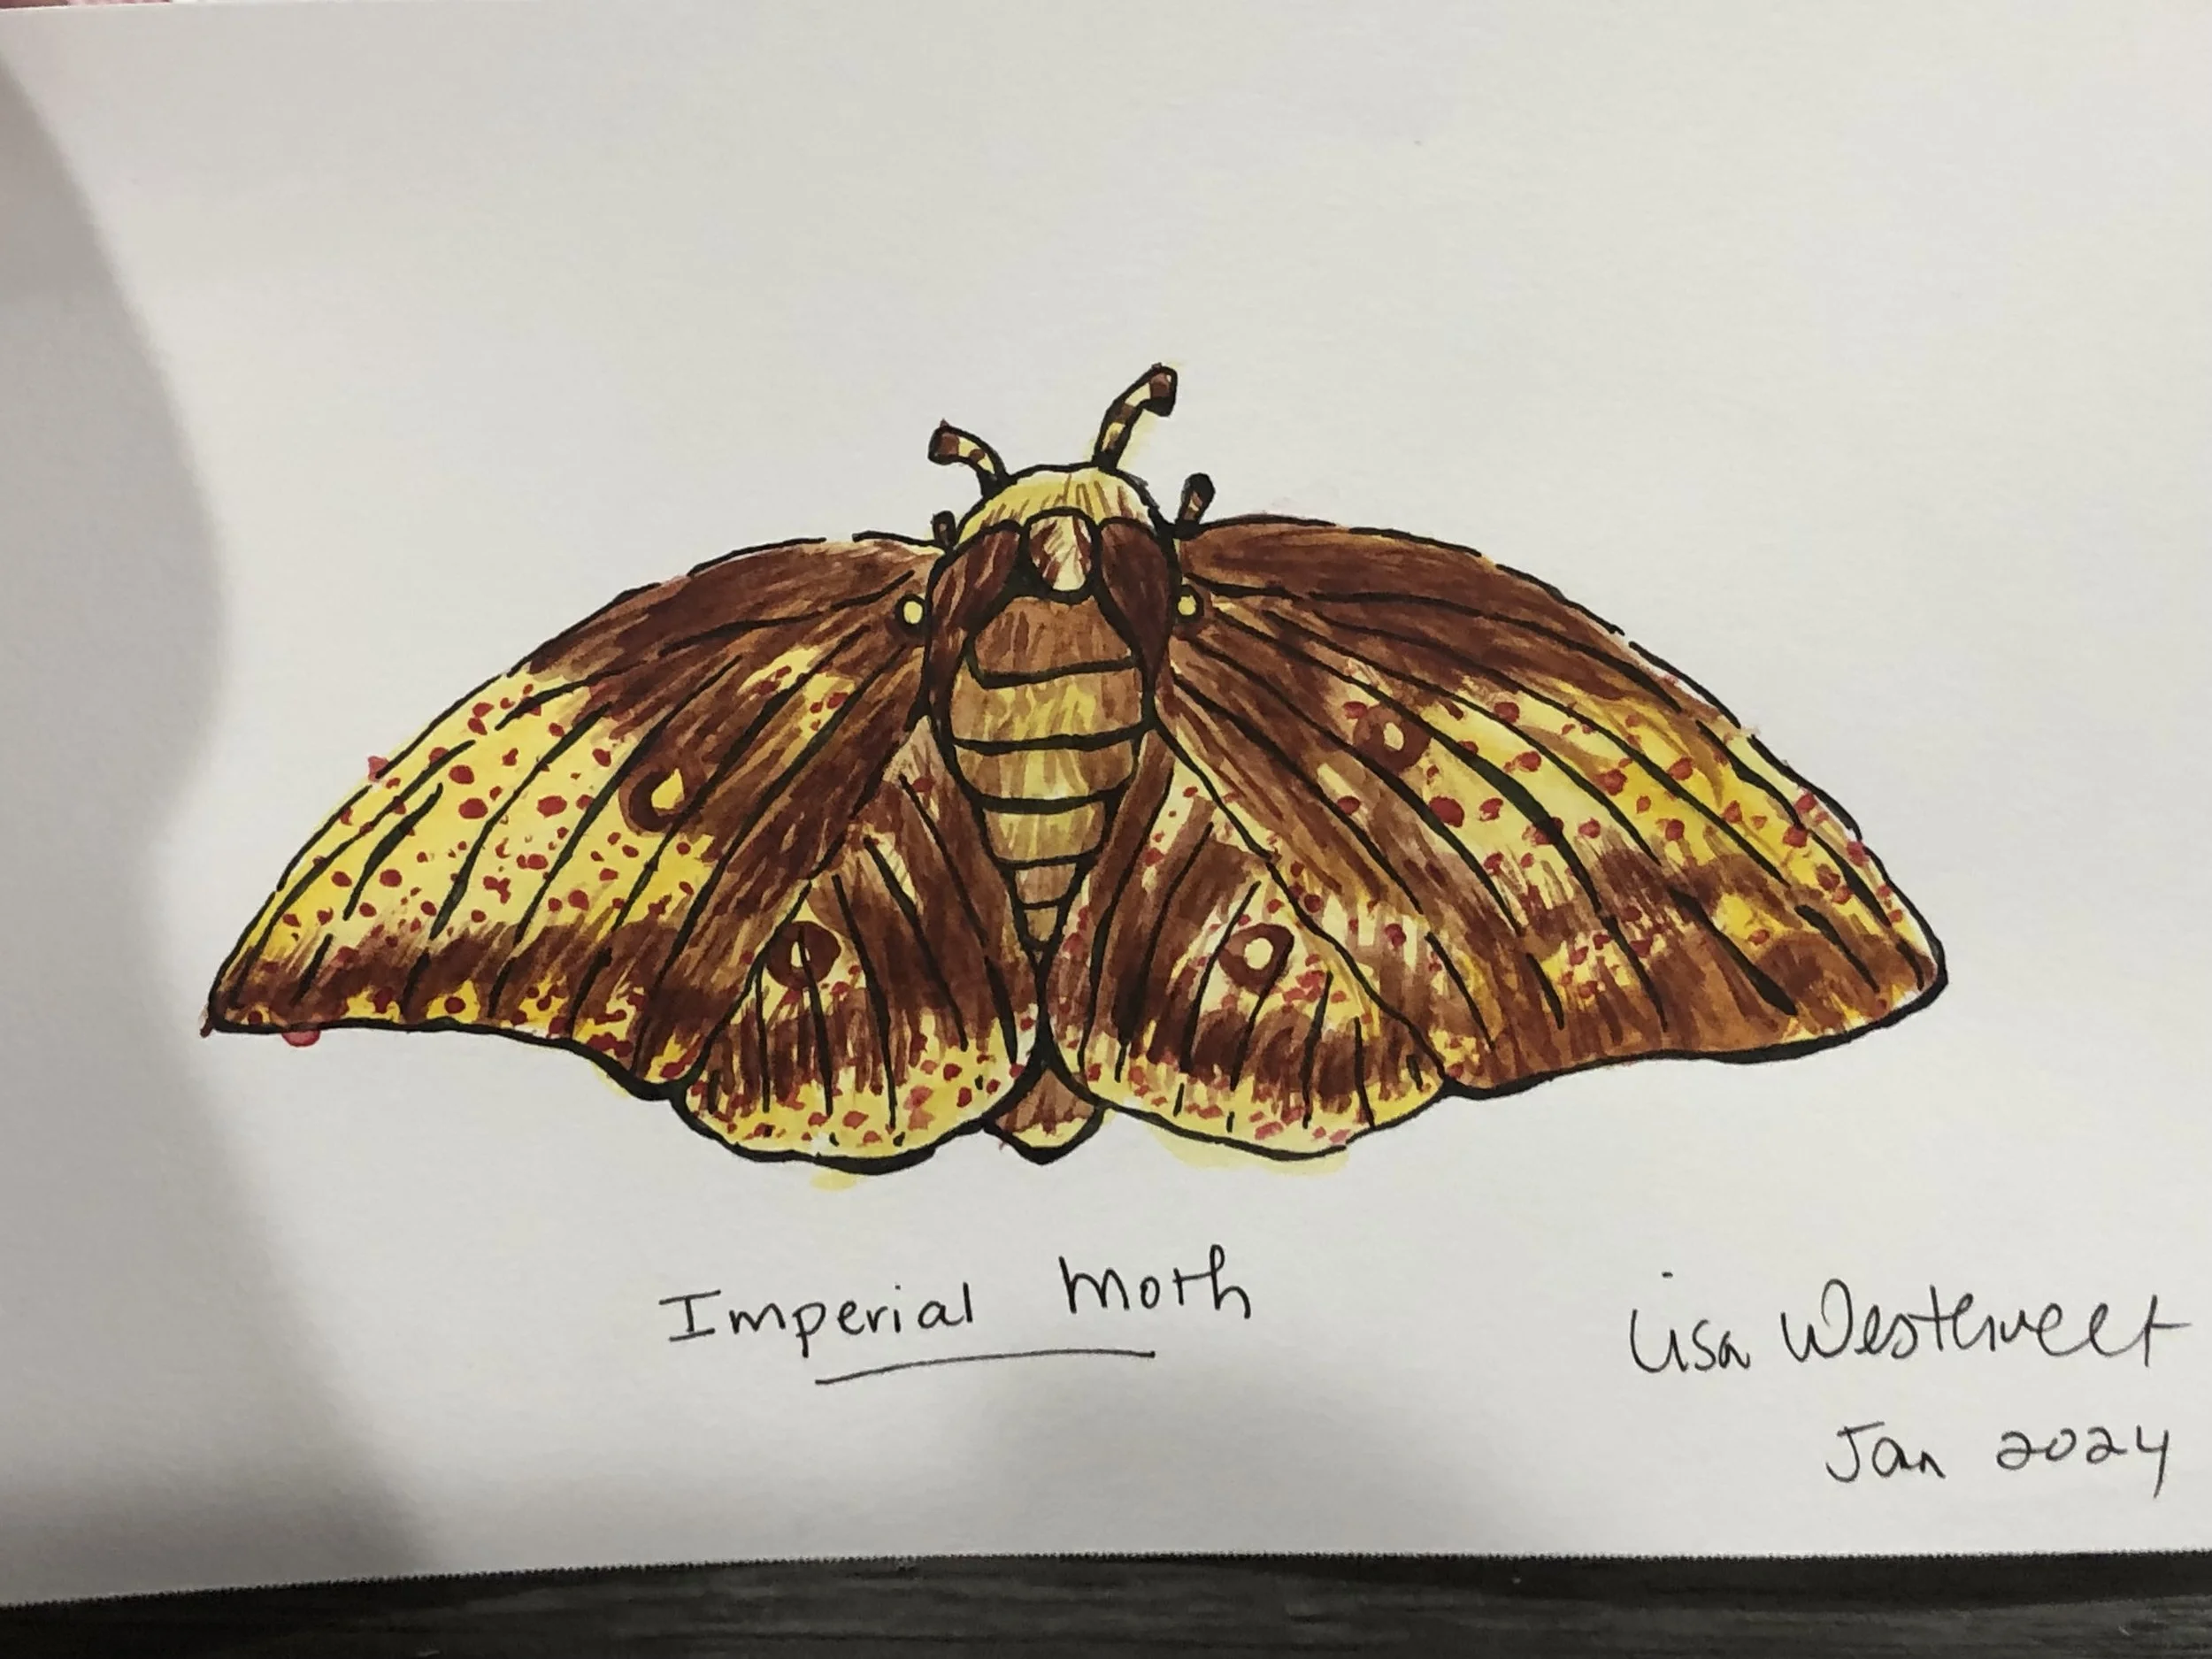
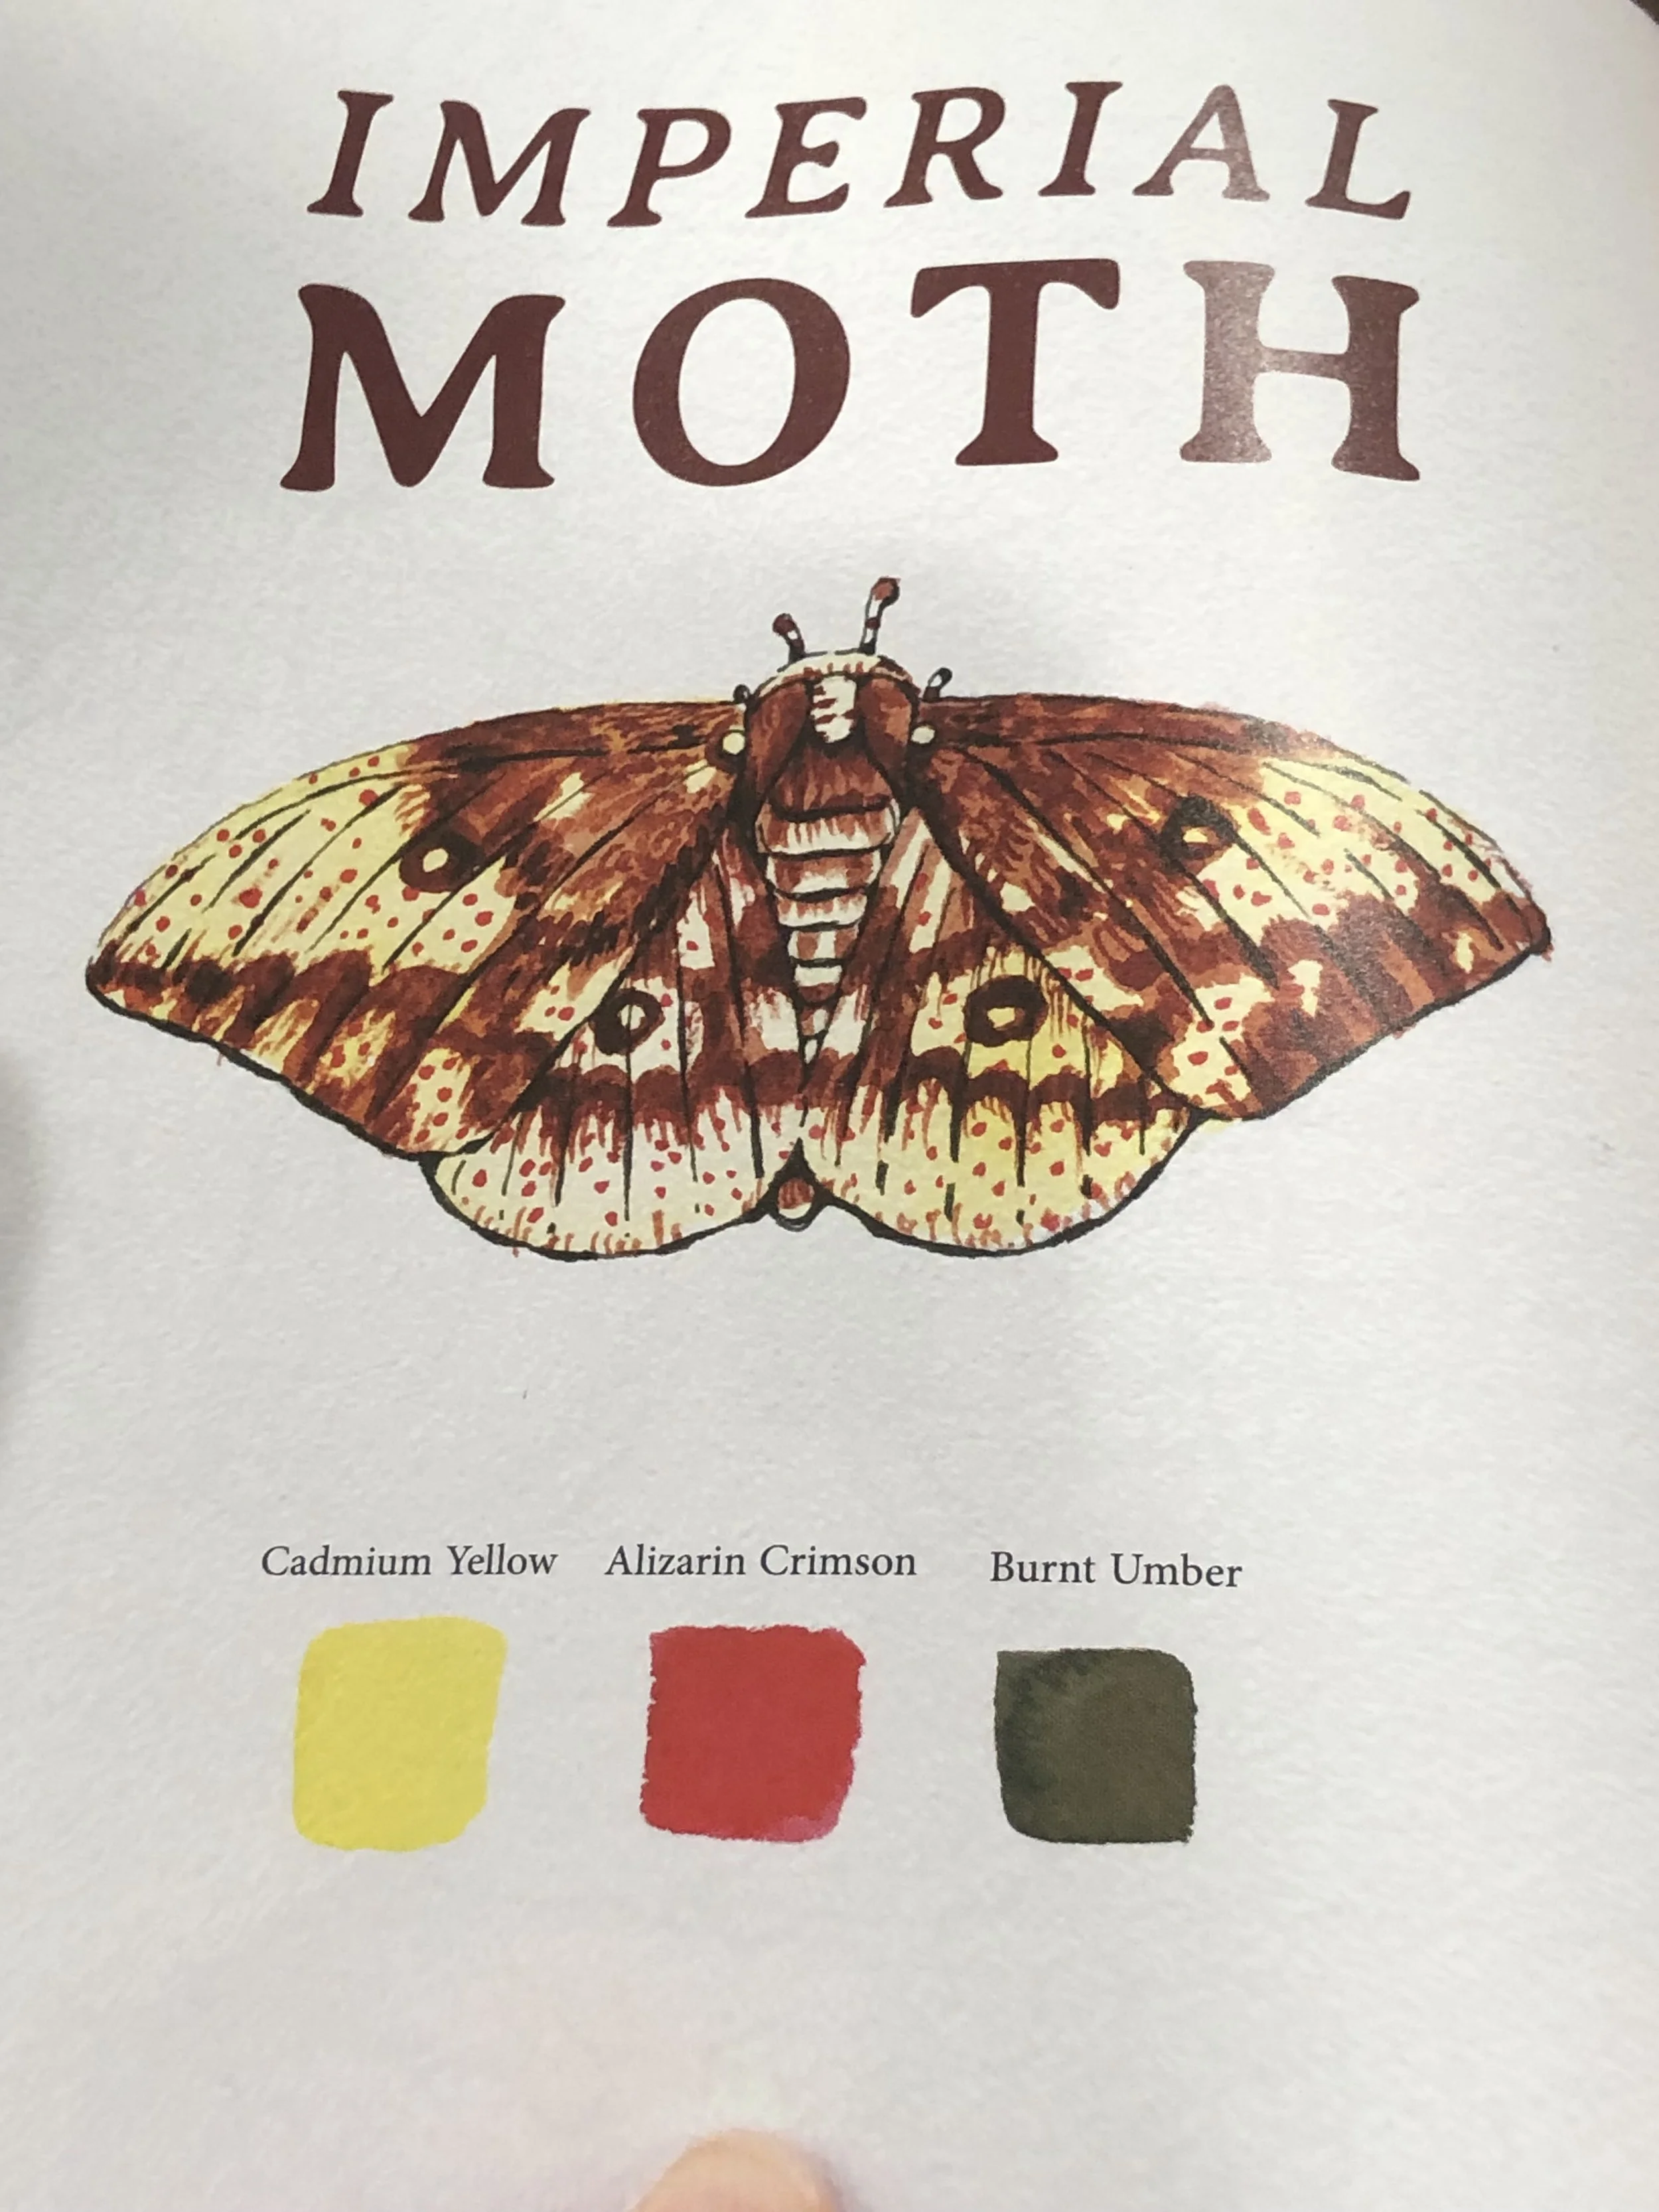
I’m so pleased with the resulting yarn! My husband said it reminded me of a watercolor painting that Owen and I did of a moth a couple of years ago. Owen’s painting, in particular, is a great match to this yarn, which I’ve decided to name ‘Imperial Moth’ after our paintings.
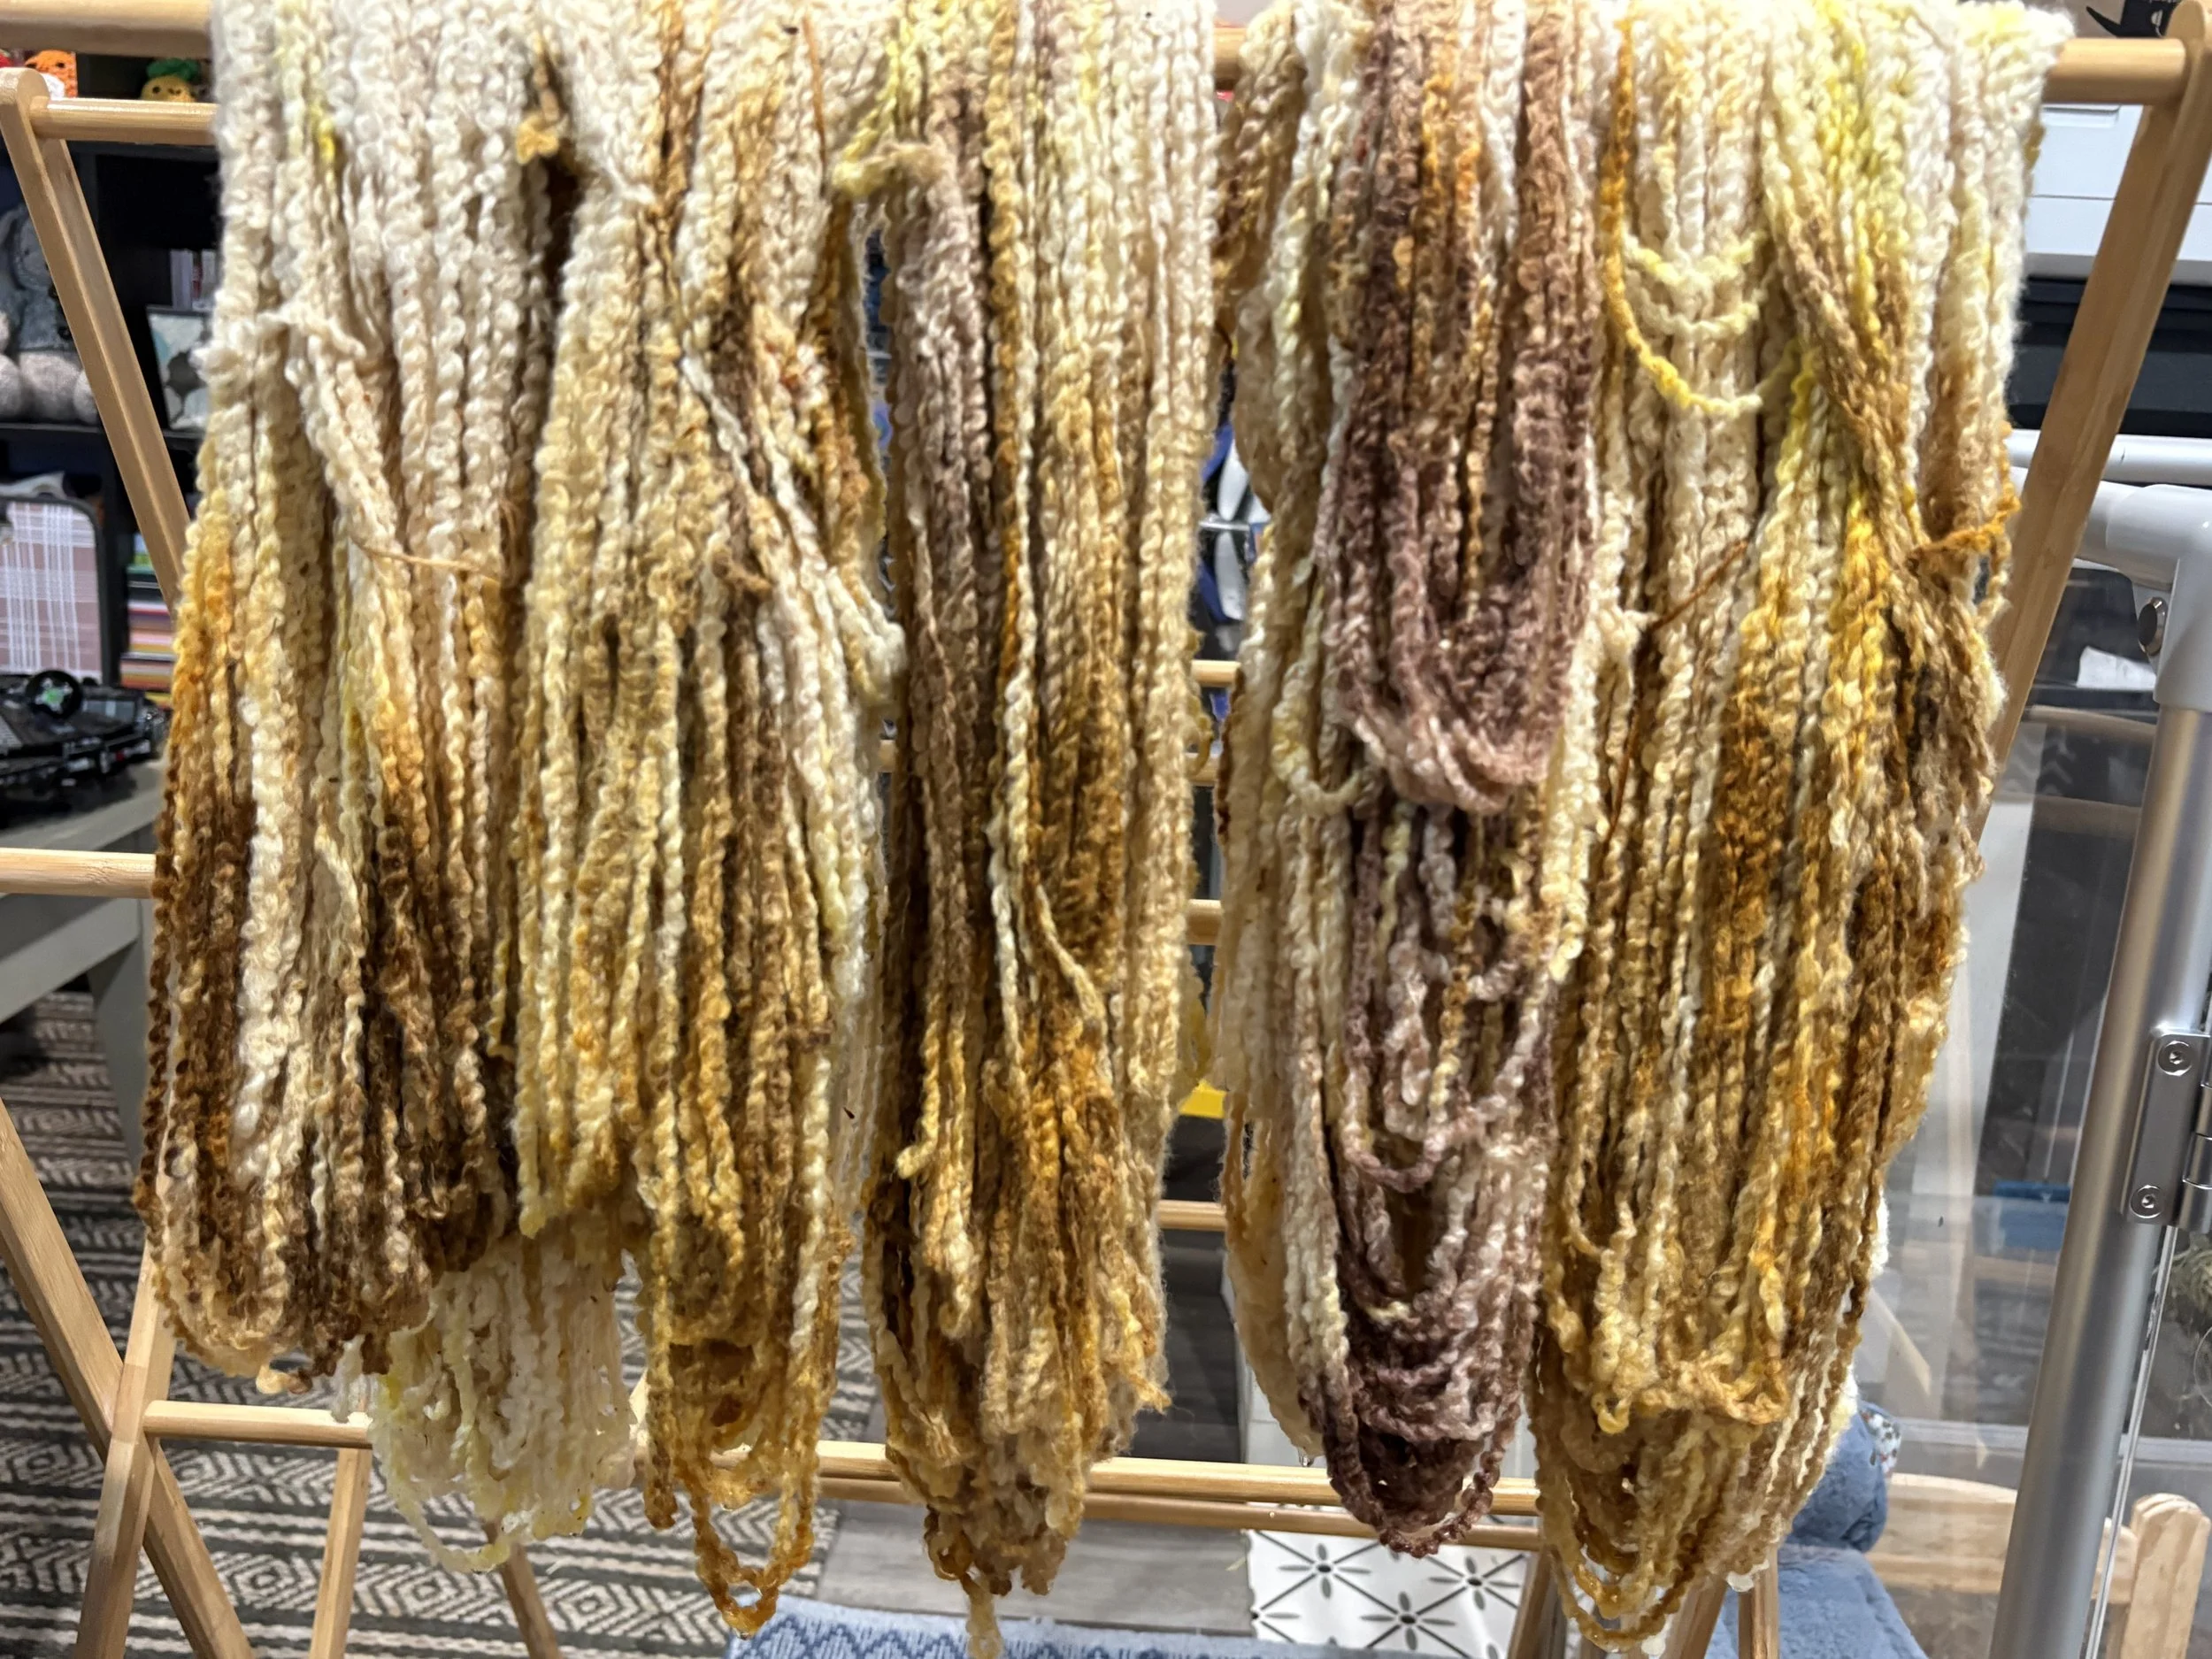
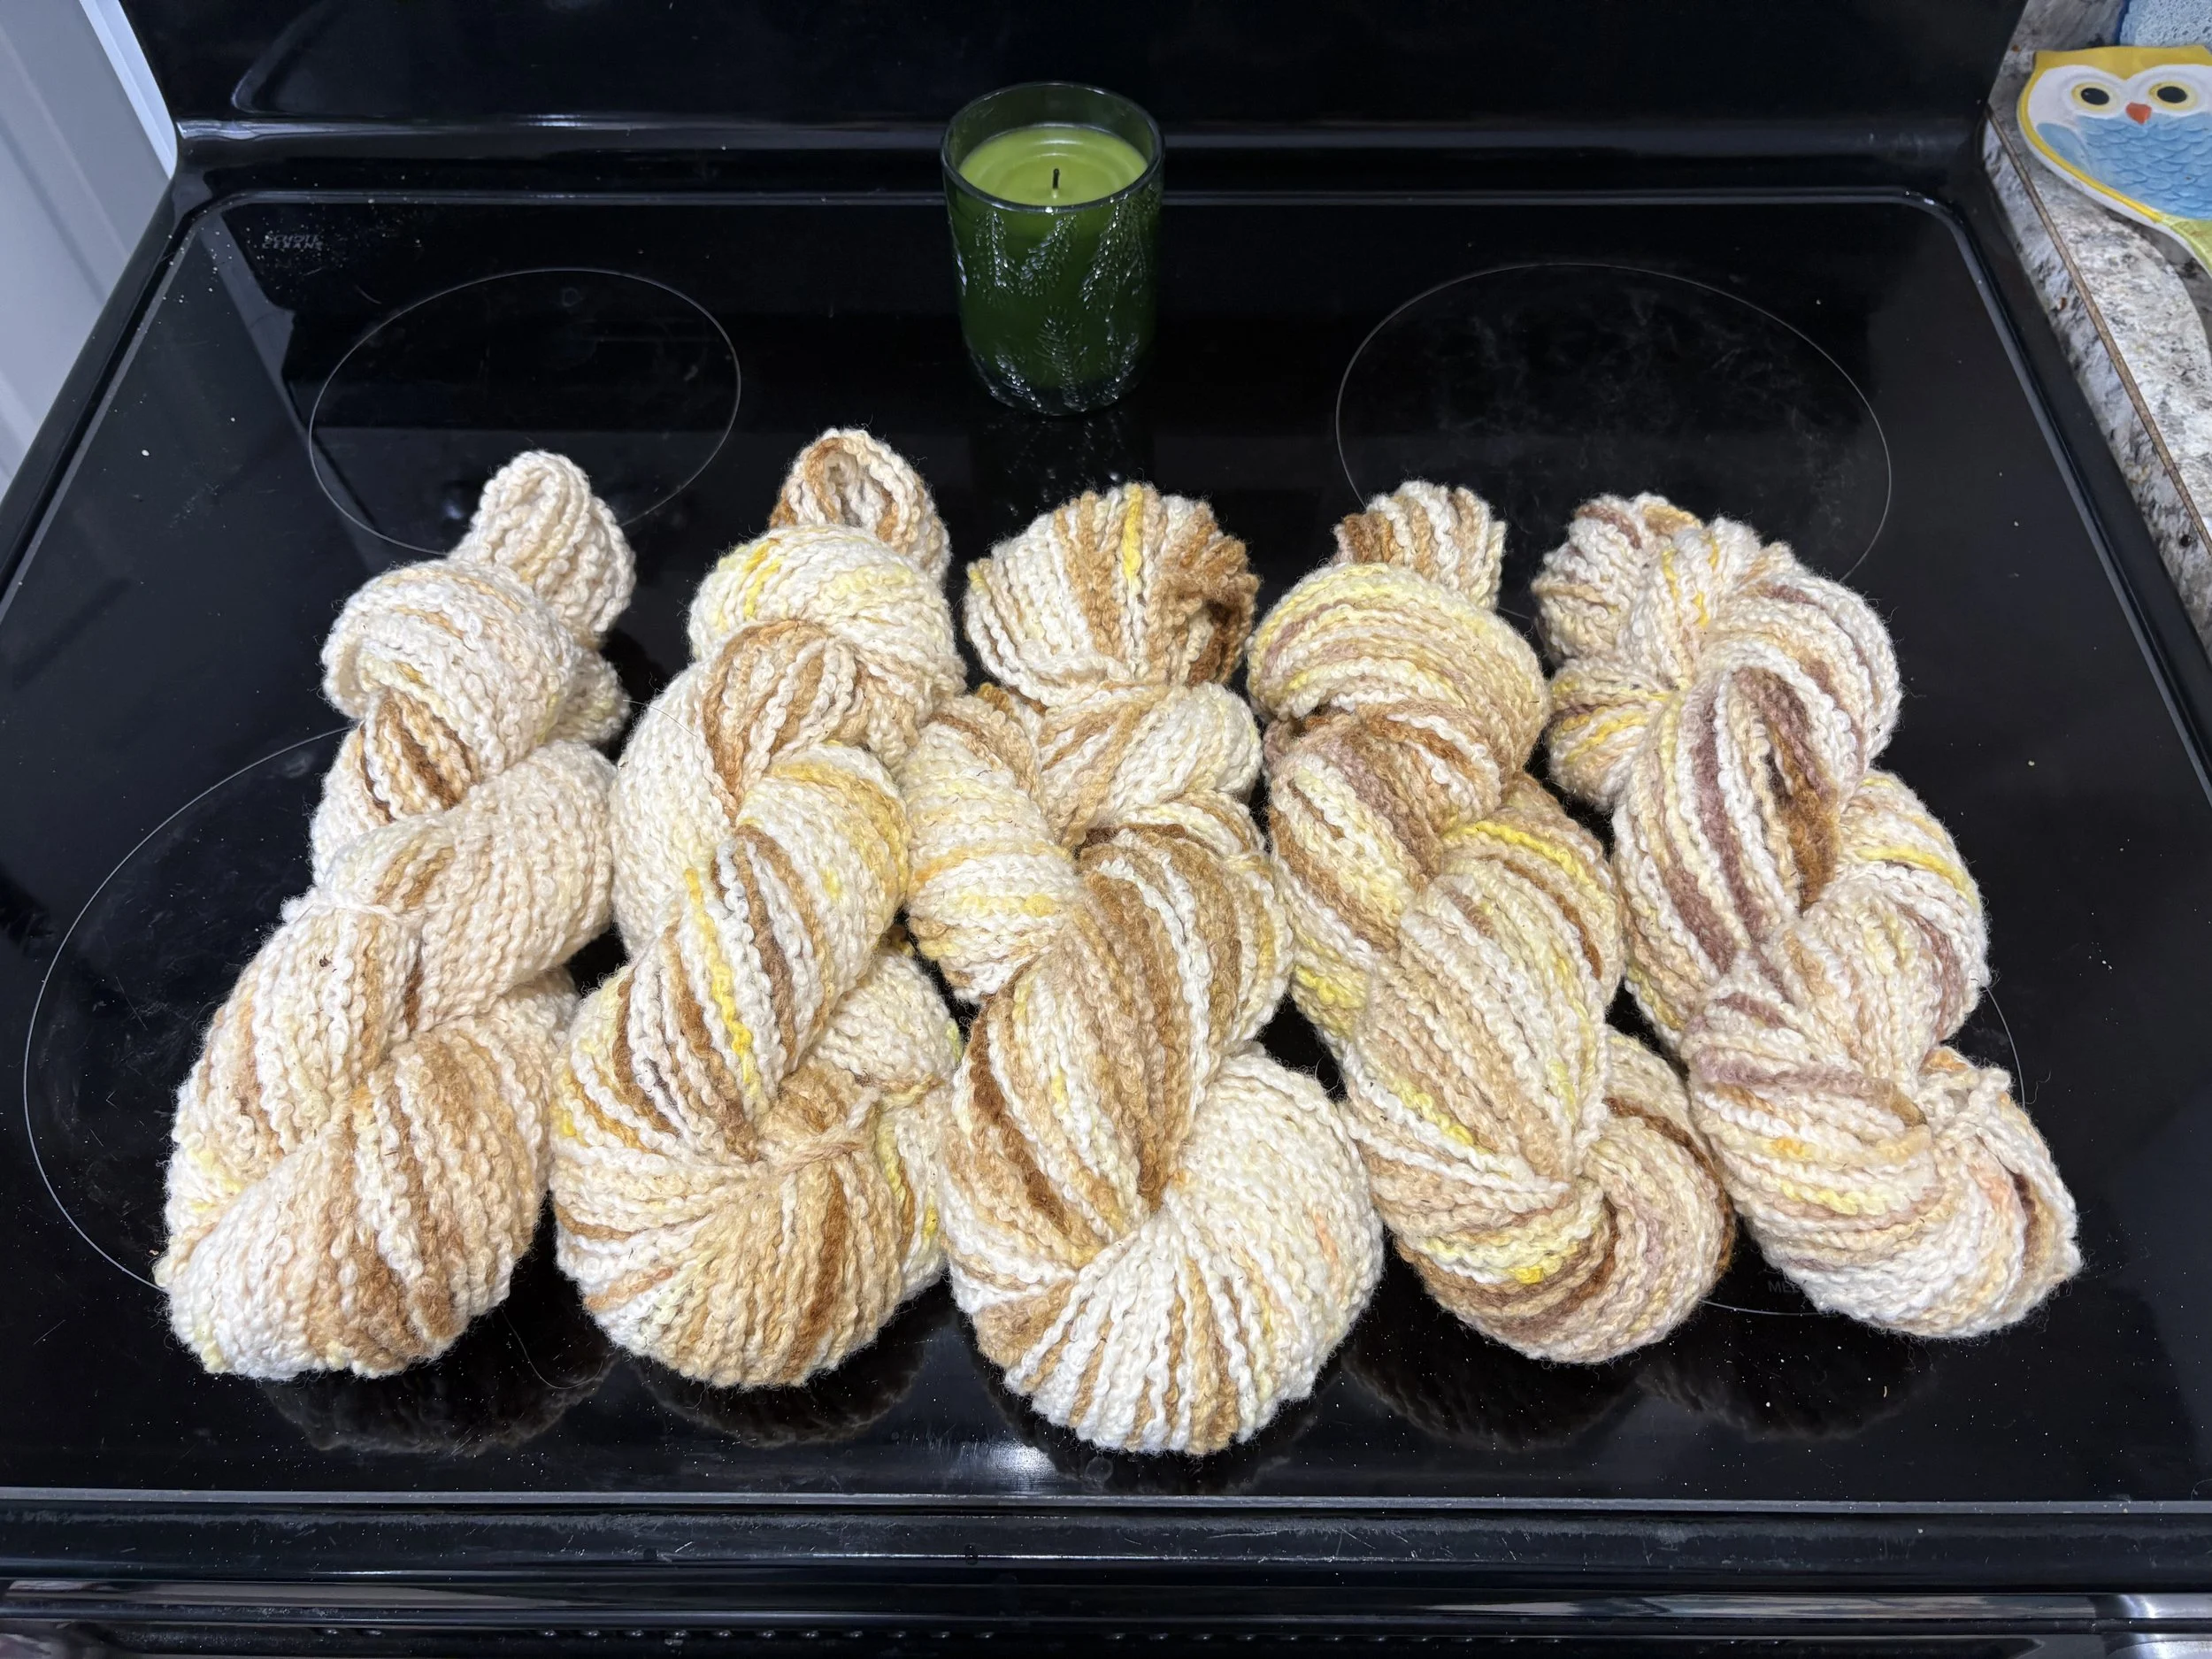
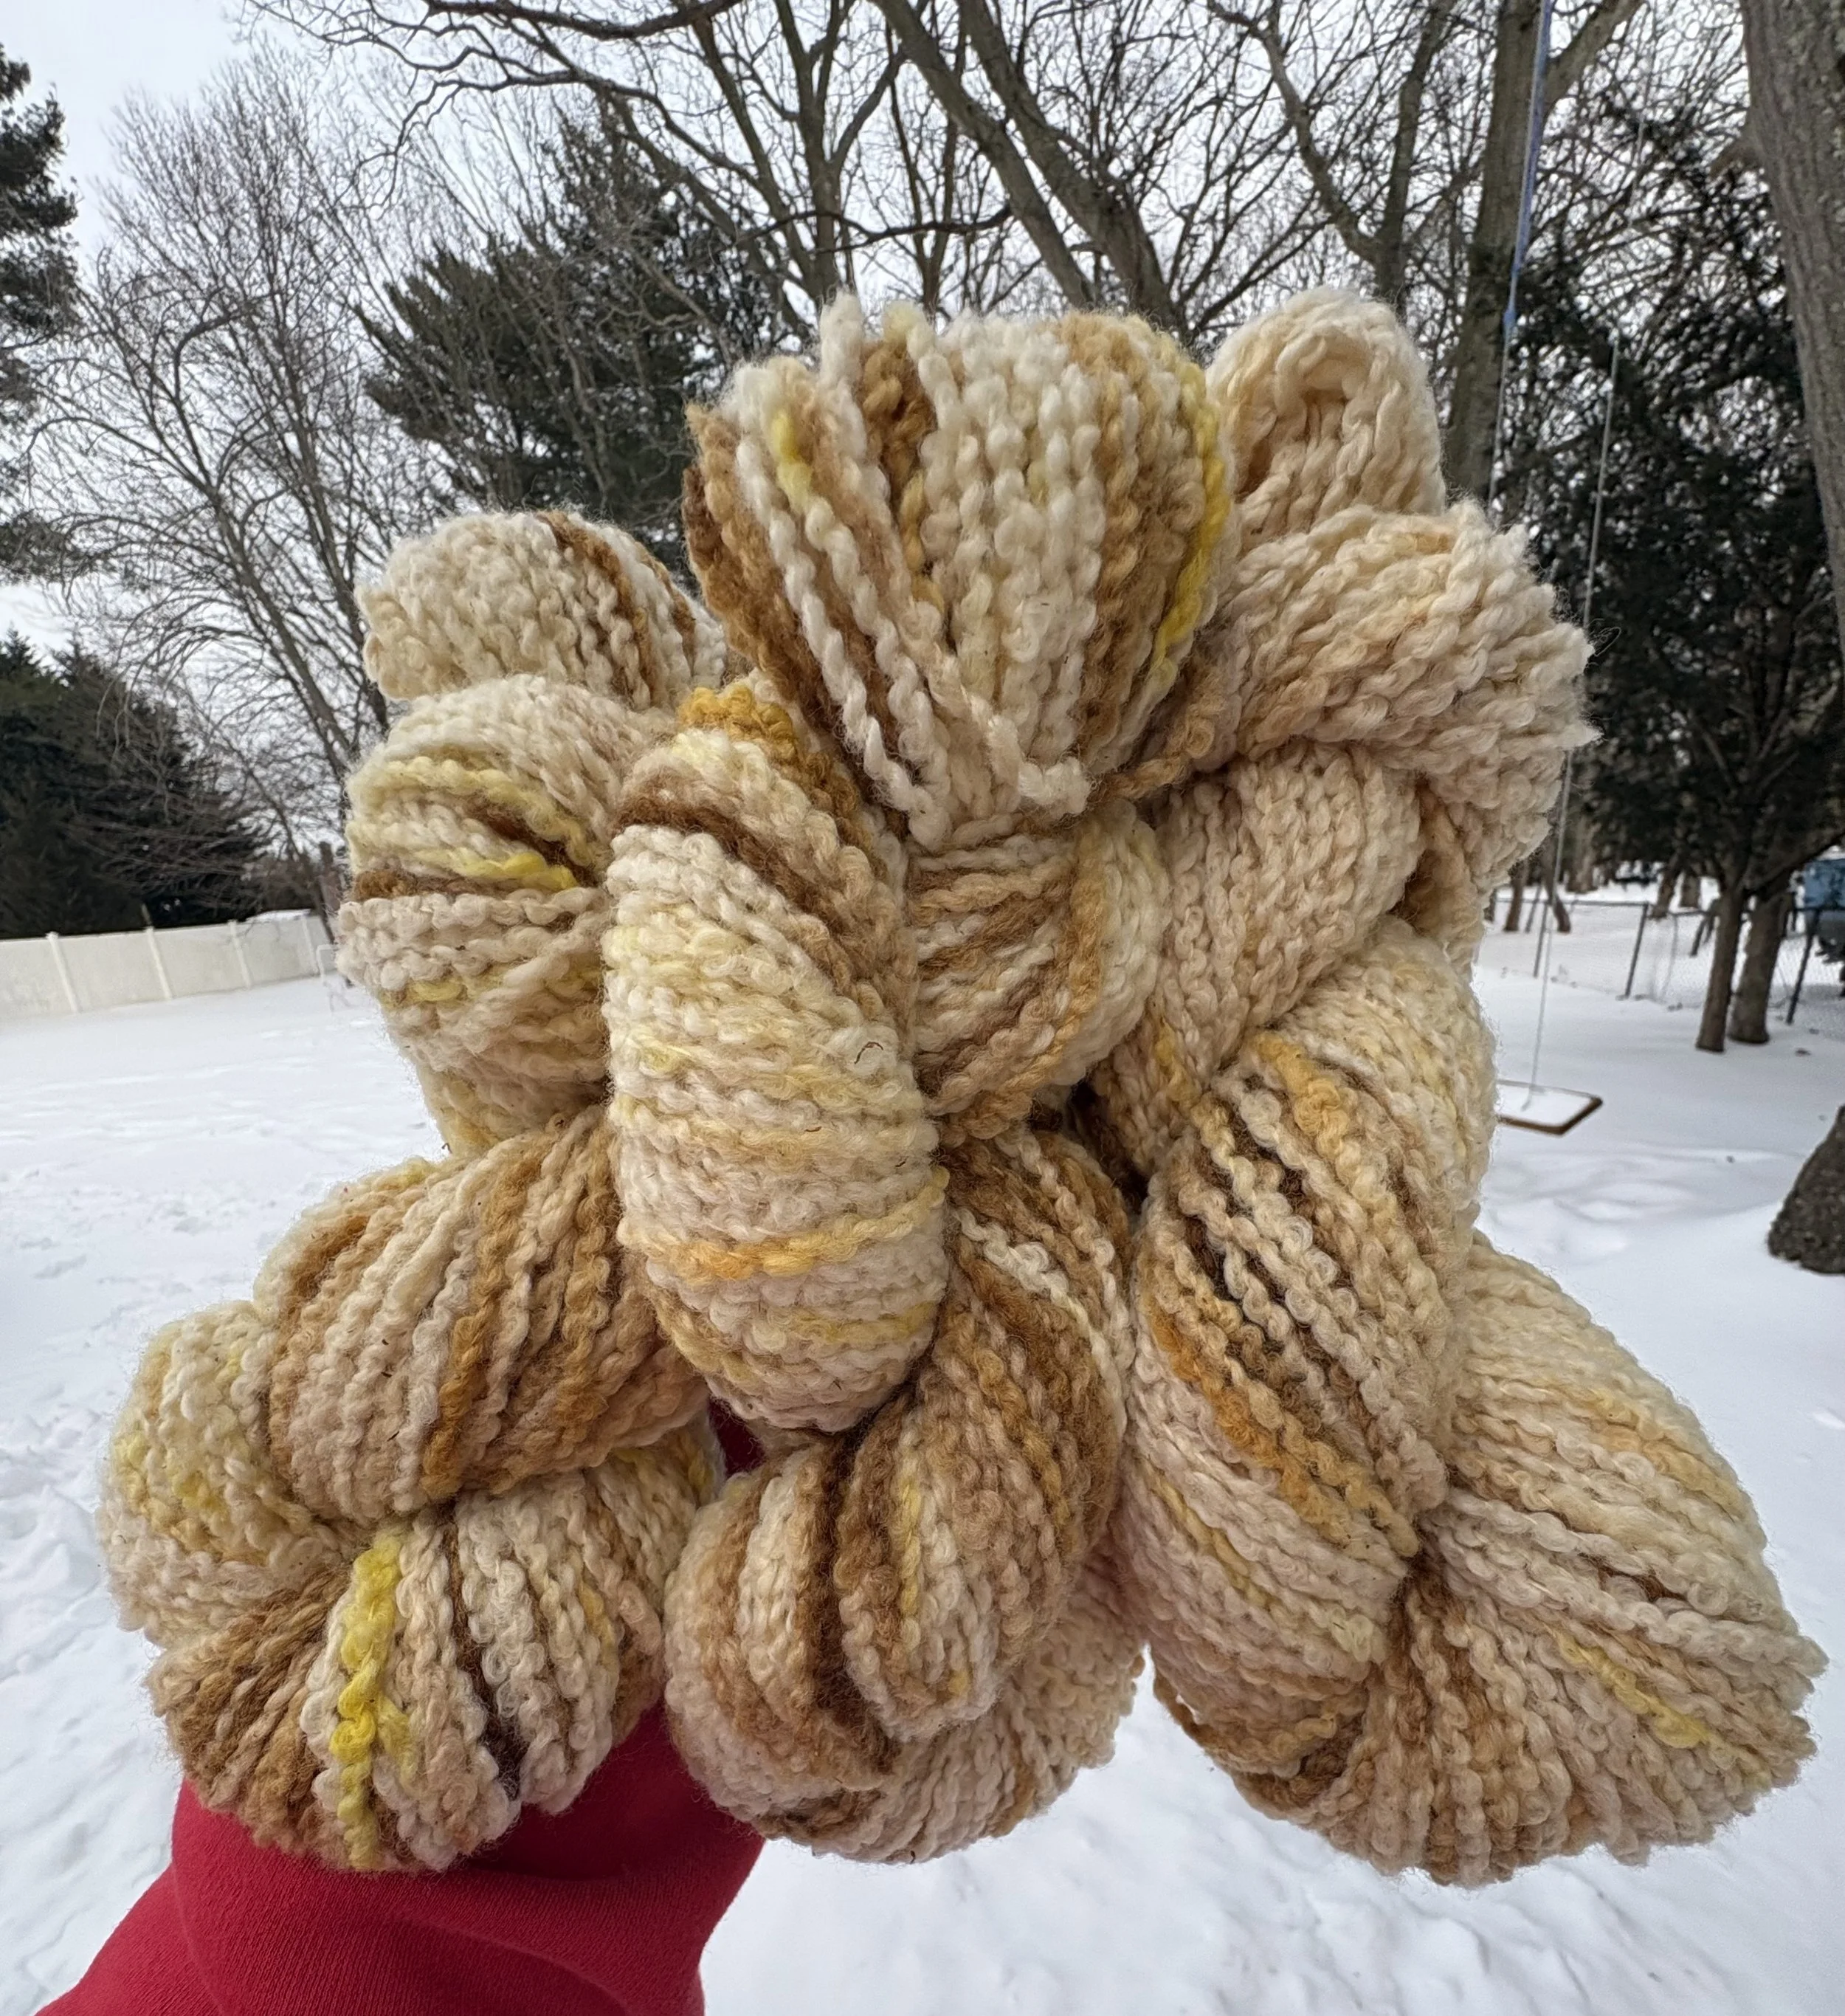
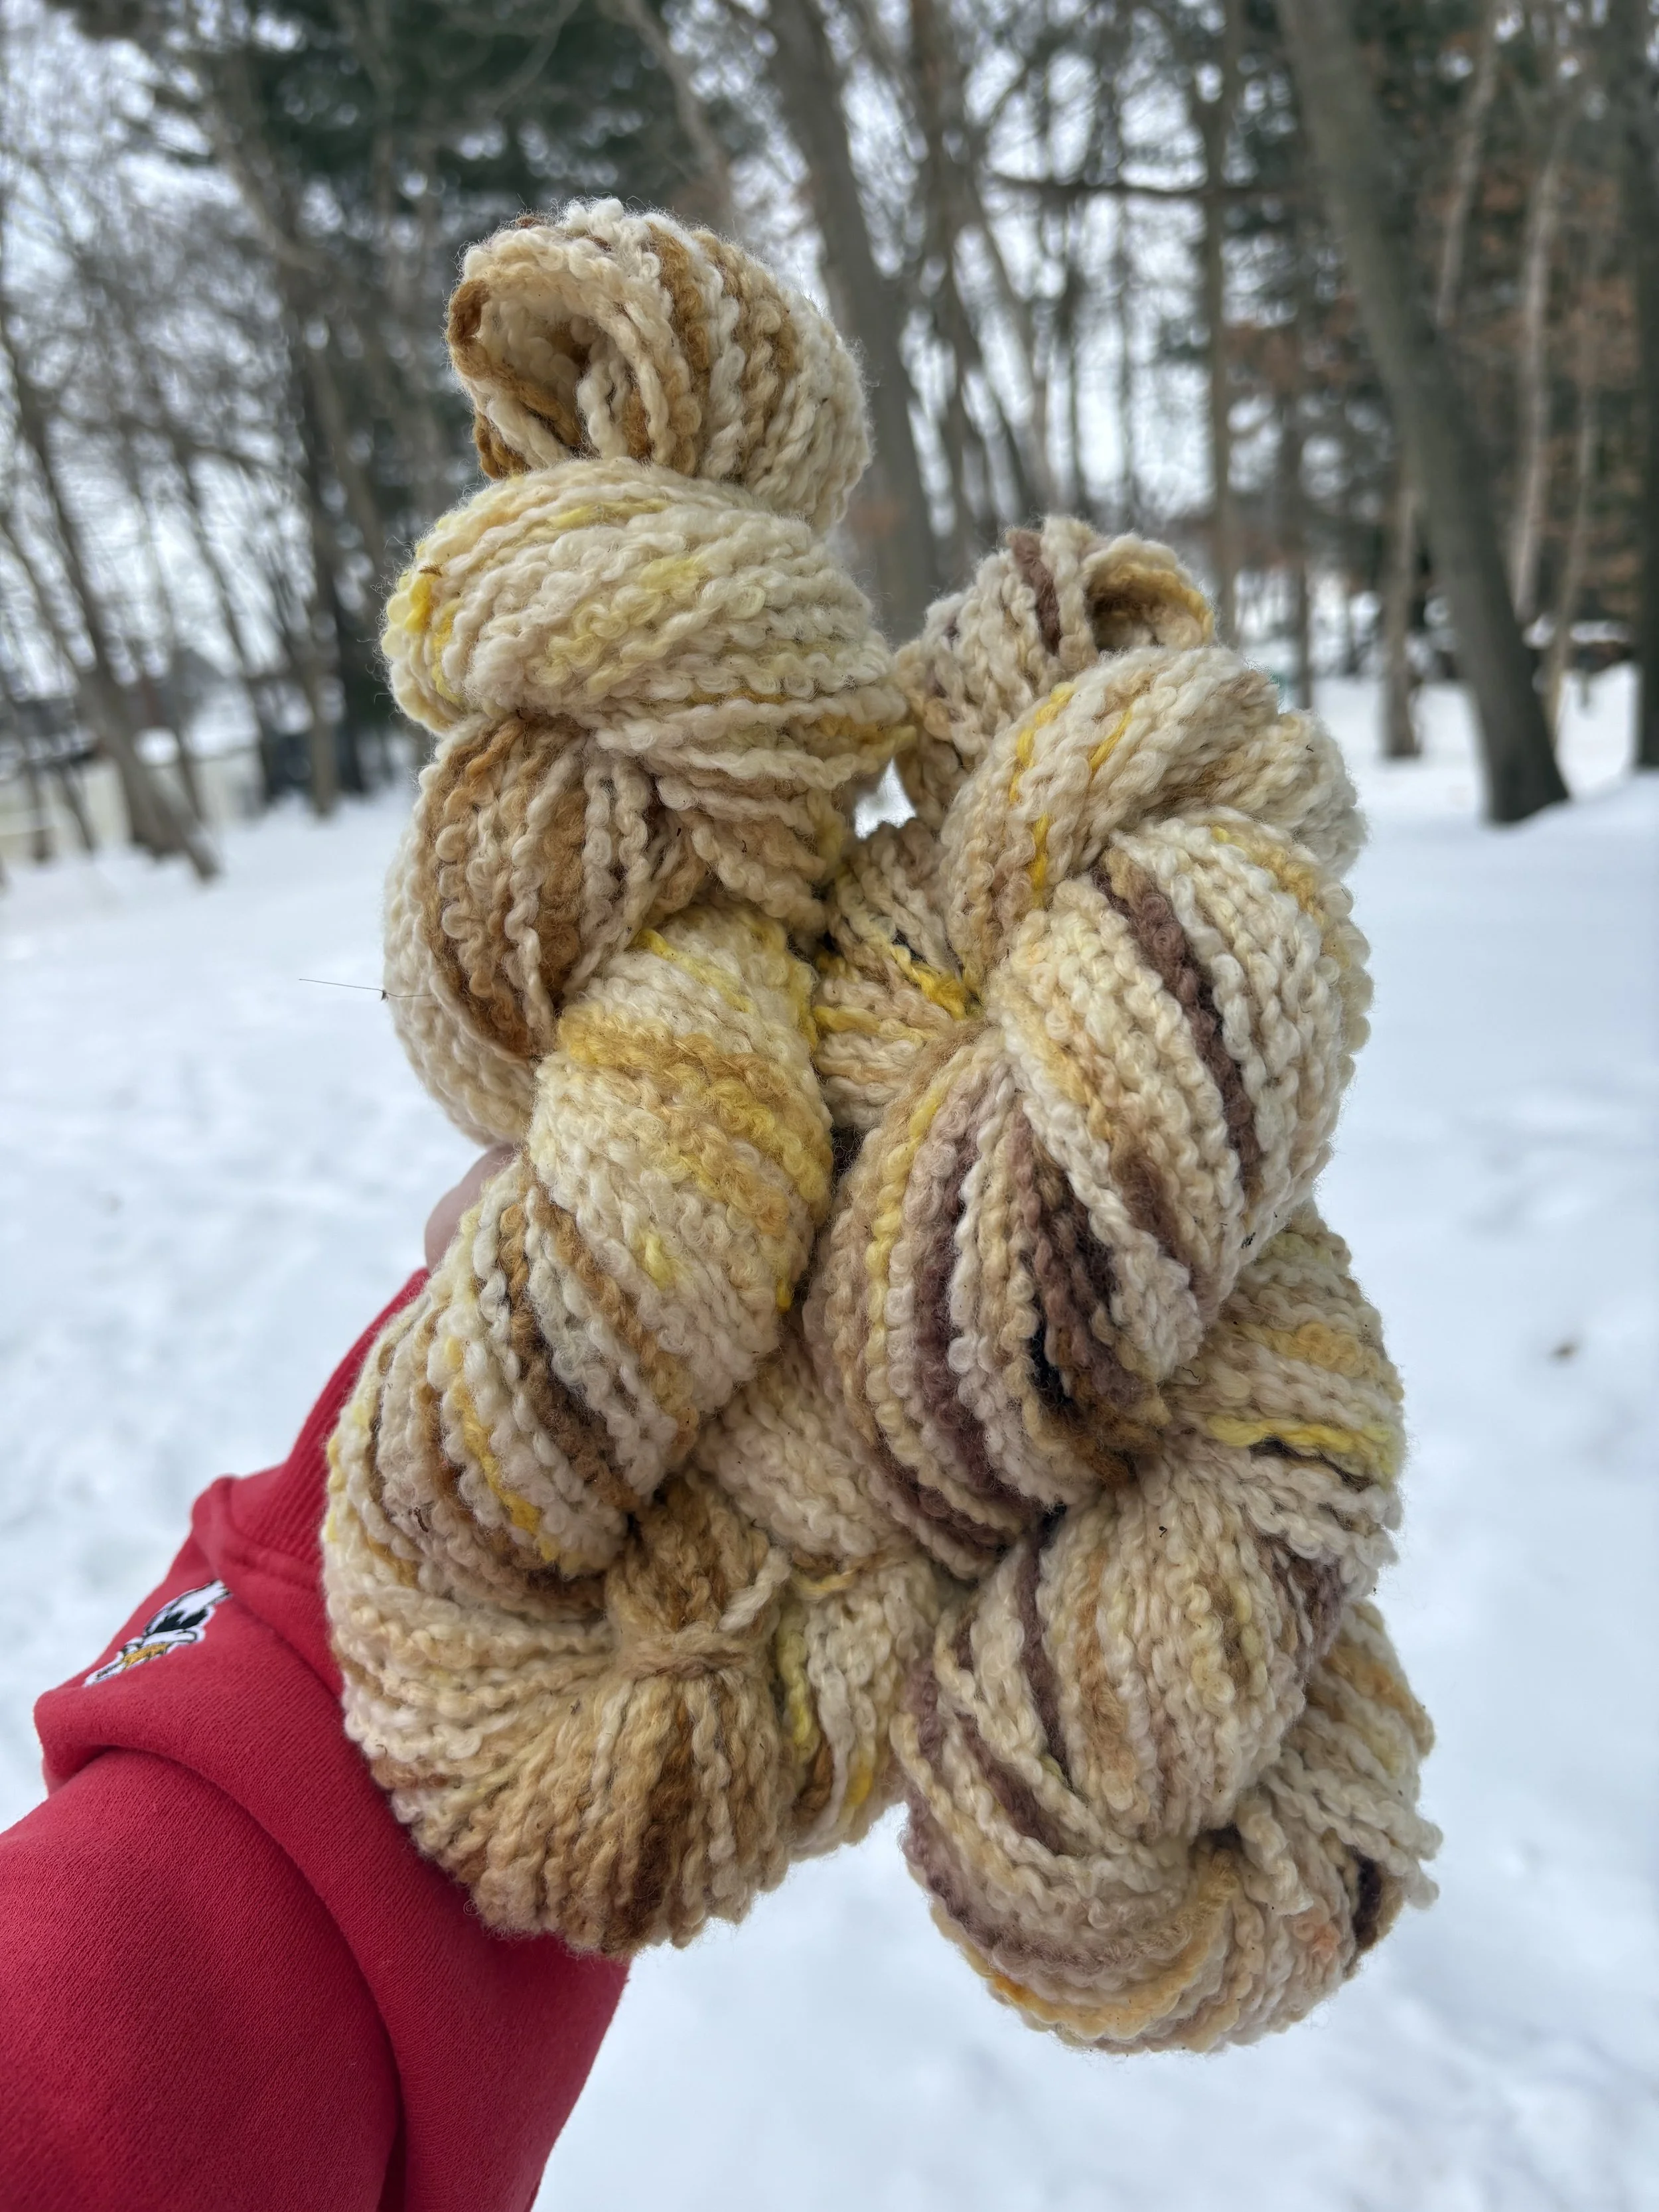
A few skeins of this yarn are now available in the shop! Each skein contains 131 yards of a bulky weight yarn, so even just one skein is enough to make a hat and mittens!
I hope you’ve enjoyed learning about the process of snow dyeing! I encourage you all to play around with it - it’s really quite simple! If you don’t want to go the Kool-Aid route, I think there are a few kitchen staples that you could easily play around with - I certainly plan to try some more of these soon! In addition to turmeric, coffee grounds would be a good choice, and some dried teas also seem promising. You never know what will work unless you try, and that’s part of the fun!